
- Why Make DIY Shower Melts? The Benefits of Aromatherapy Shower Steamers
- What Are Aromatherapy Shower Melts?
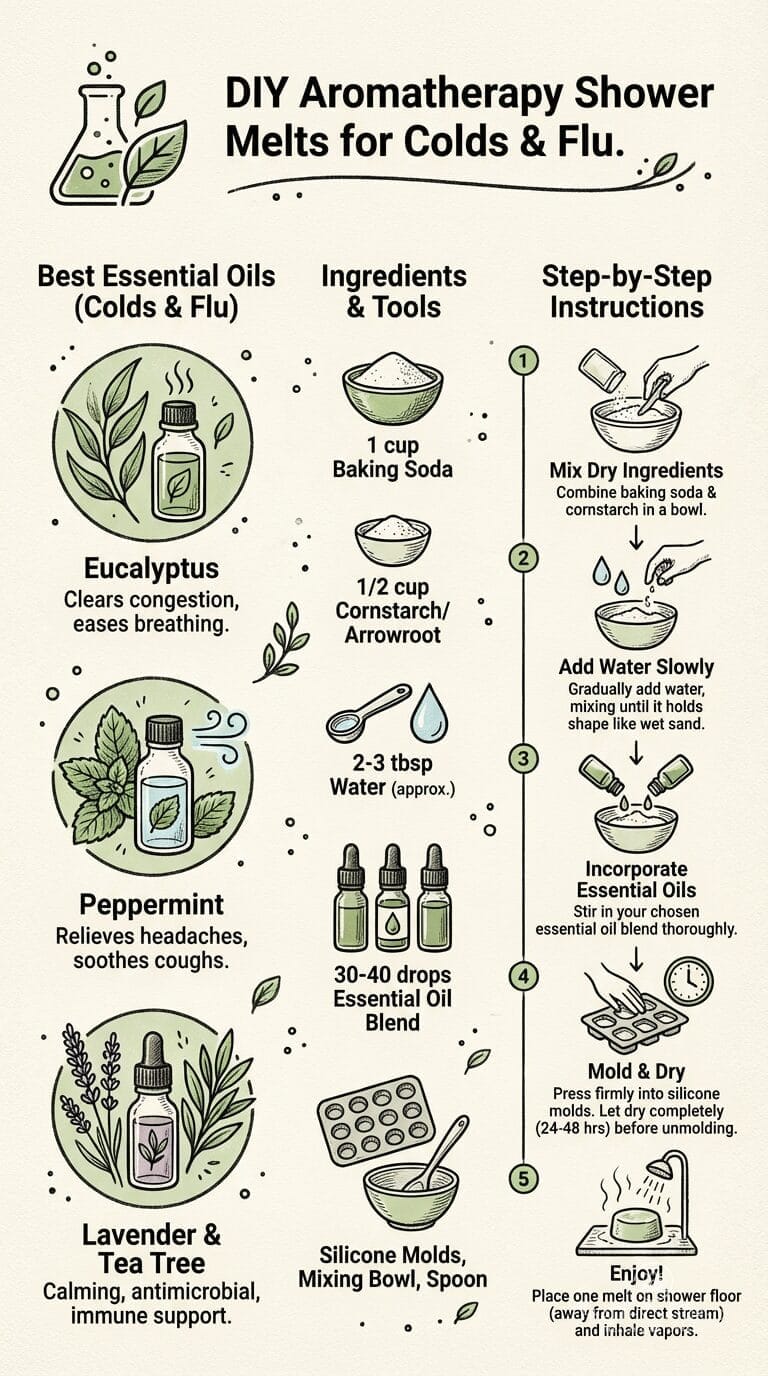
- Best Essential Oils for Cold and Flu Relief
- DIY Aromatherapy Shower Melts
- DIY Shower Melt Recipes for Respiratory Relief
- Tips for Perfect DIY Shower Melts Every Time
- How to Use Shower Melts Effectively
- Safety Considerations and Precautions
- Storage and Shelf Life Tips
- Conclusion
- Frequently Asked Questions
When cold and flu season strikes, finding natural relief can feel like searching for a needle in a haystack. While over-the-counter medications certainly have their place, sometimes the most soothing remedies come from nature itself. Enter aromatherapy shower melts – these little powerhouses of essential oils transform your daily shower into a therapeutic steam room that can help ease congestion, clear sinuses, and provide much-needed respiratory relief.
I discovered the magic of shower melts during a particularly stubborn bout of flu with nasal congestion last winter. Nothing seemed to help until a friend recommended making these simple yet effective aromatherapy treatments. Within a few minutes of placing one on my shower floor, I was breathing easier than I had in days. The combination of warm steam and carefully selected essential oils created an instant spa-like experience that actually made me feel human again.
In this complete guide, you’ll learn exactly how to make spa-like DIY aromatherapy shower melts at home. The recipe is affordable, customizable, and ready in under 30 minutes of active time (plus drying). Whether you’re new to DIY self-care or a seasoned maker, these homemade shower steamers deliver professional results every time.
Why Make DIY Shower Melts? The Benefits of Aromatherapy Shower Steamers
Homemade shower melts offer numerous advantages over store-bought versions:
- Natural Ingredients: Control exactly what goes into them—no harsh chemicals or synthetic fragrances.
- Aromatherapy Benefits: Essential oils can help reduce stress (lavender), clear sinuses (eucalyptus), boost energy (citrus), or promote better sleep.
- Cost-Effective: A batch costs just a few dollars but provides weeks of luxury showers.
- Customizable: Tailor scents, colors, and strength to your preferences.
- Eco-Friendly and Giftable: Perfect for self-care routines or thoughtful handmade gifts.
Whether you’re looking for morning invigoration or evening wind-down, these DIY shower steamers deliver a true spa experience right in your bathroom.
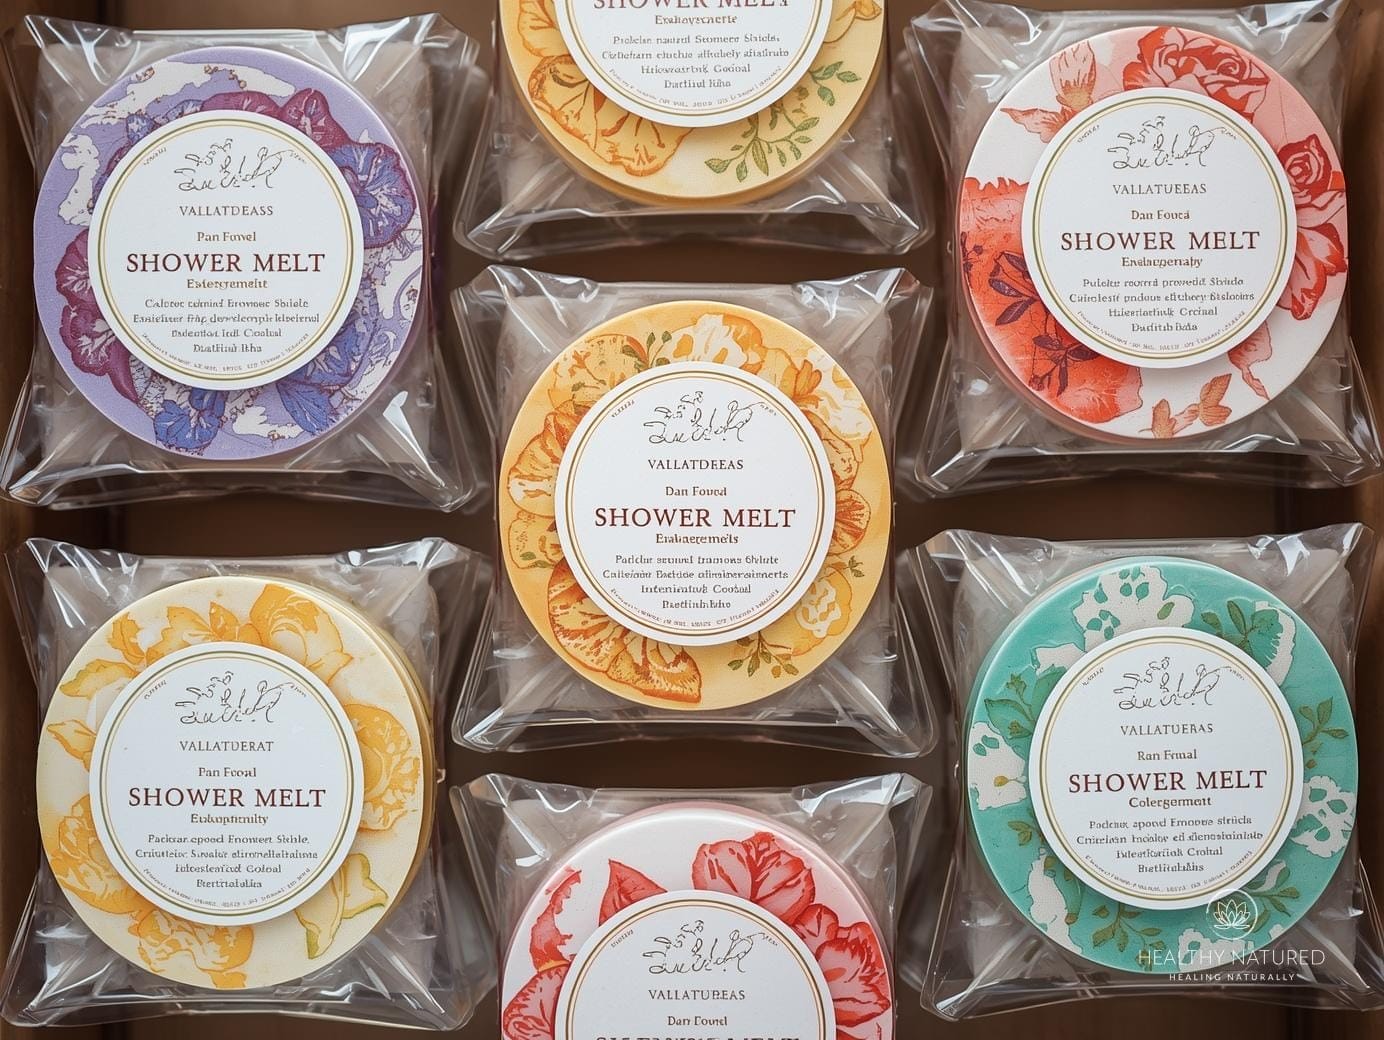
What Are Aromatherapy Shower Melts?
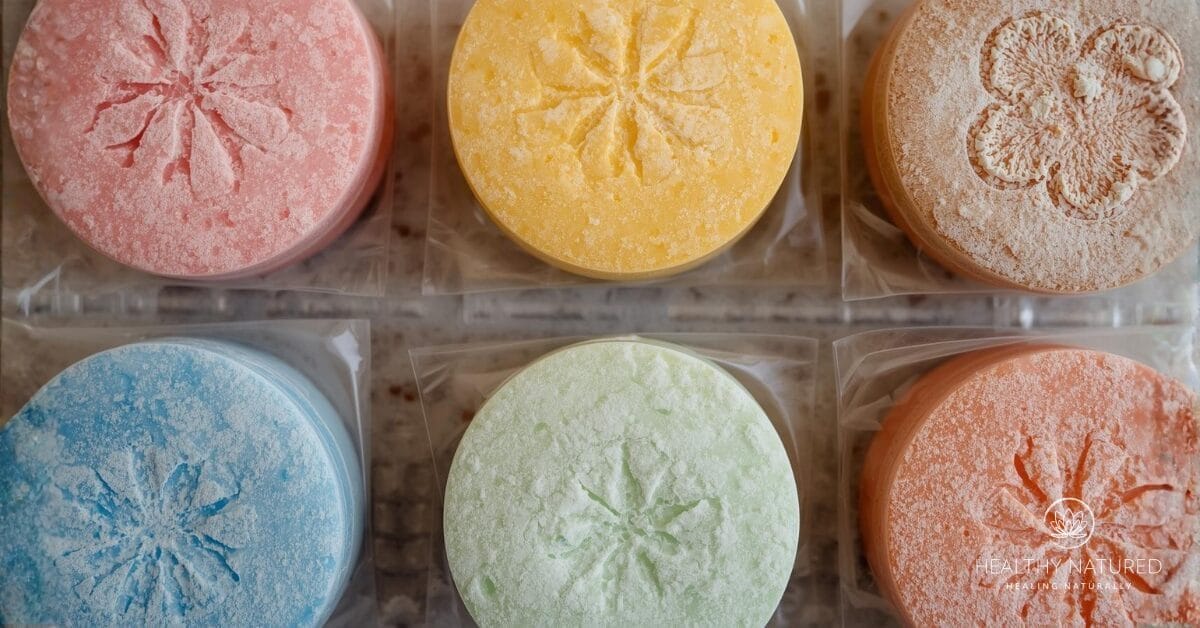
Shower melts are solid tablets or discs made from a base of baking soda, cornstarch, or similar ingredients, combined with essential oils known for their therapeutic properties. When placed on the shower floor, they slowly dissolve under the warm water, releasing aromatic steam that you inhale naturally while bathing.
Think of them as bath bombs for your shower – but specifically designed to target respiratory issues. Unlike traditional bath products that focus on skin benefits, shower melts are all about creating an inhalation therapy experience. The warm, moist environment of your shower creates the perfect conditions for essential oil molecules to become airborne and work their therapeutic magic on your congested airways.
The beauty of shower melts lies in their simplicity and effectiveness. You don’t need special equipment, complicated procedures, or even extra time in your routine. Simply place one on your shower floor away from the direct water stream, and let the natural steam carry the healing aromas to where you need them most.
Best Essential Oils for Cold and Flu Relief
Not all essential oils are created equal when it comes to respiratory relief. Some oils have proven decongestant properties, while others excel at reducing inflammation or fighting bacterial and viral infections. Here are the top performers for cold and flu symptoms:
Eucalyptus oil stands as the gold standard for respiratory relief. Its primary component, eucalyptol, acts as a natural decongestant and expectorant, helping to loosen mucus and clear blocked airways. The cooling sensation of eucalyptus can provide immediate relief from that stuffy, can’t-breathe feeling that accompanies head colds.
Peppermint oil contains menthol, which creates a cooling effect that can help open airways and provide relief from sinus pressure. Many people find that peppermint’s invigorating scent also helps combat the mental fog that often accompanies illness.
Tea tree oil brings powerful antimicrobial properties to the mix. While it won’t cure your cold, its ability to fight bacteria and viruses makes it a valuable addition to any respiratory relief blend. Just remember that tea tree has a very strong scent, so a little goes a long way.
Rosemary oil offers anti-inflammatory benefits and can help reduce the swelling in nasal passages that contributes to congestion. Its herbaceous scent blends beautifully with other respiratory oils.
Lavender oil might seem like an odd choice for cold relief, but its anti-inflammatory and calming properties make it an excellent supporting player. Plus, when you’re feeling miserable, the stress-reducing benefits of lavender can help your body focus on healing.
DIY Aromatherapy Shower Melts
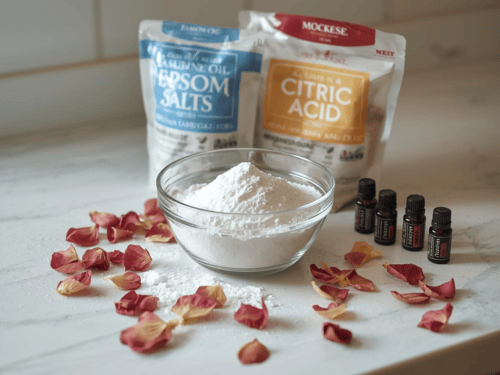
Ingredients
Equipment
Method
- Prepare Your Workspace and Dry Ingredients: In a large bowl, combine the baking soda, citric acid, Epsom salt (and arrowroot powder if using). Mix thoroughly with a spatula, breaking up any lumps.1 ½ cup baking soda, ¾ cup citric acid, ½ cup epsom salt, ½ cup arrowroot powder (optional)

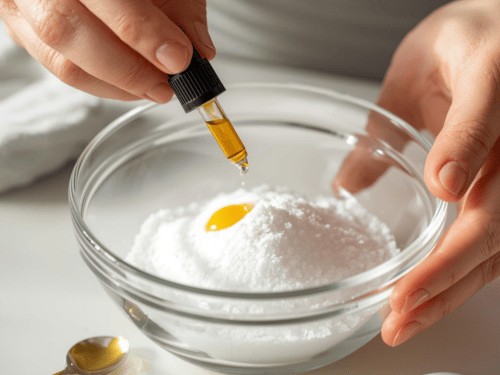
- Add Essential Oils: Drop in your chosen essential oils (50–80 drops total). Mix well to distribute the scent evenly throughout the dry mixture.80 drops essential oils
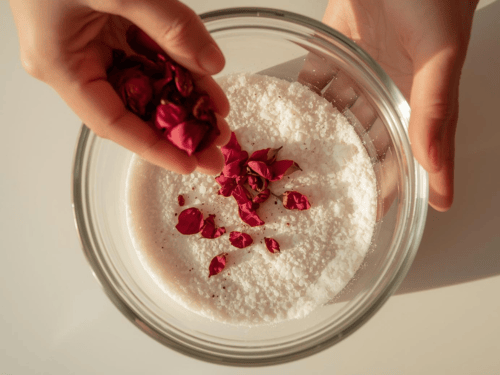
- Incorporate Botanicals (Optional): Stir in about half of your dried flowers. Reserve the rest to place in the bottom of the molds for a pretty top when unmolded.3 Tbsp dried flowers or herbs
- Moisten the Mixture: Lightly mist the mixture with witch hazel or alcohol while continuously stirring. The goal is a consistency like damp sand—it should hold its shape when squeezed firmly in your hand but not be wet or crumbly. Add just a few spritzes at a time. Over-wetting will cause premature fizzing or sticky melts.1 spray witch hazel
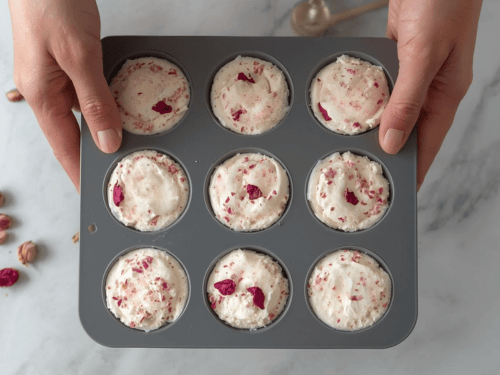
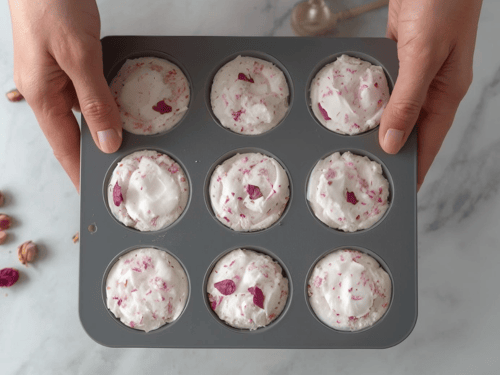
- Fill the Molds: Place a pinch of reserved dried flowers in the bottom of each mold cavity for visual appeal. Pack the mixture very firmly into the molds using your fingers or the back of a spoon. Press hard to eliminate air pockets for solid, durable melts.
- Dry the Shower Melts: Leave the molds in a cool, dry place away from humidity. Allow them to dry for at least 4–6 hours, but ideally 24 hours or overnight for best hardness. They should feel completely dry and hard to the touch.
- Unmold and Finish: Gently tap or flex the silicone molds to release the DIY aromatherapy shower melts. If they stick, let them dry longer.


Notes
Our favorite essential oil blends
- Calming Evening Spa Blend (Relaxation & Sleep): 35 drops lavender + 20 drops clary sage or bergamot + 10 drops frankincense
- Refreshing Morning Boost: 25 drops eucalyptus + 20 drops peppermint + 15 drops lemon or sweet orange
- Sinus Relief & Clear Breathing: 30 drops eucalyptus + 20 drops peppermint + 10 drops rosemary
- Uplifting & Energizing: 25 drops wild orange + 15 drops grapefruit + 15 drops lemon
- Grounding & Stress Relief: 25 drops lavender + 15 drops patchouli + 15 drops ylang ylang I get asked a lot about why 80 drops – Shower melts have more essential oil as you need slightly stronger scents than bath bombs because steam and ventilation disperse the aroma quickly.
Private Notes
Tried this recipe?
Mention @HealthyNatured or tag #HealthyNaturedDIY!DIY Shower Melt Recipes for Respiratory Relief
Creating your own shower melts is surprisingly simple and allows you to customize the blend to your specific needs. Here are three tried-and-tested recipes that have helped countless people breathe easier during cold and flu season.
The Classic Decongestant Blend Shower Melts :
This recipe combines the powerhouse duo of eucalyptus and peppermint for maximum respiratory relief.
- Mix 1 cup baking soda,
- 1/3 cup cornstarch,
- 1/3 cup citric acid,
- 15 drops eucalyptus oil,
- 10 drops peppermint oil.
Add water one teaspoon at a time until the mixture holds together when squeezed. Press into silicone molds and let dry for 24 hours.
The Soothing Comfort Blend:
When you need gentle relief that won’t overwhelm sensitive sinuses, try this milder combination.
- Combine 1 cup baking soda,
- 1/3 cup cornstarch,
- 1/3 cup citric acid,
- 12 drops lavender oil,
- 8 drops rosemary oil,
- 5 drops tea tree oil.
Follow the same mixing and molding process as above.
The Power Punch Blend:
For stubborn congestion that just won’t budge, this intensive blend pulls out all the stops.
- Mix 1 cup baking soda,
- 1/3 cup cornstarch,
- 1/3 cup citric acid,
- 10 drops eucalyptus oil,
- 8 drops tea tree oil,
- 6 drops peppermint oil,
- 4 drops rosemary oil.
Pro tip: Always test a small amount of any new essential oil blend before using it extensively. Some people are sensitive to certain oils, and it’s better to discover this with a gentle test rather than during a full shower session.
Tips for Perfect DIY Shower Melts Every Time
- Texture is Key: The “damp sand” consistency prevents crumbling or exploding in molds.
- Stronger Scents: Showers require more essential oils due to airflow.
- Color Options: Add natural mica powder or a tiny bit of food coloring for visual spa appeal.
- Troubleshooting: Sticky? Too much moisture—dry longer or use less next time. No fizz? Check citric acid freshness.
- Scaling: Double the recipe for larger batches or gifts.
How to Use Shower Melts Effectively
Getting the most benefit from your shower melts requires proper technique. It’s not just about dropping one on the shower floor and hoping for the best – there’s actually a method to maximize their therapeutic potential.
Start by placing your shower melt on the floor of your shower, away from the direct stream of water. You want it to dissolve slowly, not get washed away immediately. The corner of your shower or near the drain but not directly in the water flow works perfectly.
Before stepping into the shower, turn on the hot water and let it run for a minute or two to build up steam. This creates the ideal environment for the essential oils to become airborne. The warmer and more humid your shower, the better the oils will disperse.
Once you’re in the shower, take your time. This isn’t the moment for a quick rinse – you want to spend at least 10-15 minutes allowing the aromatic steam to work its magic. Breathe deeply through your nose when possible, but don’t force it if your congestion is severe.
For maximum benefit, try to shower 2-3 times daily when you’re fighting cold or flu symptoms. Morning showers can help clear your head for the day ahead, while evening showers can provide relief that helps you sleep better.
Safety Considerations and Precautions
While aromatherapy shower melts are generally safe for most people, it’s important to use them responsibly. Essential oils are potent substances that can cause reactions in sensitive individuals or when used improperly.
Never use essential oils undiluted directly on your skin, and be cautious about getting shower melt residue on sensitive areas. If you have asthma or other respiratory conditions, start with very mild blends and shorter exposure times to see how your body responds.
Pregnant women should consult with their healthcare provider before using essential oils, as some oils are not recommended during pregnancy. Children under 6 should not be exposed to strong essential oil vapors, and those between 6-12 should only use very mild blends under adult supervision.
If you experience any irritation, dizziness, or breathing difficulties while using shower melts, stop immediately and ventilate the area. Some people are simply more sensitive to certain oils than others, and that’s perfectly normal.
Storage and Shelf Life Tips
Proper storage ensures your shower melts maintain their potency and don’t crumble before you can use them. Store finished melts in an airtight container in a cool, dry place. A glass jar with a tight-fitting lid works perfectly and helps preserve the essential oil content.
Well-made shower melts can last 6-12 months when stored properly, though they’re most potent when used within the first few months. If you notice the scent fading significantly, it’s time to make a fresh batch.
Consider making smaller batches during cold and flu season rather than trying to stock up for the entire year. Fresh melts with full-strength essential oils will provide better therapeutic benefits than older ones that have lost their potency.
Conclusion
Aromatherapy essential oil shower melts offer a natural, effective way to find relief from cold and flu symptoms without relying solely on medications. These simple creations transform your regular shower routine into a therapeutic experience that can help clear congestion, reduce inflammation, and provide the comfort you need while your body heals.
The beauty of making your own shower melts lies in the ability to customize blends for your specific needs and preferences. Whether you prefer the intense clarity of eucalyptus and peppermint or the gentler comfort of lavender and rosemary, you can create the perfect aromatherapy experience for your situation.
Remember that while shower melts can provide significant relief, they’re a complementary therapy rather than a replacement for proper medical care. If your symptoms persist or worsen, don’t hesitate to consult with a healthcare professional. But for those everyday cold and flu symptoms that make you feel miserable, aromatherapy shower melts might just become your new best friend during sick days.
Frequently Asked Questions
How long do shower melts last in the shower?
A typical shower melt will dissolve over 10-15 minutes, depending on its size and how much water hits it directly. For longer showers, you may want to use a larger melt or add a second one partway through.
Can I use shower melts if I have sensitive skin?
Yes, but choose milder essential oil blends and avoid getting melt residue directly on your skin. Lavender and eucalyptus are generally well-tolerated, while tea tree and peppermint can be more irritating for sensitive individuals.
Are shower melts safe for children?
Children over 6 can generally use mild shower melts under adult supervision. Avoid strong oils like eucalyptus and peppermint for young children, and always ensure good ventilation.
Can I use shower melts every day?
During illness, using shower melts 2-3 times daily is generally safe for most people. For daily wellness use, once per day or every other day is usually sufficient to avoid overexposure to essential oils.
What’s the difference between shower melts and bath bombs?
Shower melts are specifically formulated for inhalation therapy and dissolve more slowly to release aromatic steam. Bath bombs are designed for skin benefits and full-body soaking, with different ingredients and purposes.
Can I make shower melts without citric acid?
Yes, though citric acid helps with the fizzing action and preservation. You can substitute with cream of tartar or simply omit it, though the melts may dissolve differently and have a shorter shelf life.
What’s the difference between shower melts and shower steamers?
They are essentially the same thing! “Melts,” “steamers,” and “shower fizzies” are all used interchangeably for these aromatherapy shower tablets.
Are these better than store-bought?
Absolutely—fresher scents, better ingredients, and much cheaper (plus fully customizable).
How strong should the scent be?
Stronger than you think—showers have great ventilation, so 50–80 drops per batch is ideal.