- Why Choose DIY Wax Melts Over Traditional Candles?
- Essential Materials for Making Eco-Friendly Wax Melts
- Step-by-Step Guide to Creating Your First Batch
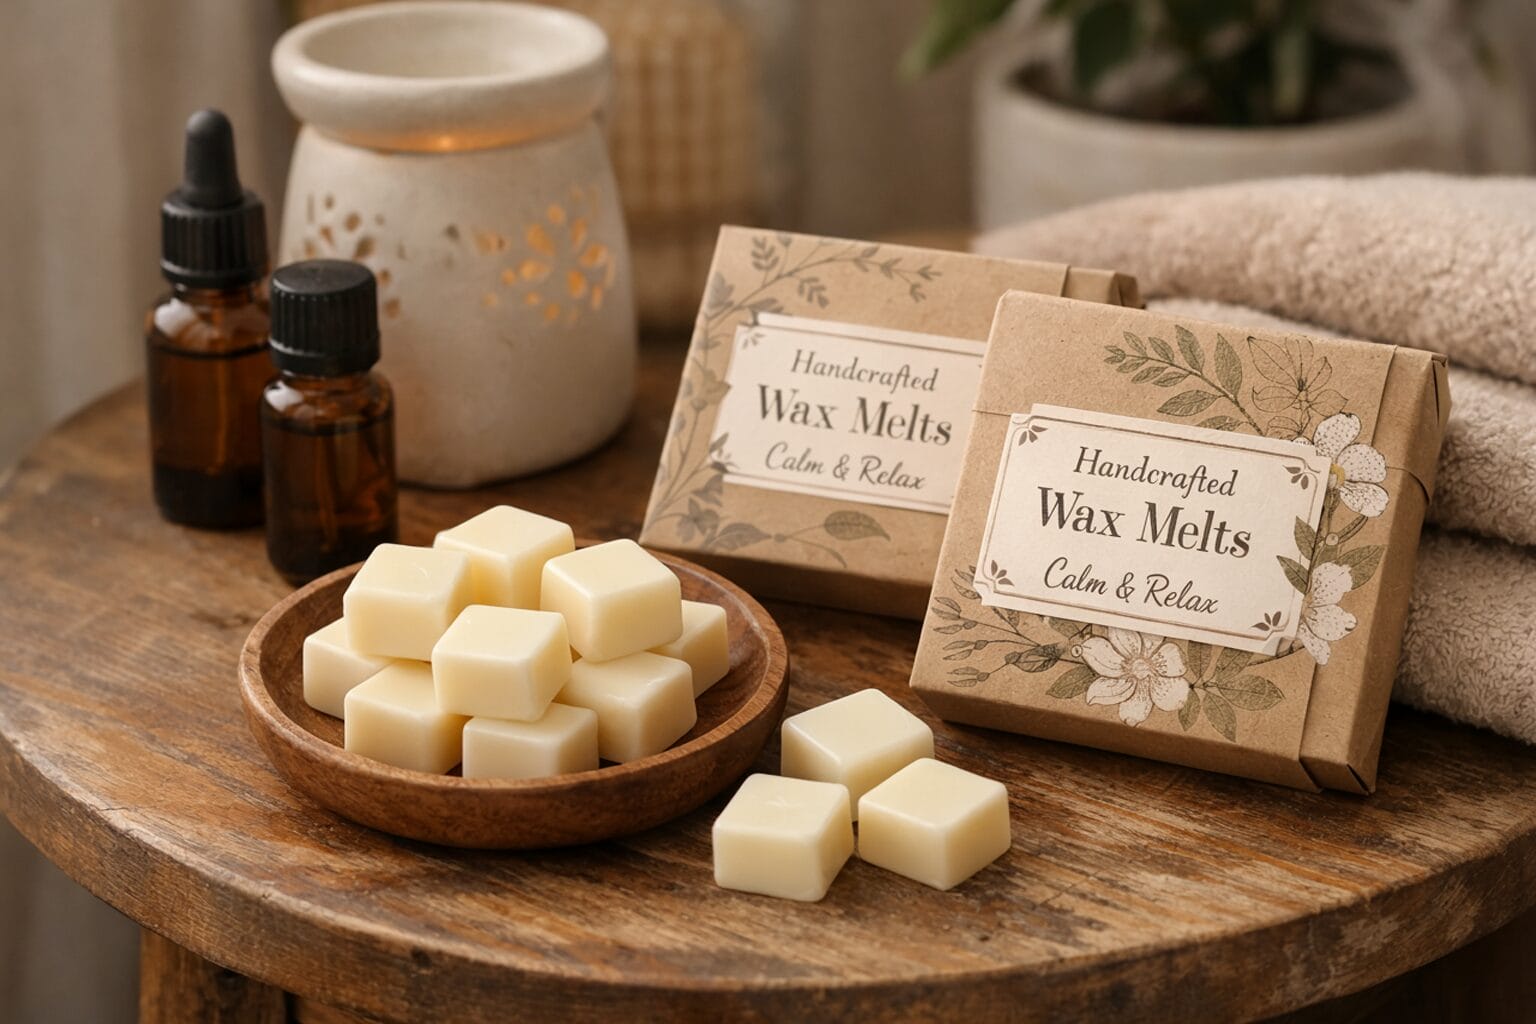
- Eco-Friendly DIY Wax Melts
- DIY Wax Melts Practical Tips
- Best Natural Wax Options for Sustainable Melts
- Eco-Friendly Scenting Options and Fragrance Combinations
- Essential Oil Weight to Drop Conversion
- Storage and Usage Tips for Maximum Longevity
- Cost Analysis: DIY vs Store-Bought Wax Melts
- Environmental Impact and Sustainability Benefits
- Frequently Asked Questions
There’s something magical about walking into a home filled with your favorite fragrance. For years, scented candles have been our go-to solution for creating that perfect ambiance. But what if I told you there’s a better way – one that’s more sustainable, cost-effective, and surprisingly simple? Enter DIY wax melts, the eco-friendly alternative that’s revolutionizing how we think about home fragrance.
As someone who’s made the switch from traditional candles to homemade wax melts, I can honestly say it’s been a game-changer. Not only am I reducing my environmental footprint, but I’m also saving money and enjoying stronger, longer-lasting fragrance throughout my home. Let me share everything you need to know about creating your own eco-friendly wax melts.
Why Choose DIY Wax Melts Over Traditional Candles?
The shift toward sustainable living has many of us questioning our everyday choices, and home fragrance is no exception. Traditional scented candles, while lovely, come with several environmental and health concerns that make eco-friendly wax melts an attractive alternative.
Most commercial candles are made from paraffin wax, a petroleum byproduct that releases harmful chemicals when burned1 Candles, Wikipedia https://en.wikipedia.org/wiki/Candle. These toxins can affect indoor air quality and potentially impact your family’s health. Additionally, the production and disposal of commercial candles contribute to environmental waste through excessive packaging and non-biodegradable materials.
DIY wax melts solve these problems beautifully. When you make your own using natural waxes like soy or beeswax, you’re eliminating harmful chemicals from your home while creating a product that’s completely biodegradable. Plus, you have complete control over the ingredients, ensuring everything that goes into your melts aligns with your values and health goals.
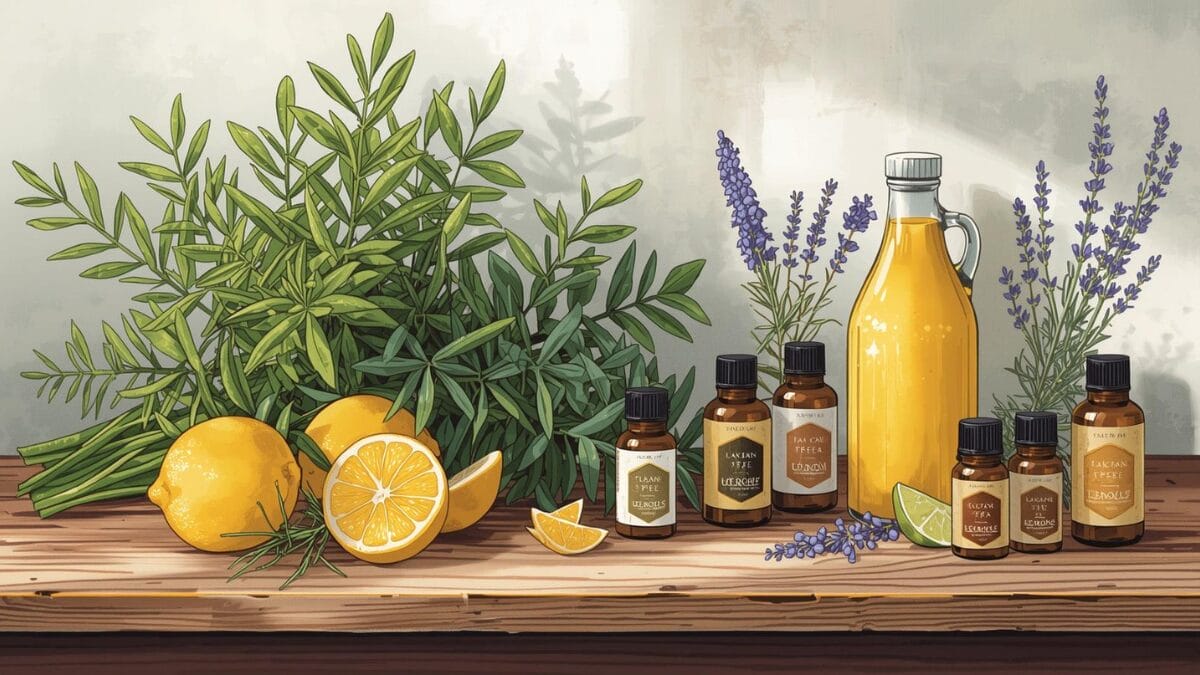
Essential Materials for Making Eco-Friendly Wax Melts
Creating your own wax melts doesn’t require a chemistry degree or expensive equipment. The beauty lies in its simplicity. Here’s what you’ll need to get started on your eco-friendly fragrance journey.
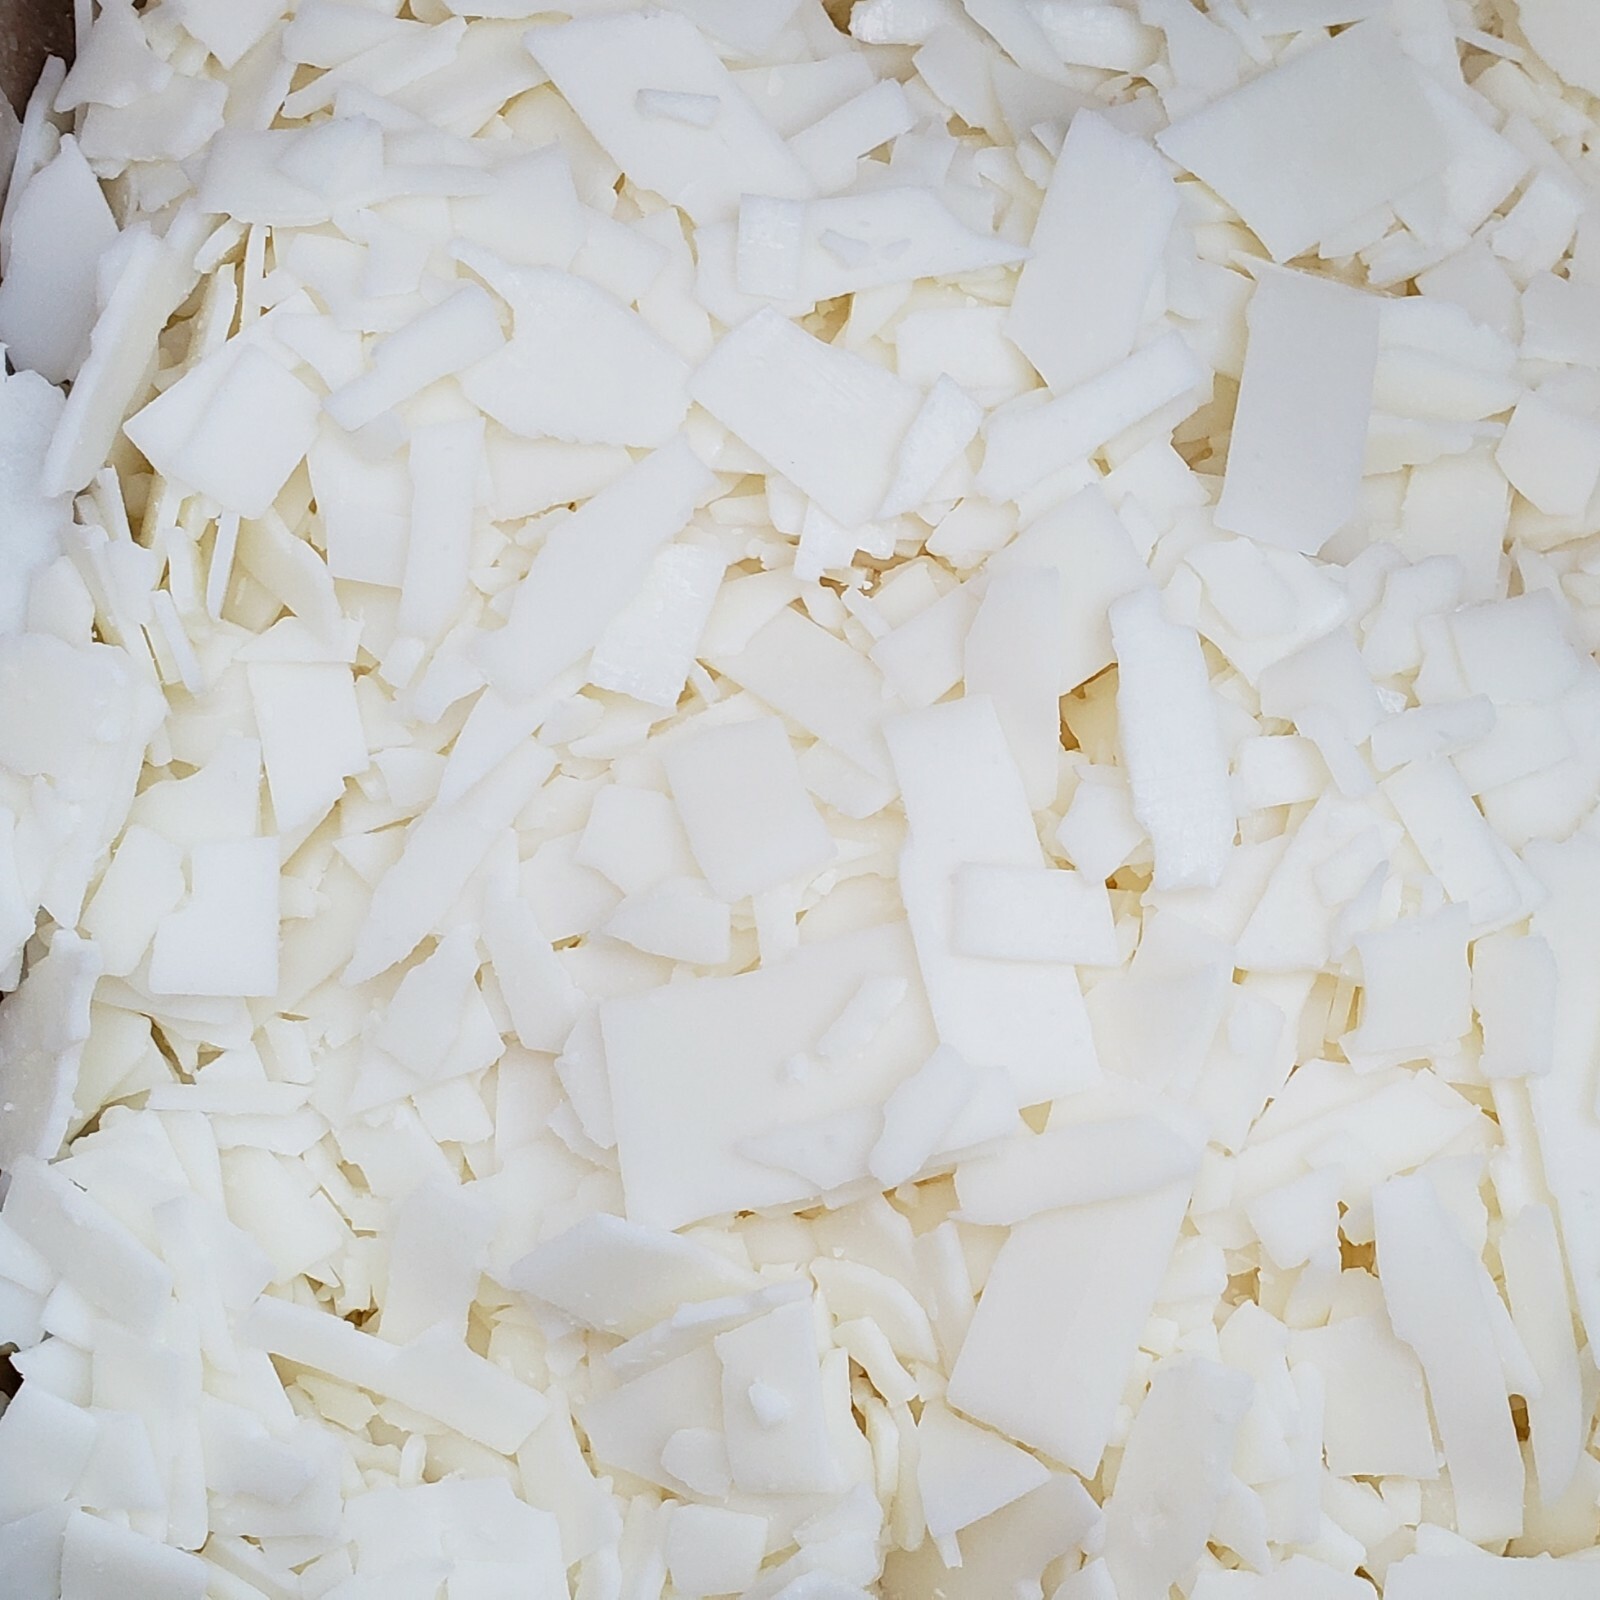
The foundation of any good wax melt is, naturally, the wax itself. Soy wax is my personal favorite because it’s renewable, biodegradable, and burns cleanly. It’s derived from soybeans, making it a completely natural choice. Beeswax is another excellent option that offers a subtle honey scent and natural air-purifying properties. For those seeking the longest burn time, coconut wax provides exceptional scent throw and is sustainably sourced.
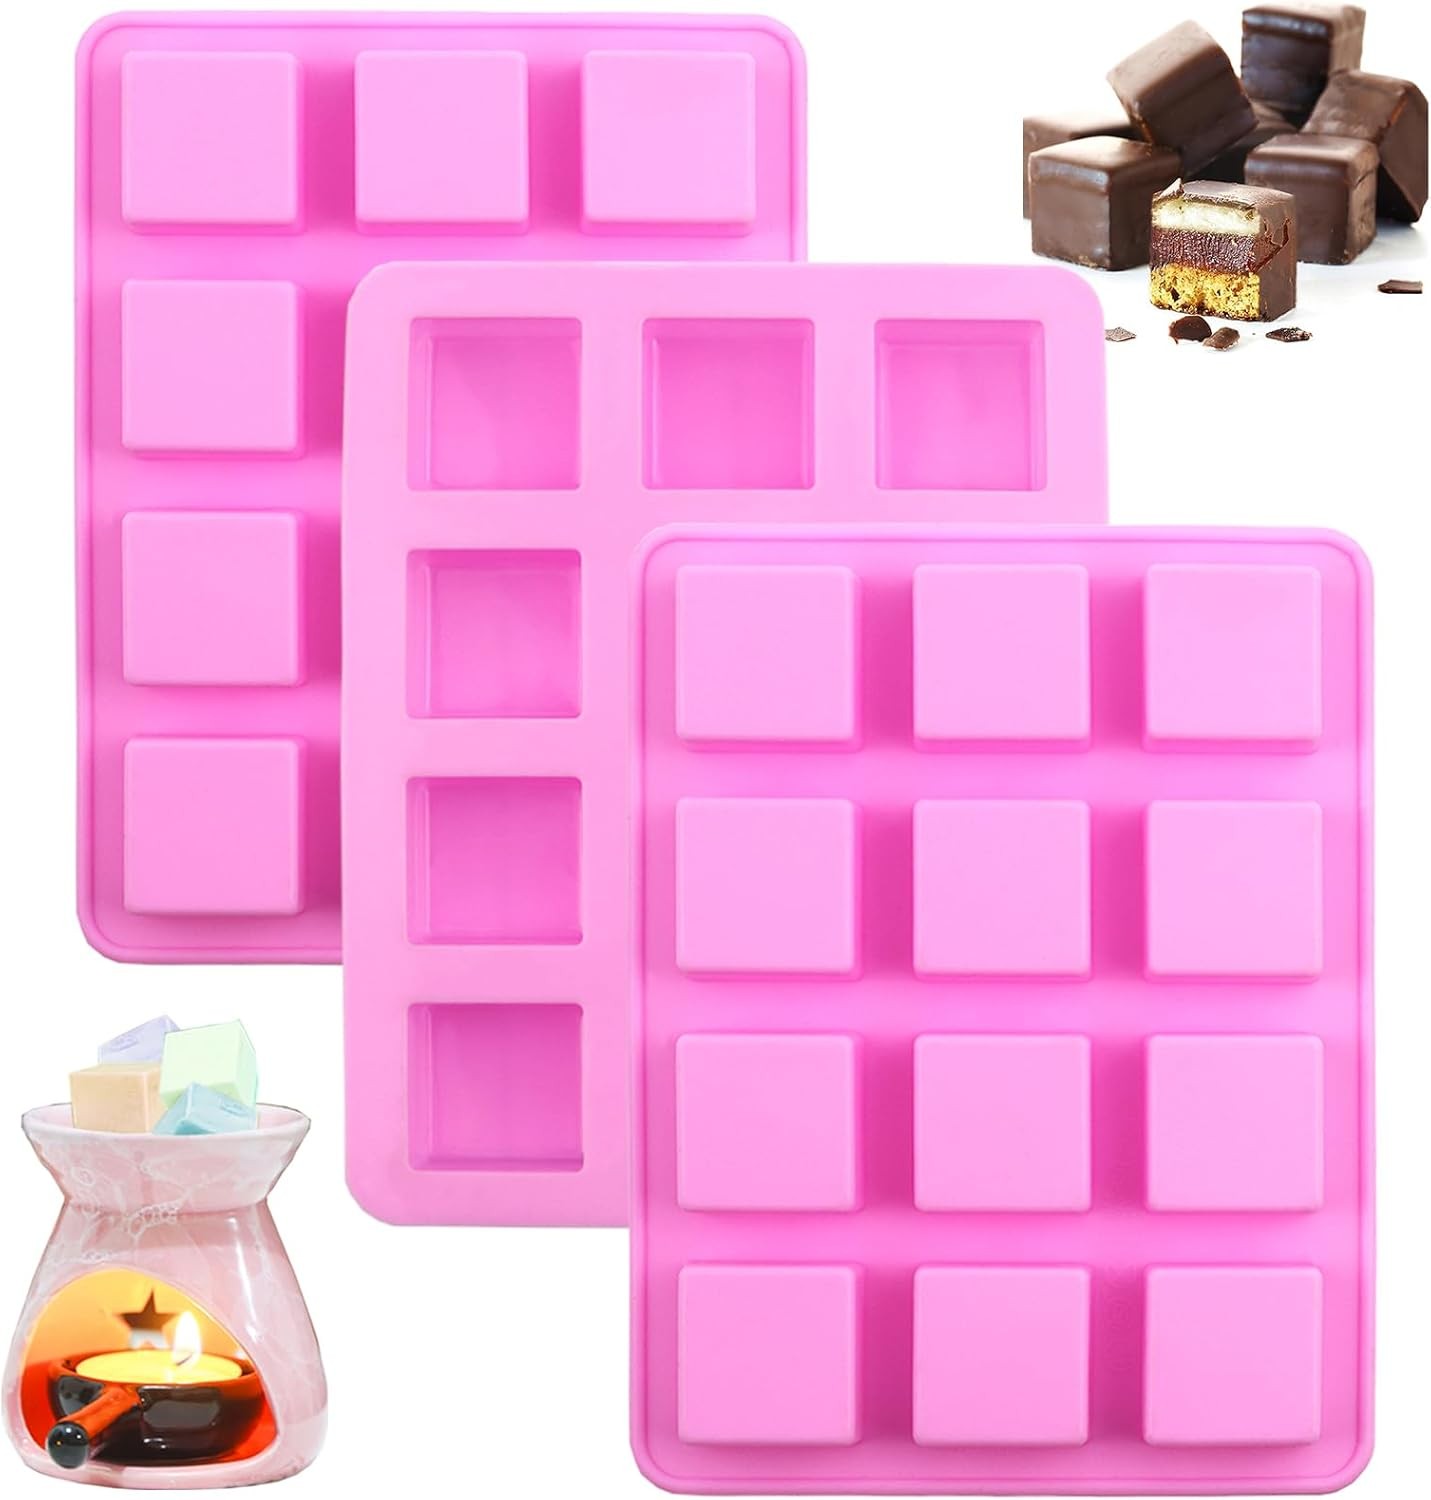
You’ll also need silicone molds, which are reusable and make removing your finished melts effortless. Essential oils or high-quality fragrance oils will provide your signature scent, while natural colorants like mica powder or dried flowers can add visual appeal without compromising the eco-friendly nature of your project.
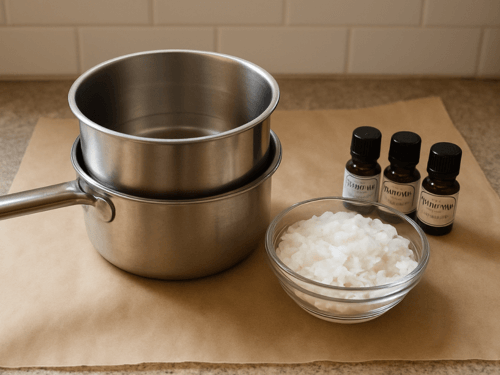
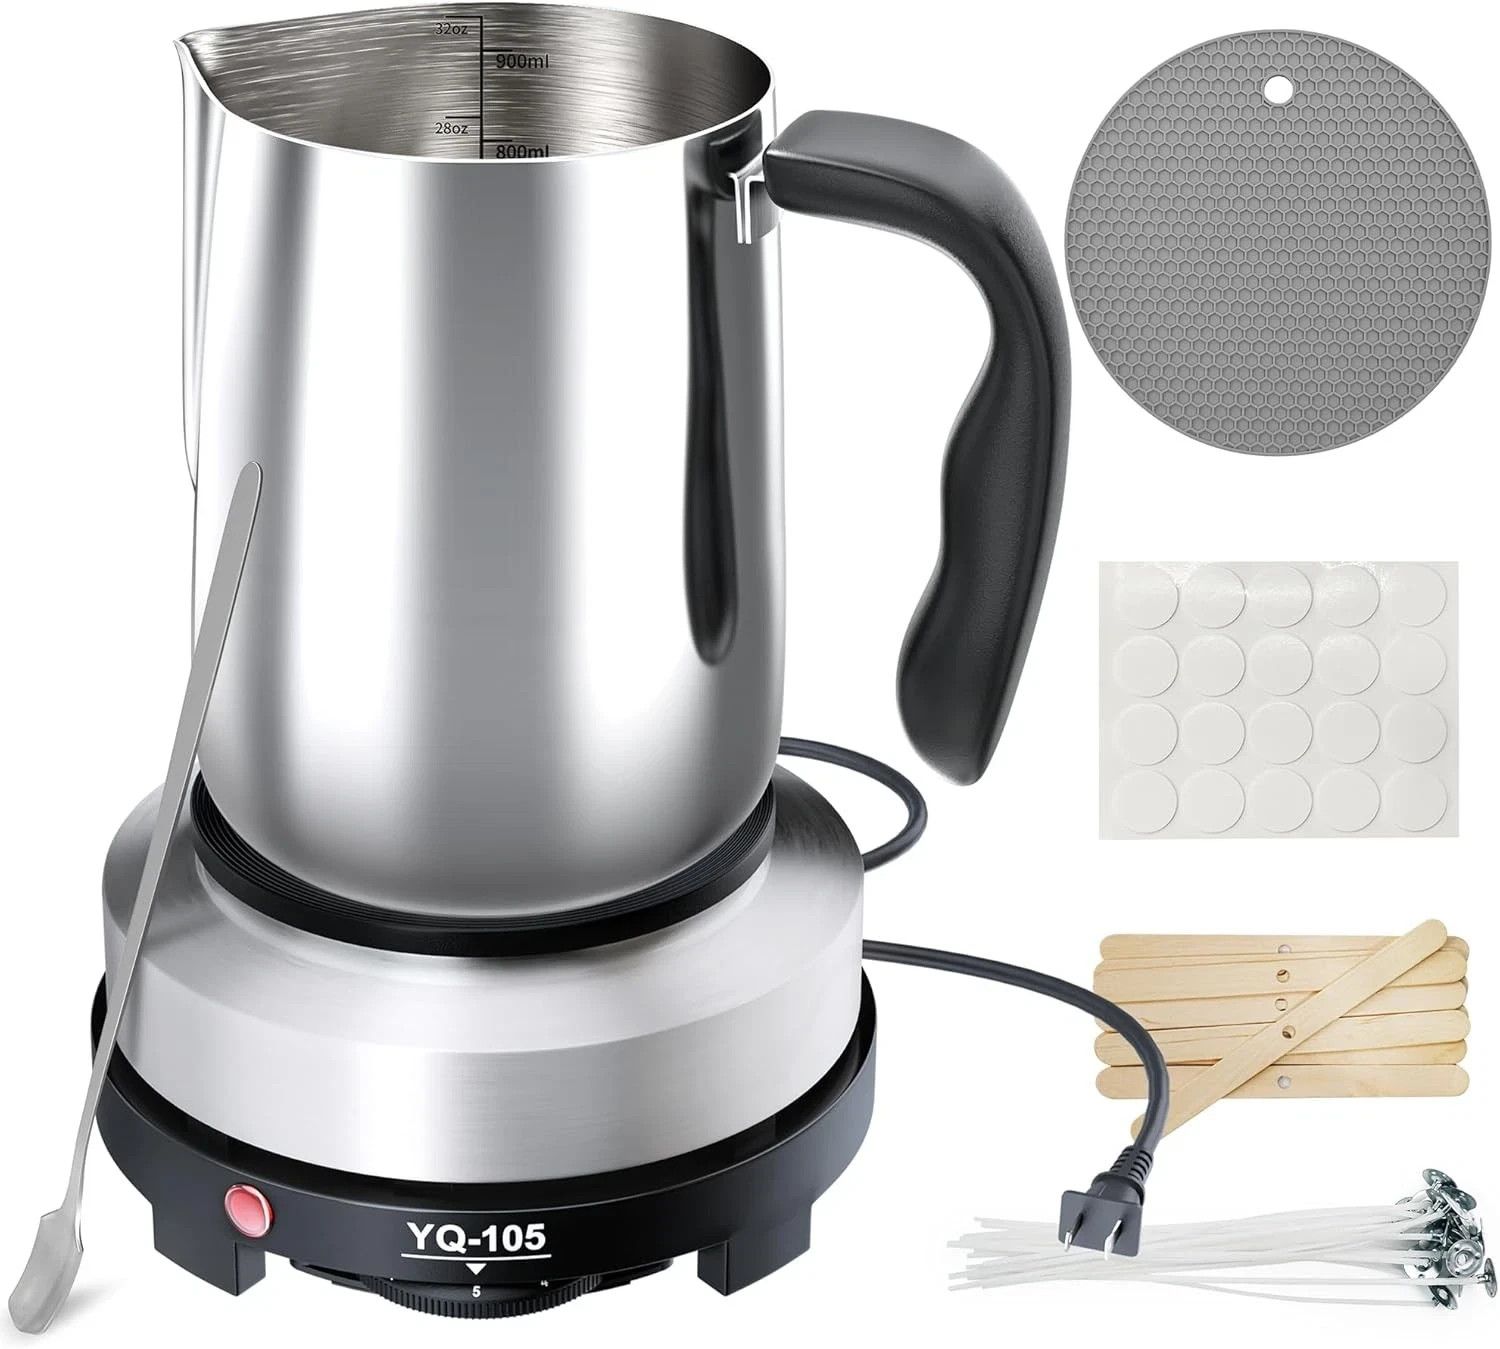
A double boiler setup is crucial for melting your wax safely and evenly. If you don’t have one, a heat-safe bowl placed over a pot of simmering water works perfectly. Finally, keep some wooden stirring sticks on hand – they’re natural, disposable, and won’t scratch your equipment.
Step-by-Step Guide to Creating Your First Batch
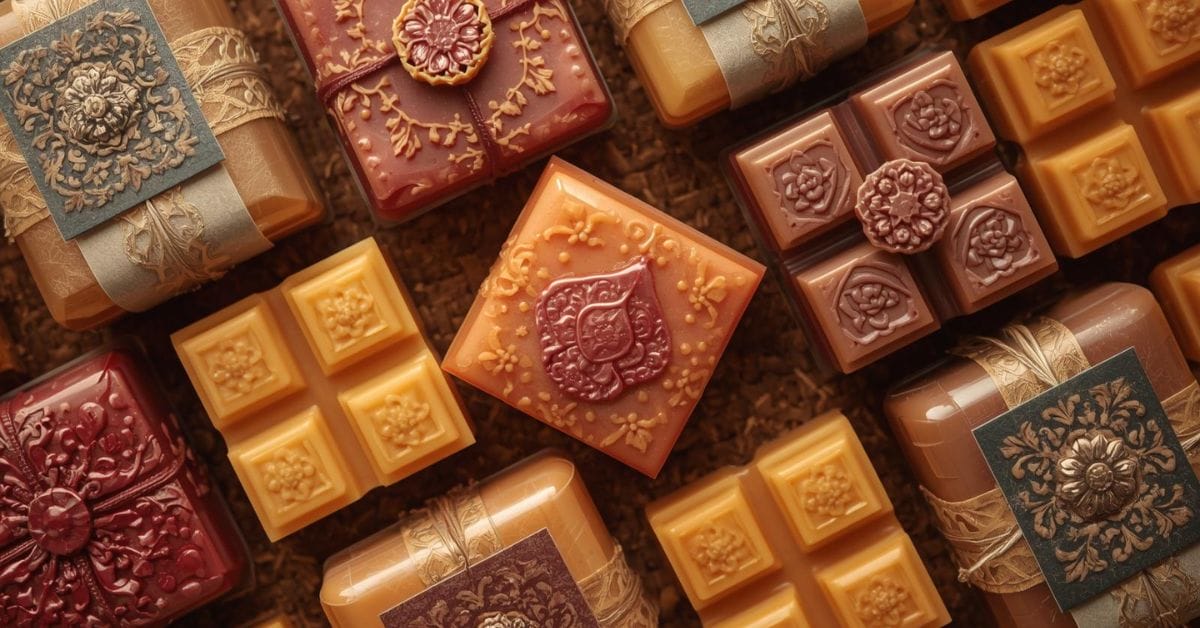
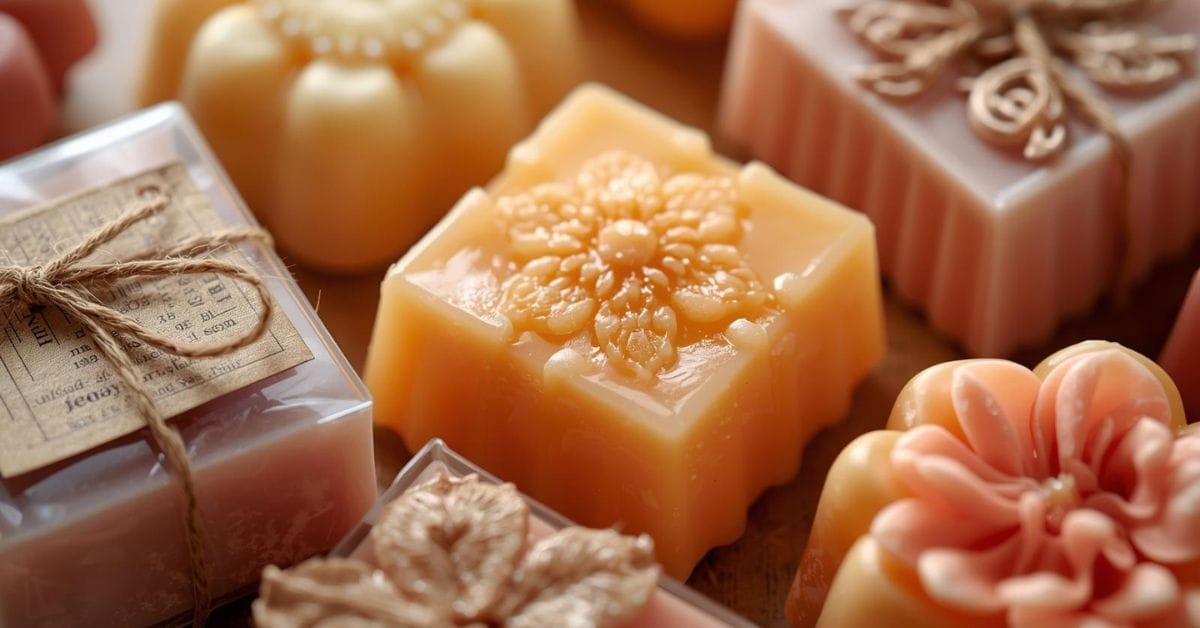
Eco-Friendly DIY Wax Melts
Ingredients
- 200 g Soy Wax Flakes
 16 g Essential oil (see notes)
Equipment
Method
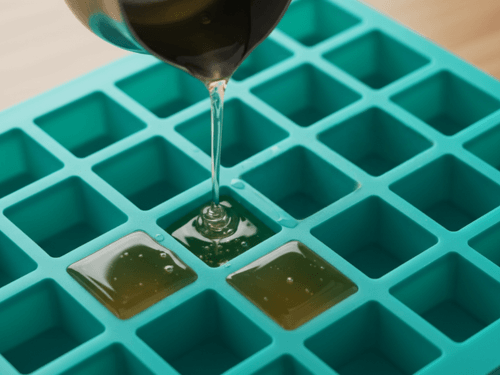
- Cover your counter or bench space with baking paper, news paper or an old tray. Set molds on a flat board so you can move them without spilling.
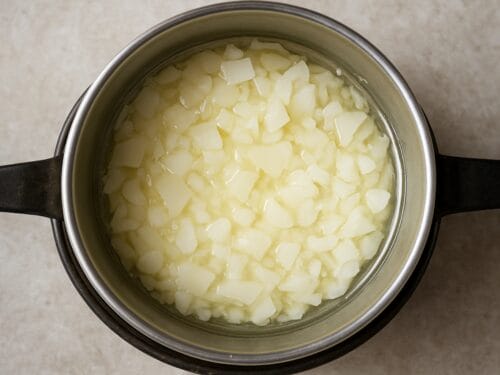
- Weigh your wax and place in the clean double boiler. Heat until the wax is fully melted, stirring occasionally . Use your thermometer. It only needs to get to 80 to 85 degrees (it doesn't need to boil)
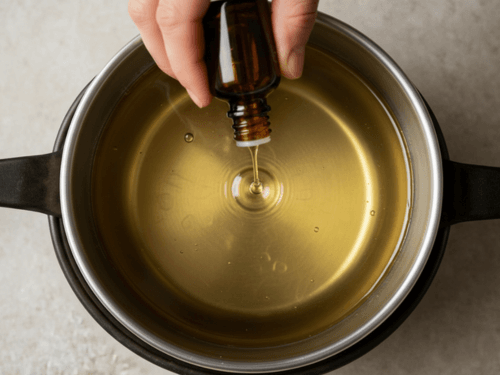
- Cool melted wax to about 60–65°C (this is the rule of thumb for soy). Cooling helps the fragrance bind and reduces evaporation. While the wax cools weigh your essential oil (12–16 g for 200 g wax). Once cooled to desired temperature add your weighed fragrance to the wax and stir slowly for 60–90 seconds. Stir the mix slowly as this produces fewer air bubbles. The amount of time helps ensure consistent fragrance.
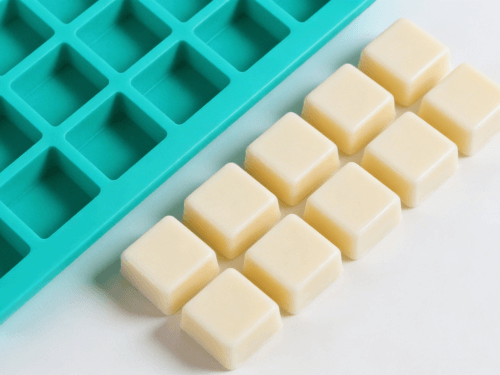
- Pour carefully into each of the silicon mold cavities. Once poured gently tap around the sides of the mold lightly to release any bubbles. Leave your wax melts at room temp until they are solid (usually 1–3 hours).
- Once the melts have set pop them out, place them in an airtight container and “cure” in a cool, dark, and dry place to achieve the best scent throw. 24–48 hours is the minimum but if you can resist 7–14 days provides for a stronger, smoother burn. (see notes)
Notes
- You can substitute Soy Wax with Beeswax or Coconut wax
-
Essential oils should be measured by weight (grams), not drops.
Drops vary massively depending on:- Oil thickness
- Dropper type
- Temperature
- Brand
- Curing wax melts involves allowing them to sit undisturbed in a cool, dark, and dry place for 7 to 14 days (14 days for soy) to fully bind the fragrance oil with the wax, ensuring maximum, long-lasting scent throw.
- Gentle Calm Blend (based on 200g wax)
- 3 g Lavender
- 1.5 g Frankincense
- 0.5 g Roman Chamomile
- Bright Citrus Blend
- 2 g Sweet Orange
- 1.5 g Bergamot
- 1.5 g Lavender
- Grounding Focus Blend
- 2 g Frankincense
- 2 g Cedarwood
- 1 g Lavender
- Soft Spa Blend
- 2 g Lavender
- 1.5 g Geranium
- 1.5 g Frankincense
- Deep Evening Relax Blend
- 2.5 g Lavender
- 2 g Cedarwood
- 0.5 g Vetiver
Tried this recipe?
Let us know how it was!DIY Wax Melts Practical Tips
Shelf Life & Spoiling
Wax Melts with Fragrance oils:
- Stable for 1–2 years in melts
With Essential oils:
- Best used within 12 months
- Store melts in airtight glass jar away from sunlight
They won’t “spoil” — but scent can fade.
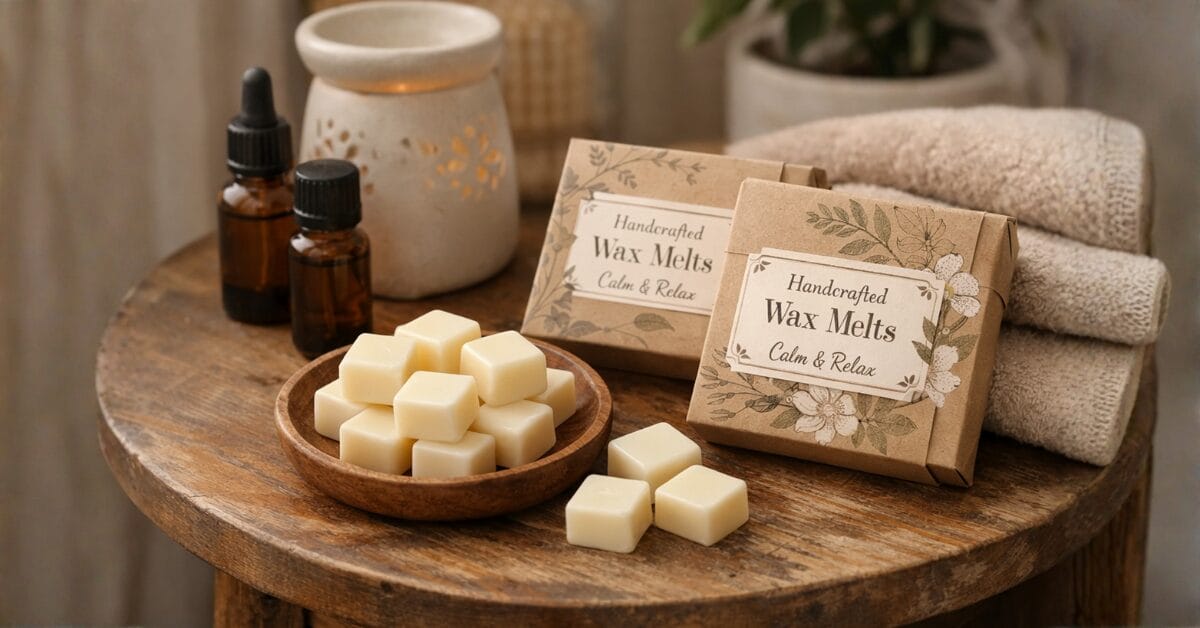
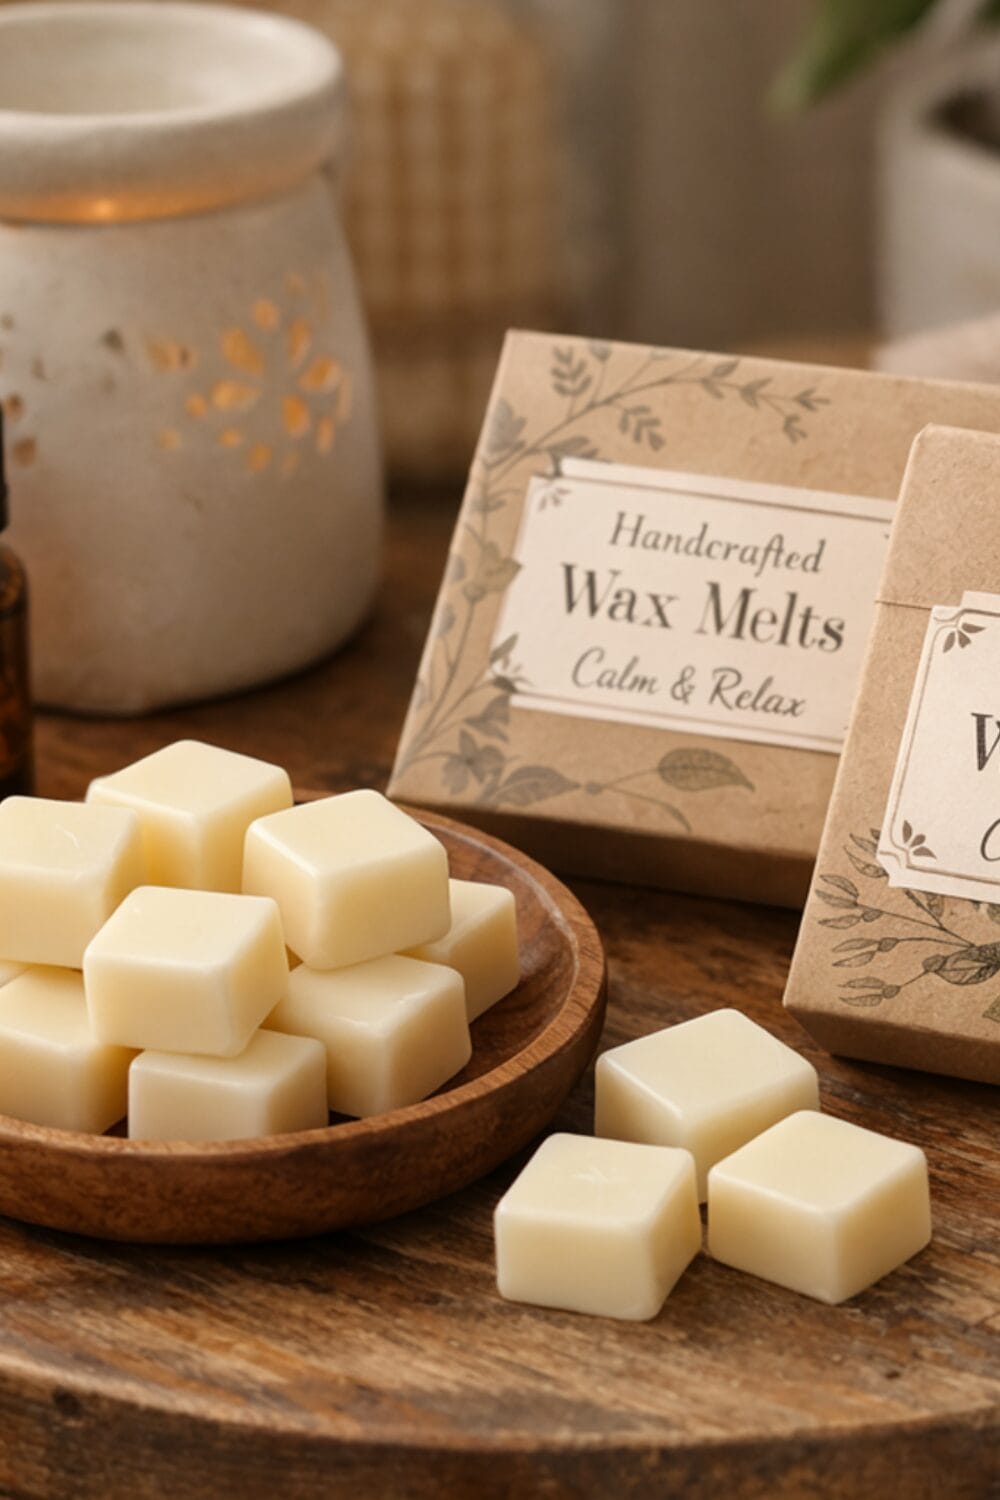
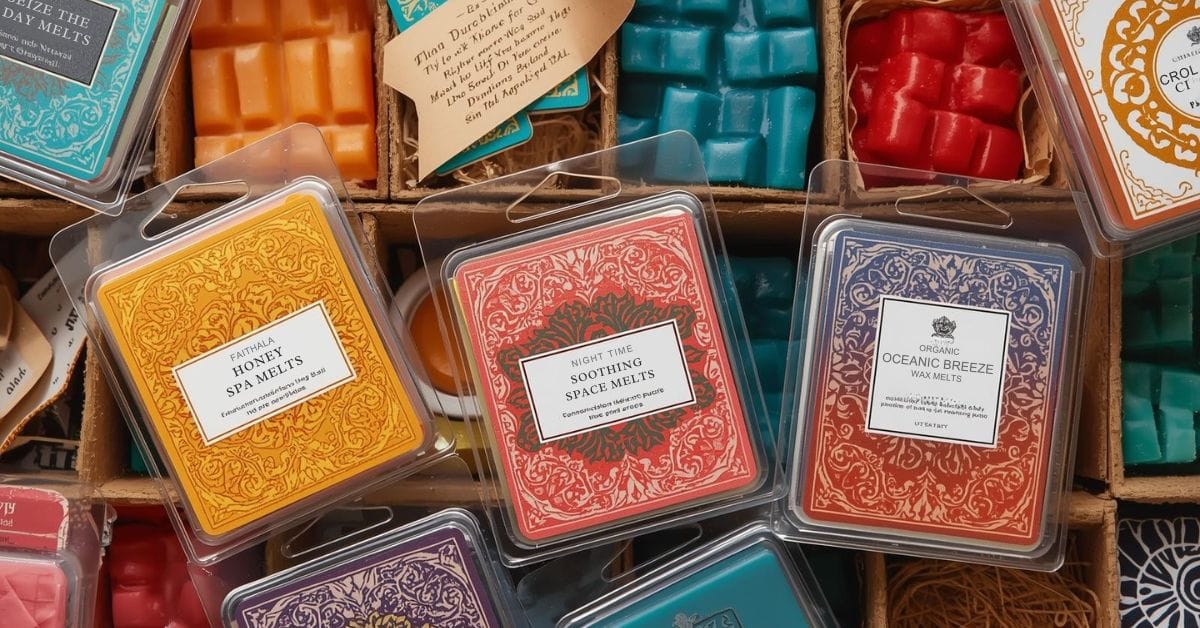
Eco Packaging Ideas
- Kraft paper boxes
- Recycled cardboard clamshells
- Glass jars with paper labels
- Compostable cellophane bags
Avoid plastic blister packs.
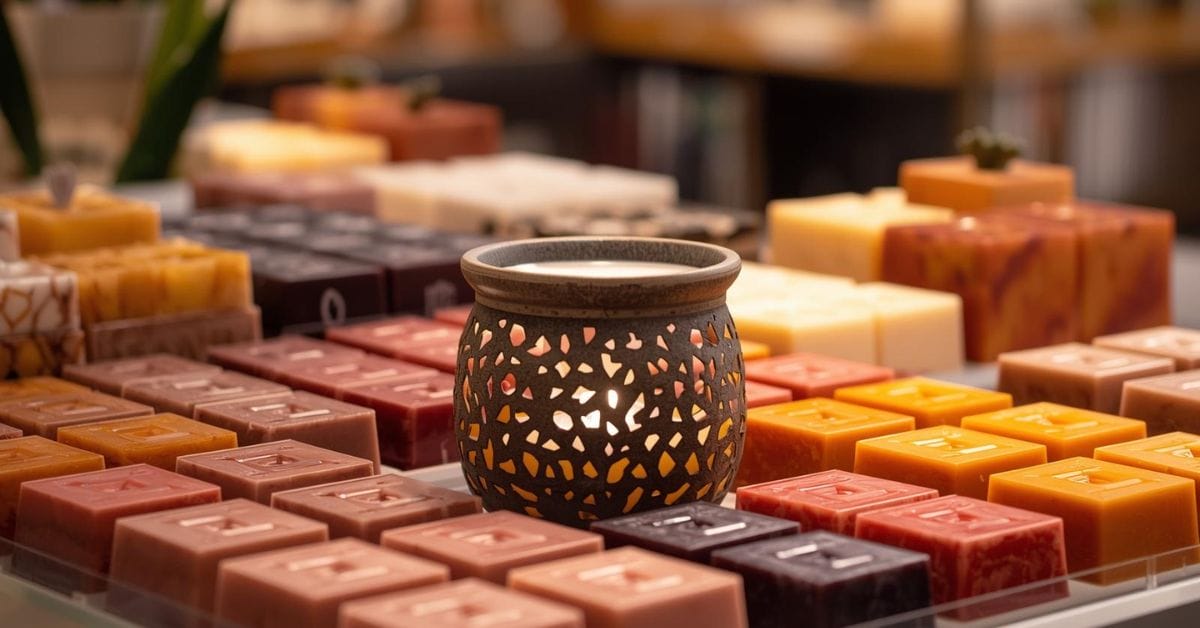
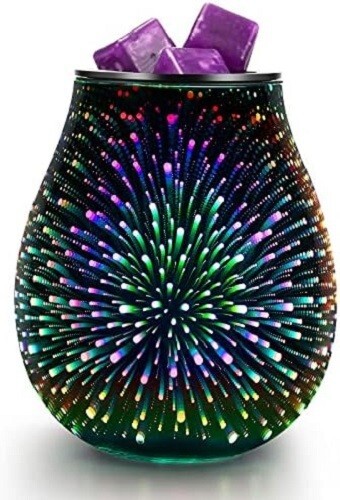
Using with Ceramic Electric Warmers
- Use 1 cube at a time.
- Don’t mix old and new wax.
- Turn off after 3–4 hours.
- Replace wax once scent fades.


Best Natural Wax Options for Sustainable Melts
Choosing the right wax is perhaps the most important decision you’ll make in your wax melt journey. Each natural wax option offers unique benefits, and understanding these differences will help you create the perfect melts for your needs.
Soy wax remains the most popular choice among eco-conscious crafters, and for good reason. It’s affordable, widely available, and offers excellent scent throw. Soy wax burns at a lower temperature than paraffin, making it safer to use around children and pets. It also has a longer burn time, meaning your melts will last longer and provide better value.
Beeswax brings its own special qualities to the table. This natural wax actually purifies the air as it burns, releasing negative ions that neutralize pollutants. It has a naturally sweet honey scent that pairs beautifully with floral or vanilla fragrances. However, beeswax can be more expensive and has a harder texture that some find challenging to work with initially.
Coconut wax is the premium option that’s gaining popularity among serious wax melt enthusiasts. It offers superior scent throw, meaning your fragrances will fill larger spaces more effectively. Coconut wax also has an exceptionally clean burn and a beautiful white color that showcases added colorants perfectly. While it’s the most expensive option, many crafters find the results worth the investment.
Eco-Friendly Scenting Options and Fragrance Combinations
The fragrance component of your wax melts is where creativity truly shines. Moving away from synthetic fragrances doesn’t mean sacrificing scent quality – in fact, natural options often provide more complex and satisfying aromas.
Essential oils are the most natural choice for scenting your melts. Lavender essential oil creates a calming atmosphere perfect for bedrooms, while peppermint energizes and refreshes common areas. Citrus oils like sweet orange or lemon provide an uplifting scent that’s perfect for kitchens and bathrooms.
Don’t be afraid to experiment with blending different essential oils. Some of my favorite combinations include lavender and vanilla for a relaxing evening scent, or eucalyptus and lemon for an invigorating morning fragrance. Tea tree oil mixed with lavender creates a naturally antimicrobial blend that’s perfect for cleaning day.
For those who prefer stronger scents, look for phthalate-free fragrance oils made from natural sources. These oils often provide better scent throw than essential oils while still maintaining eco-friendly credentials. Many suppliers now offer fragrance oils specifically formulated for natural waxes, ensuring optimal performance in your homemade melts.


Essential Oil Weight to Drop Conversion
Remember the best way to add essential oils is by weight not drops. However there are times when you either don’t have scales on hand or you are making with a small amount of wax. So below are some conversions that will ensure if you use the dropper you will produce safe Wax Melts.
Step 1: Safe Essential Oil % for DIY Wax Melts
These weights are based on homes with kids and/or pets
A safe weight is a 2–3% essential oil load (maximum)
For a 12 g wax melt:
🔹 At 2%
12 g × 0.02 = 0.24 g essential oil
200 g x 0.02 = 4 g essential oil
🔹 At 3%
12 g × 0.03 = 0.36 g essential oil
200g wax x 0.03 = 6g essential oils
So each 12 g melt should contain: 0.24–0.36 grams of essential oil
For 200g wax add between 4 to 6 grams of essential oils
Step 2: Convert Grams to Drops (Approximate Only)
Most essential oils average:
1 gram ≈ 20–25 drops (This varies, but it’s a useful working estimate.)
🔹 0.24 g (2%) ≈ 5–6 drops
🔹 0.36 g (3%) ≈ 7–9 drops


Storage and Usage Tips for Maximum Longevity
Proper storage and usage techniques can significantly extend the life of your homemade wax melts while ensuring they continue to provide excellent fragrance throw throughout their lifespan.
Store your finished melts in airtight containers away from direct sunlight and heat sources. Glass jars with tight-fitting lids work wonderfully, as do food-grade plastic containers. Proper storage prevents the fragrance oils from evaporating and protects the wax from absorbing unwanted odors from the environment.
When using your melts, start with just one or two pieces in your warmer, depending on the size of your room. You can always add more if needed, but starting with less allows you to gauge the appropriate amount for your space. Most DIY wax melts will provide fragrance for 8-12 hours of use, though this can vary based on the wax type and fragrance concentration.
To change scents, simply turn off your warmer and allow the wax to solidify. You can then pop out the used wax and replace it with a new fragrance. Used wax can often be remelted and used again, though the scent will be weaker. Alternatively, you can compost soy or beeswax melts, as they’re completely biodegradable.
Cost Analysis: DIY vs Store-Bought Wax Melts
One of the most compelling reasons to make your own wax melts is the significant cost savings compared to purchasing commercial alternatives. Let me break down the numbers to show you just how much you can save.
A typical package of store-bought wax melts costs between $3-8 and contains about 2.5 ounces of wax. Premium or organic options can cost even more. In contrast, making your own melts costs approximately $0.50-1.00 per ounce, depending on your choice of wax and fragrance oils.
The initial investment in supplies might seem significant – a starter kit with wax, molds, and fragrance oils typically costs $50-75. However, this investment pays for itself quickly. With these supplies, you can create 50-100 individual wax melts, equivalent to 20-40 packages of store-bought alternatives.
Beyond the direct cost savings, consider the value of customization. When you make your own melts, you can create unique scent combinations that aren’t available commercially. You’re also investing in reusable molds and equipment that will serve you for years to come.


Environmental Impact and Sustainability Benefits
The environmental benefits of DIY wax melts extend far beyond simply avoiding paraffin wax. Every aspect of the homemade process contributes to a more sustainable lifestyle.
Commercial candle and wax melt production involves significant packaging waste, from plastic containers to cardboard boxes and cellophane wrapping. When you make your own melts, you eliminate this packaging entirely, storing your products in reusable containers that can last for years.
Transportation emissions are another hidden cost of commercial products. Your homemade melts have zero transportation footprint, as all ingredients are sourced once and used multiple times. This reduction in shipping and handling contributes to lower overall carbon emissions.
The biodegradable nature of natural waxes means your melts won’t contribute to landfill waste. Soy and beeswax can be composted, while coconut wax breaks down naturally in the environment. Even your fragrance choices can support sustainability when you choose essential oils over synthetic alternatives.
Perhaps most importantly, making your own wax melts connects you with the products you use daily. This mindful consumption naturally leads to using less while appreciating more, a fundamental principle of sustainable living.


Frequently Asked Questions
How long do homemade wax melts last compared to store-bought ones?
Homemade wax melts typically last 8-12 hours of burn time, which is comparable to or longer than most commercial alternatives. The exact duration depends on your choice of wax, fragrance concentration, and the size of your melts. Natural waxes often provide longer-lasting scents than paraffin-based commercial melts.
Can I use any essential oil in my wax melts?
While most essential oils work well in wax melts, some are better suited than others. Citrus oils have excellent scent throw, while floral oils like lavender and geranium blend beautifully with natural waxes. Avoid using oils that are photosensitive or skin-irritating in high concentrations, and always research proper dilution rates for each oil.
What’s the best wax for beginners?
Soy wax is ideal for beginners because it’s forgiving, affordable, and easy to work with. It has a lower melting point than other waxes, making it safer to handle, and it releases from molds easily. Soy wax also holds fragrance well and produces minimal soot when melted.
How much fragrance oil should I use per pound of wax?
The general rule is 6-10% fragrance oil by weight. For one pound of wax, use 1-1.5 ounces of fragrance oil. Start with the lower amount and increase if you want a stronger scent. Using too much fragrance oil can actually decrease scent throw and affect the wax’s ability to set properly.
Can I reuse old candle wax to make new melts?
Yes, you can repurpose old candle wax, but there are some considerations. Remove any wick material and debris first. Keep in mind that previously burned wax may have reduced fragrance capacity and could contain impurities that affect the quality of your new melts. It’s best to mix old wax with fresh wax for optimal results.
Do I need special equipment to make wax melts?
The basic equipment needed is quite simple: a double boiler or makeshift version, silicone molds, wooden stirring sticks, and a thermometer. You likely already have most of these items in your kitchen. As you become more experienced, you might invest in specialized equipment, but it’s not necessary for getting started.
Making your own eco-friendly wax melts is more than just a crafting hobby – it’s a step toward a more sustainable and mindful lifestyle. By choosing natural ingredients, reducing packaging waste, and creating custom fragrances that perfectly suit your preferences, you’re making a positive impact on both your home environment and the planet. The process is surprisingly simple, incredibly rewarding, and offers significant cost savings over commercial alternatives. Whether you’re motivated by environmental concerns, health considerations, or simply the joy of creating something beautiful with your own hands, DIY wax melts offer the perfect solution for eco-conscious home fragrance enthusiasts.


References
- 1Candles, Wikipedia https://en.wikipedia.org/wiki/Candle