- What Makes Buckwheat Pillows So Special?
- Essential Materials for Your DIY Buckwheat Relaxation Pillows
- DIY Buckwheat Relaxation Pillows
- Step-by-Step Guide to Crafting Your DIY Buckwheat Relaxation Pillows
- Customizing Your Pillow for Maximum Comfort
- Caring for Your DIY Buckwheat Relaxation Pillow
- Troubleshooting Common Issues
- The Health Benefits of Buckwheat Relaxation Pillows
- Creative Variations and Additional Projects
- Conclusion
- Frequently Asked Questions
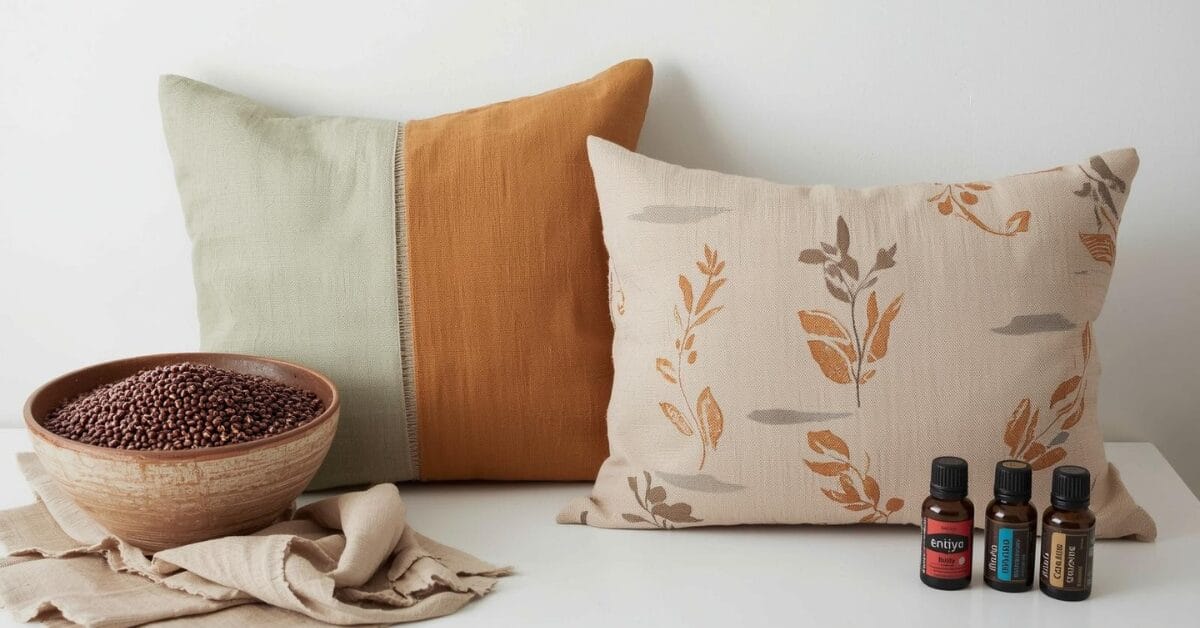
In our fast-paced world, finding moments of tranquility has become a precious, yet rare, luxury. While expensive spa treatments and meditation retreats promise relaxation, there’s a simple, affordable solution you can create right in your own home: DIY buckwheat relaxation pillows. These therapeutic cushions have been used for centuries, particularly in Japanese culture, where they’re known as “sobakawa” pillows. Today, I’ll share the secrets to crafting your own buckwheat pillows that will transform your relaxation routine and help you achieve deeper, more restorative rest.
What Makes Buckwheat Pillows So Special?
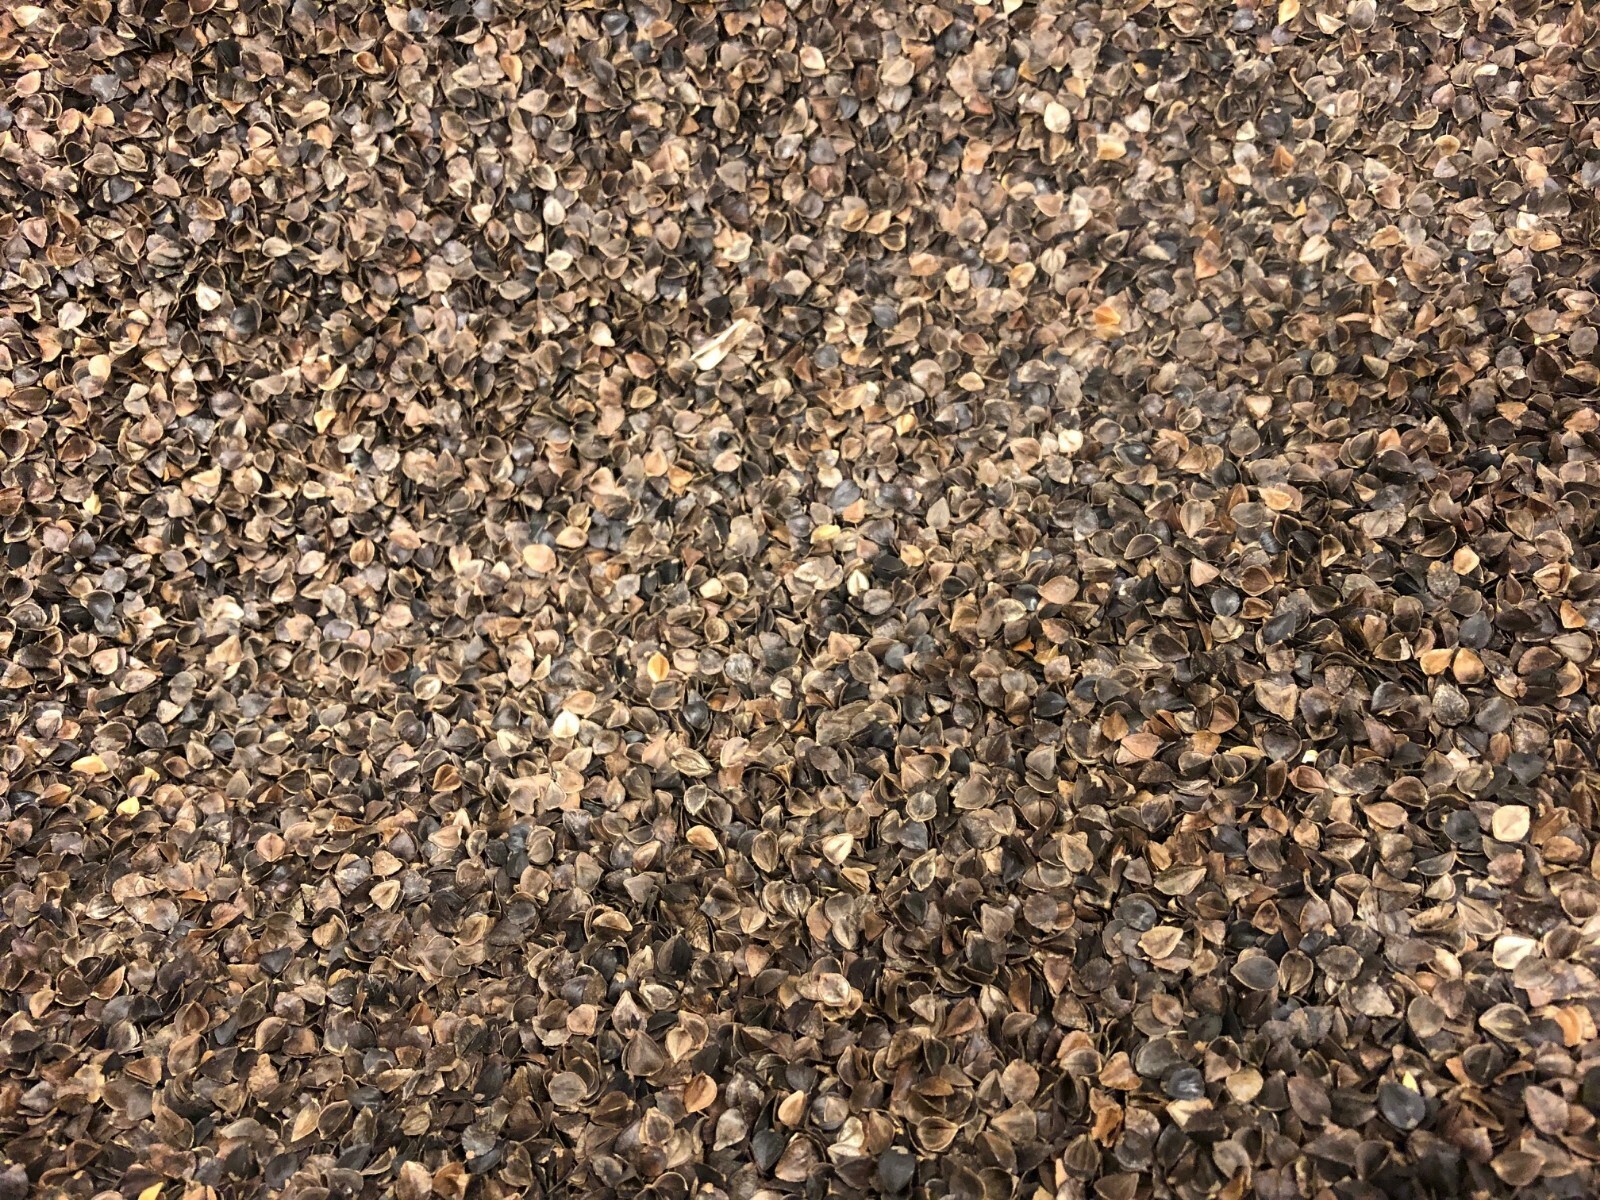
Before starting the creation process, let’s understand why buckwheat hulls make exceptional pillow filling. Unlike traditional synthetic materials or down, buckwheat hulls offer unique properties that have made them a favorite among wellness enthusiasts for generations.
Buckwheat hulls are the outer shells of buckwheat seeds, and they possess remarkable characteristics that contribute to superior comfort. These hulls naturally conform to the shape of your head and neck, providing customized support that adjusts as you move. The triangular shape of each hull creates tiny air pockets that promote excellent airflow, keeping you cool throughout the night.
What truly sets buckwheat apart is its ability to maintain consistent support without flattening over time. Unlike memory foam that can become compressed or feathers that clump together, buckwheat hulls retain their shape and supportive qualities for years with proper care.
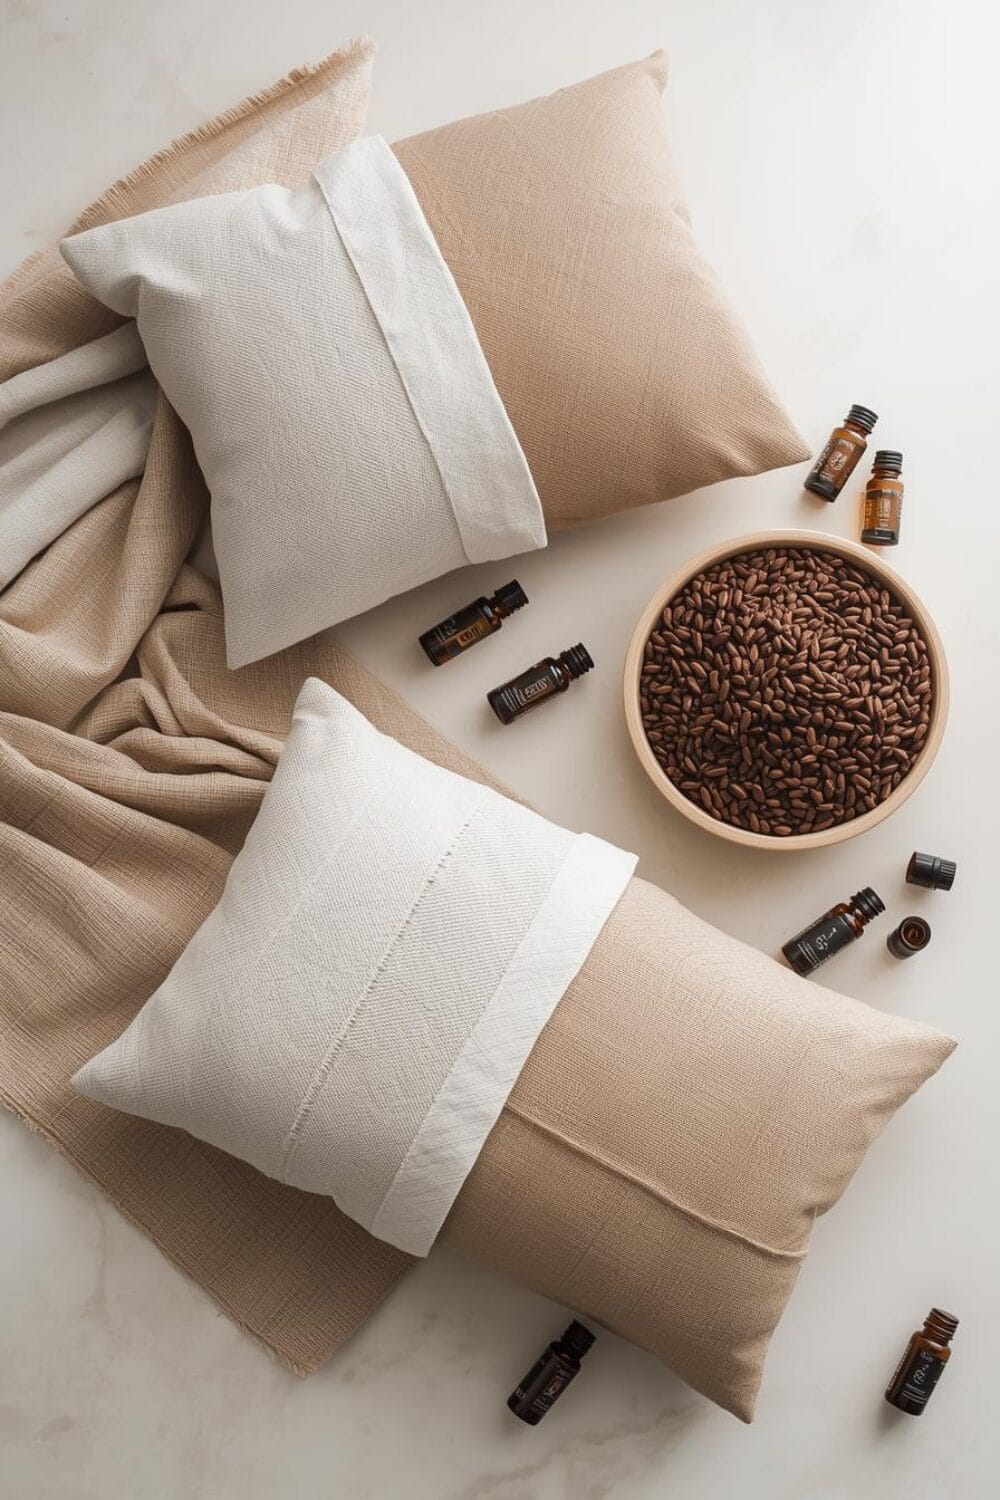
Essential Materials for Your DIY Buckwheat Relaxation Pillows
Creating your own buckwheat pillow requires surprisingly few materials, most of which you might already have at home. The key to success lies in choosing quality components that will ensure your pillow’s longevity and effectiveness.
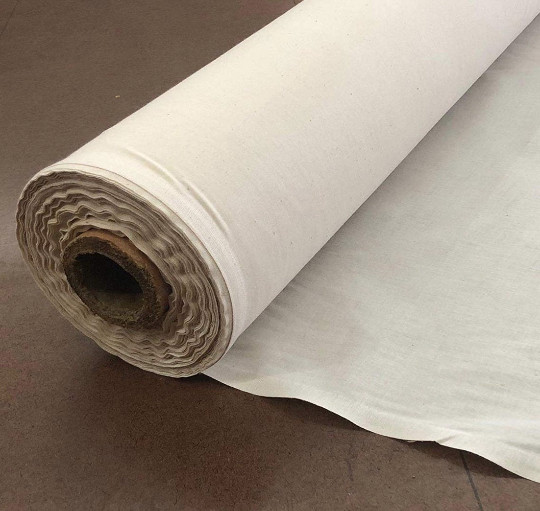
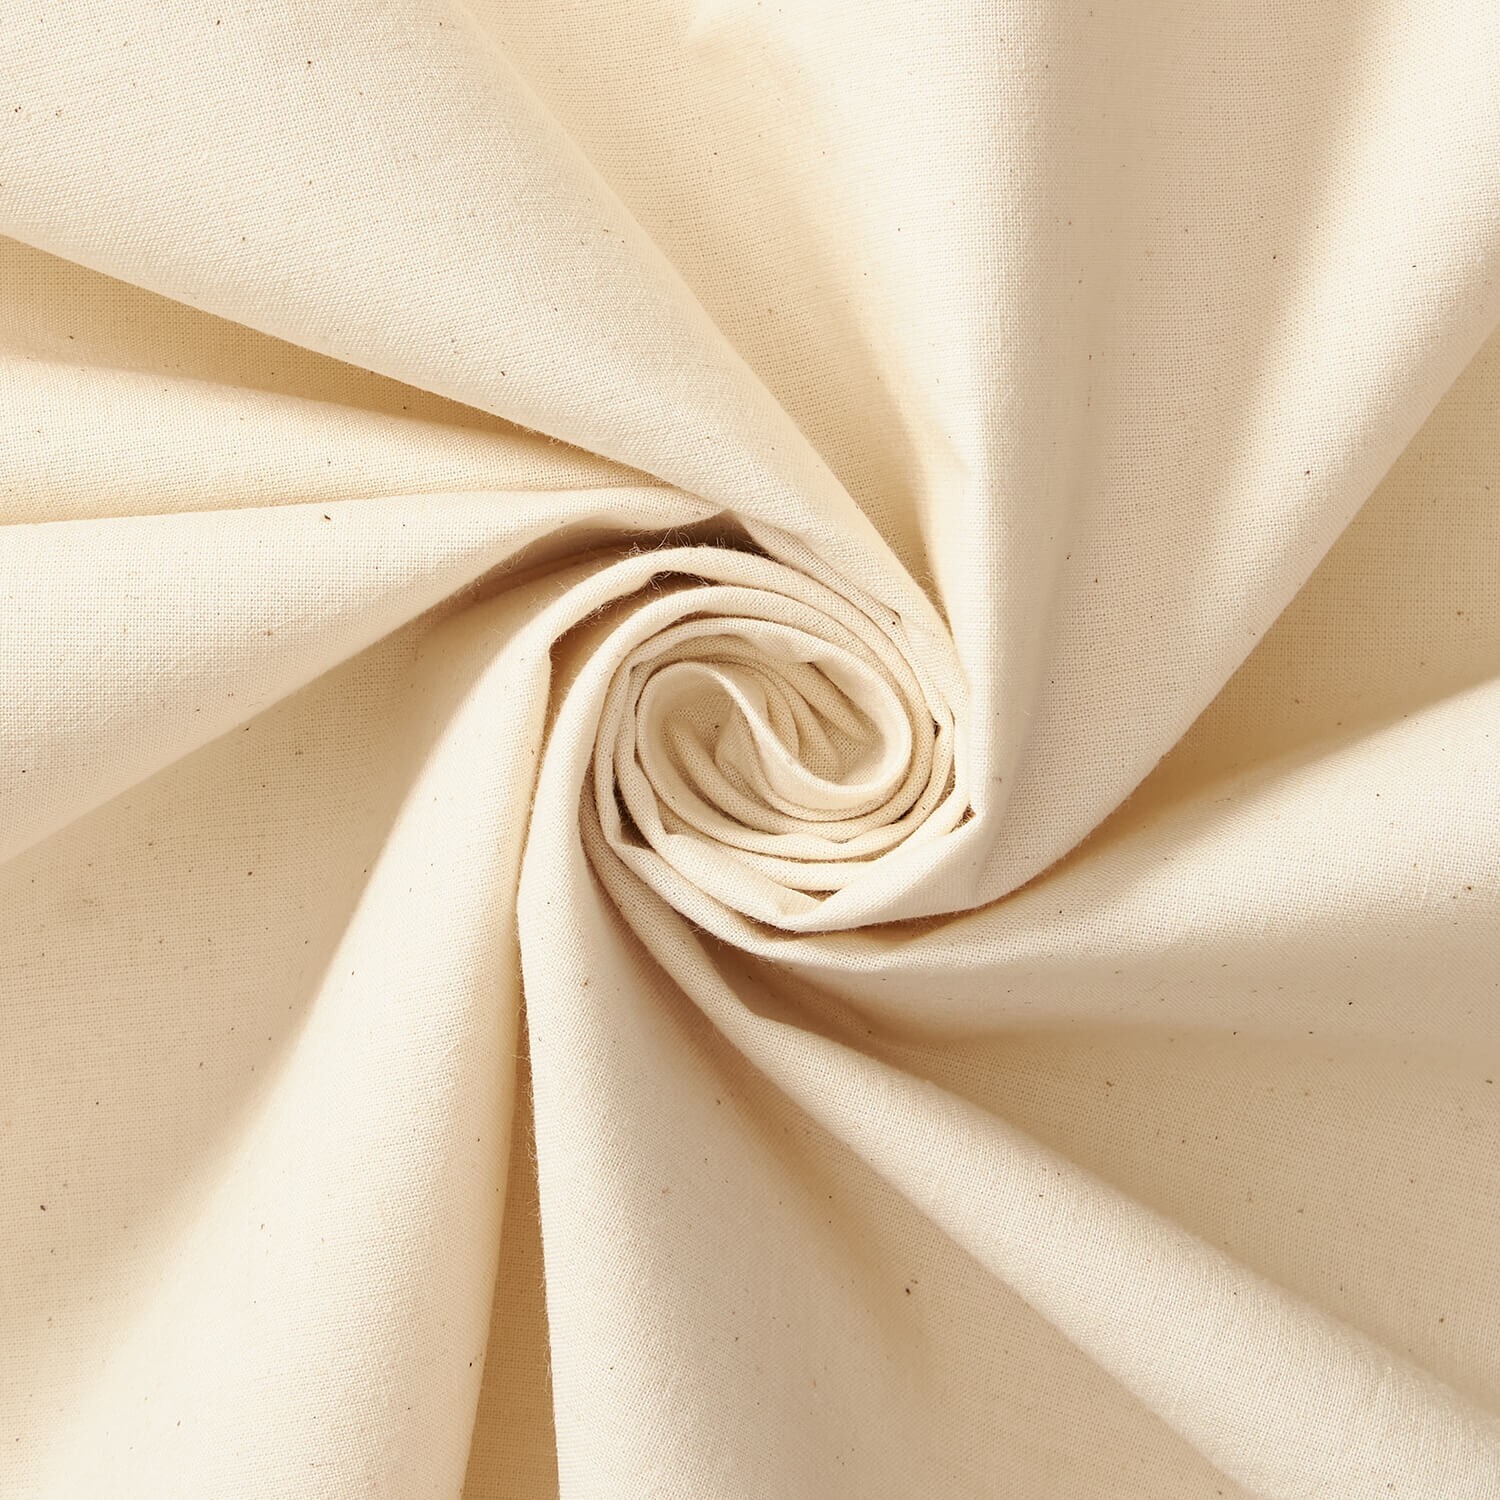
For the pillow cover, you’ll need a tightly woven cotton fabric. Organic cotton works wonderfully, but any high-quality cotton with a thread count of at least 200 will suffice. The tight weave prevents the small hulls from escaping while allowing air to circulate freely. You’ll need approximately one yard of fabric for a standard-sized pillow.
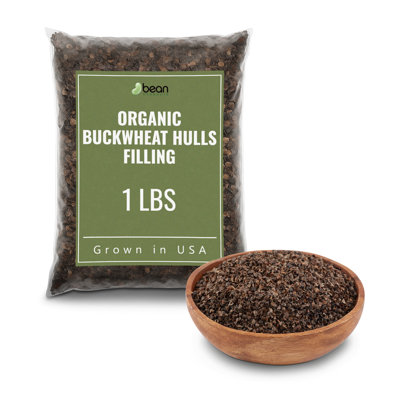
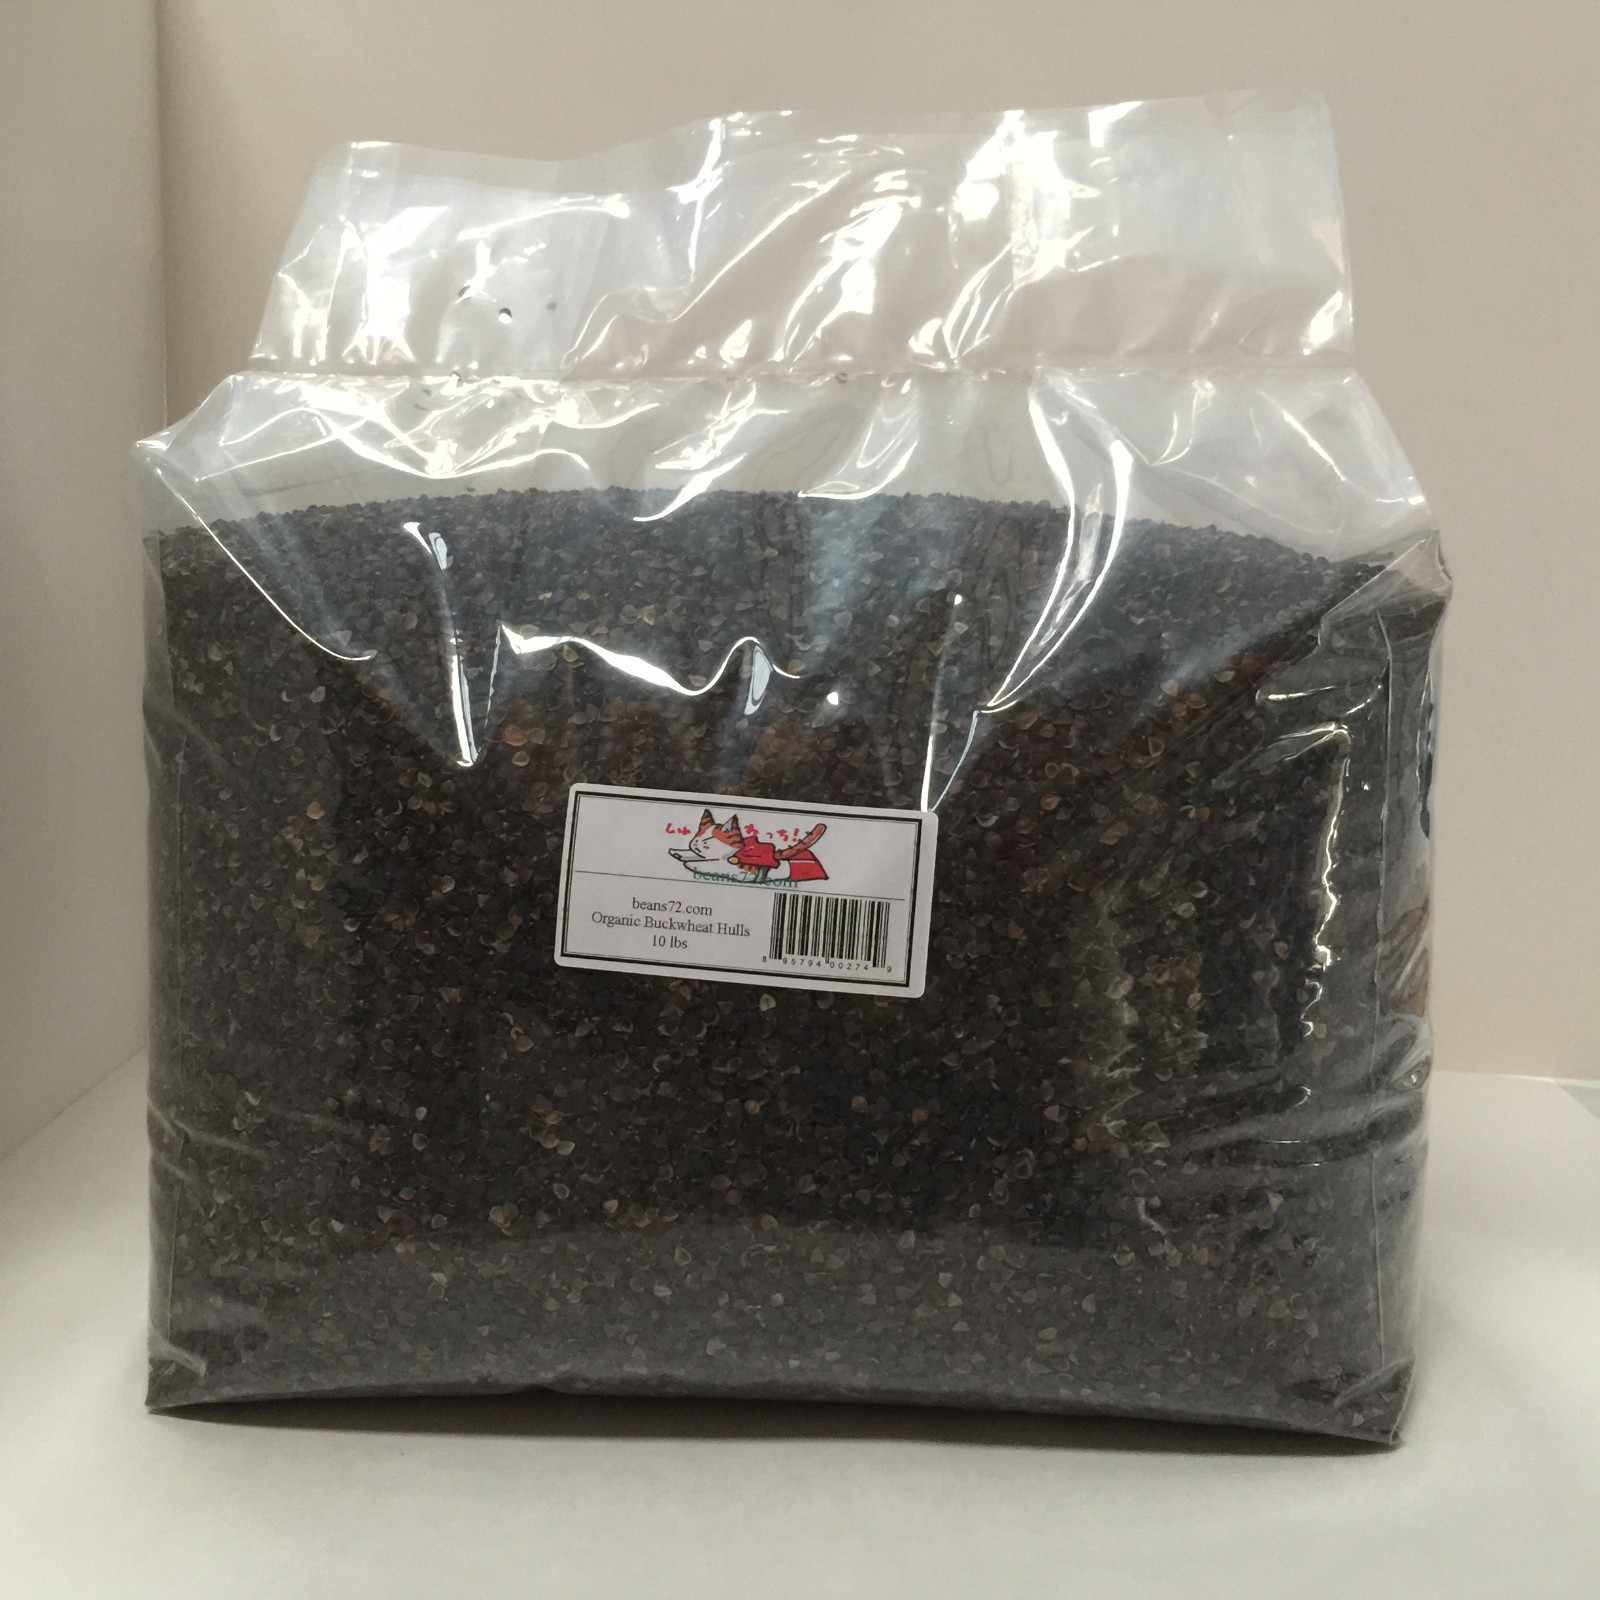
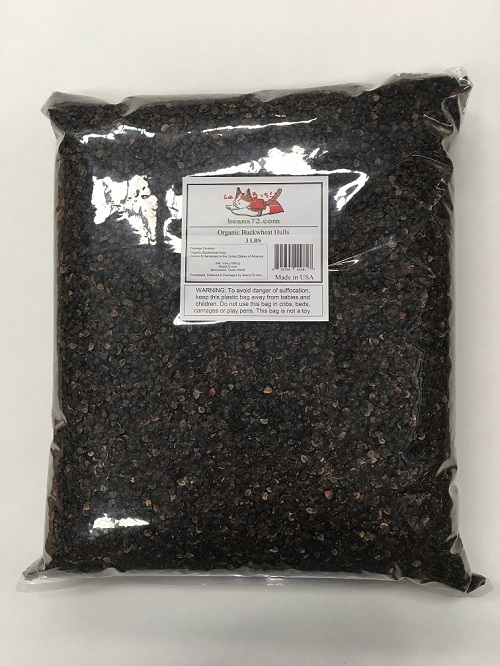
The star ingredient, of course, is the buckwheat hulls themselves. You’ll need about 5-7 pounds of hulls for a standard pillow, though this can vary based on your firmness preference. Always source your buckwheat hulls from reputable suppliers who offer clean, dust-free hulls. Some suppliers even offer organic options for those who prefer chemical-free materials.
Don’t forget the basic sewing supplies: thread that matches your fabric, a sewing machine or needle for hand-sewing, scissors, pins, and a measuring tape. If you’re planning to add a zipper closure, you’ll also need an appropriately sized zipper.
DIY Buckwheat Relaxation Pillows
Ingredients
Equipment
Method
- Choose Your Pillow Type
| Type | Size | Buckwheat Needed | | ————————- | ———– | —————- | | Eye Pillow | 20cm x 10cm | 200–250g | | Neck Roll | 35cm x 15cm | 800g–1kg | | Meditation Cushion (Zafu) | 35cm round | 2–3kg | Secret Tip #1: For ultimate comfort, design the inner insert slightly smaller than the outer cover. This creates softness while retaining structure.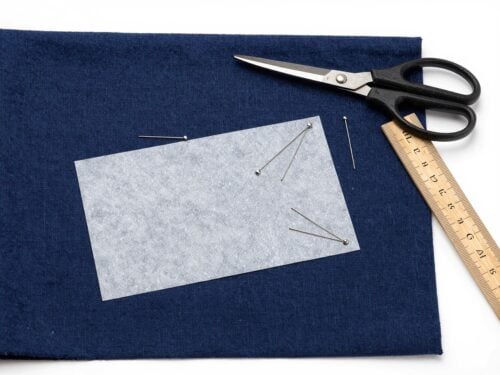
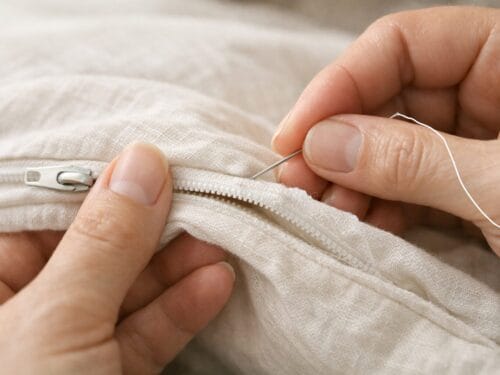
- Sew the Inner InsertCut two fabric pieces to your chosen size. Line up the fabric laying one on top of the other, sew three sides together. Sew your zipper into the final open side, making sure your zipper pull faces the inside of the bag. Turn the bag inside out for filling, so the stitching is on the inside.Secret Tip #2: Add a double-stitched seam. Buckwheat hulls are strong and angular — weak seams will split over time.1 yard Unbleached muslin cotton, 1 piece Zipper
- Fill with Buckwheat HullsUse a funnel and slowly pour hulls inside. Fill to 70–80% capacity. Leave room for movement.Secret Tip #3 (The “Perfect Mold” Rule): Less is more. Overfilling makes the pillow rigid. A slightly underfilled pillow molds better and feels luxurious.Secret Tip #4 (Spa Upgrade): Mix 1–2 tablespoons dried lavender or chamomile into the hulls for calming aromatherapy.4.5 lb Organic buckwheat hulls

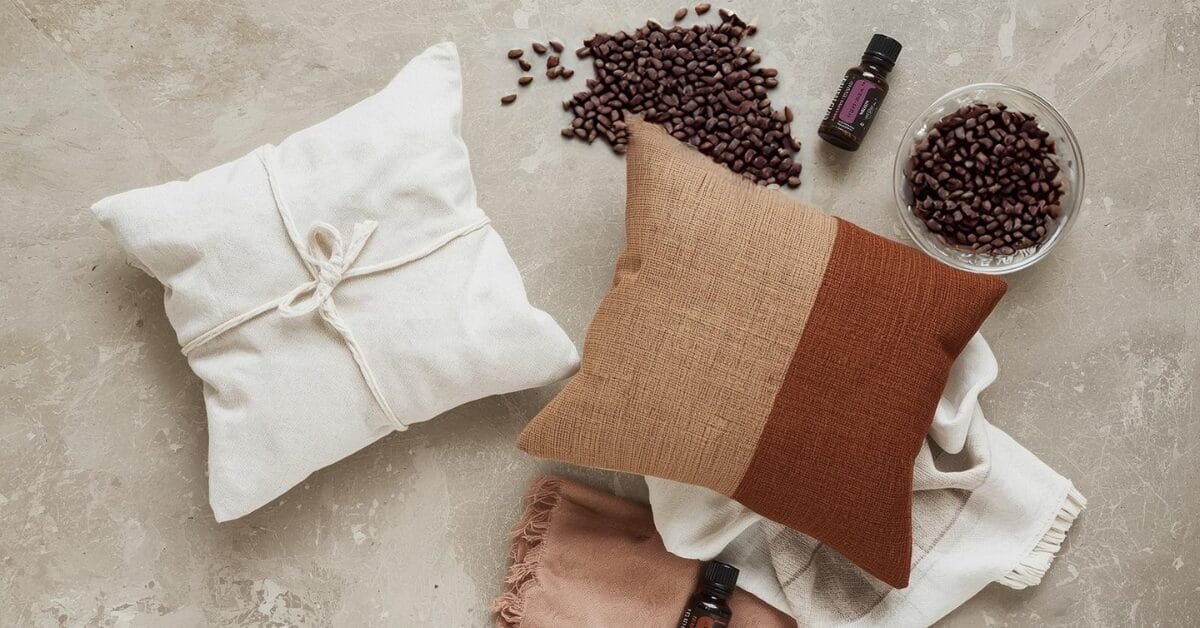
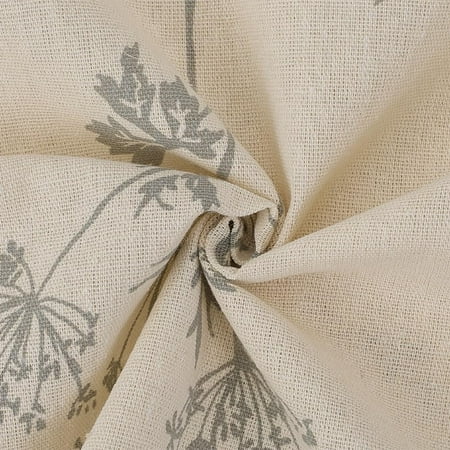
- Create a Removable Outer CoverCut these pieces of fabric slightly larger than insert (approx 1cm on each side). Line up the fabric laying one on top of the other, sew three sides together. If you are using patterned fabric have the pattern facing the inside.Zipper closure: Sew your zipper into the final open side, making sure your zipper pull faces the inside of the bag. Turn the bag inside out.Envelope closure: Alternatively have one piece of fabric 10cm longer than the other, hem both open ends. Now fold the longer piece of fabric back to match the lower piece and sew both short side edges together leaving the wide hemmed edge open. Reinforce all four corners. Turn inside out. Slide insert inside.Secret Tip #5: Use pre-washed linen. It softens beautifully and prevents post-wash shrinkage.1 yard Linen

- Add Thermal VersatilityBuckwheat pillows can be: chilled in freezer (30–60 minutes) or warmed gently (low heat oven 10 min or radiator)⚠️ Do NOT microwave unless label confirms hull dryness.Secret Tip #6 (The Temperature Hack): Keep two inserts — one chilled, one room temperature — and swap inside your cover.

Notes
The “Hidden Secrets” Most Guides Don’t Tell You
1. The Weighting Formula For Eye and Neck- Eye pillow: 200–250g
- Neck roll: 800g–1kg
- Embroider their initials,
- Include affirmation card
- Add organic essential oil mist spray
- Pair with silk eye mask
Private Notes
Step-by-Step Guide to Crafting Your DIY Buckwheat Relaxation Pillows
Now comes the exciting part – actually creating your relaxation pillow. The process is more straightforward than you might imagine, and even beginners can achieve professional-looking results with patience and attention to detail.
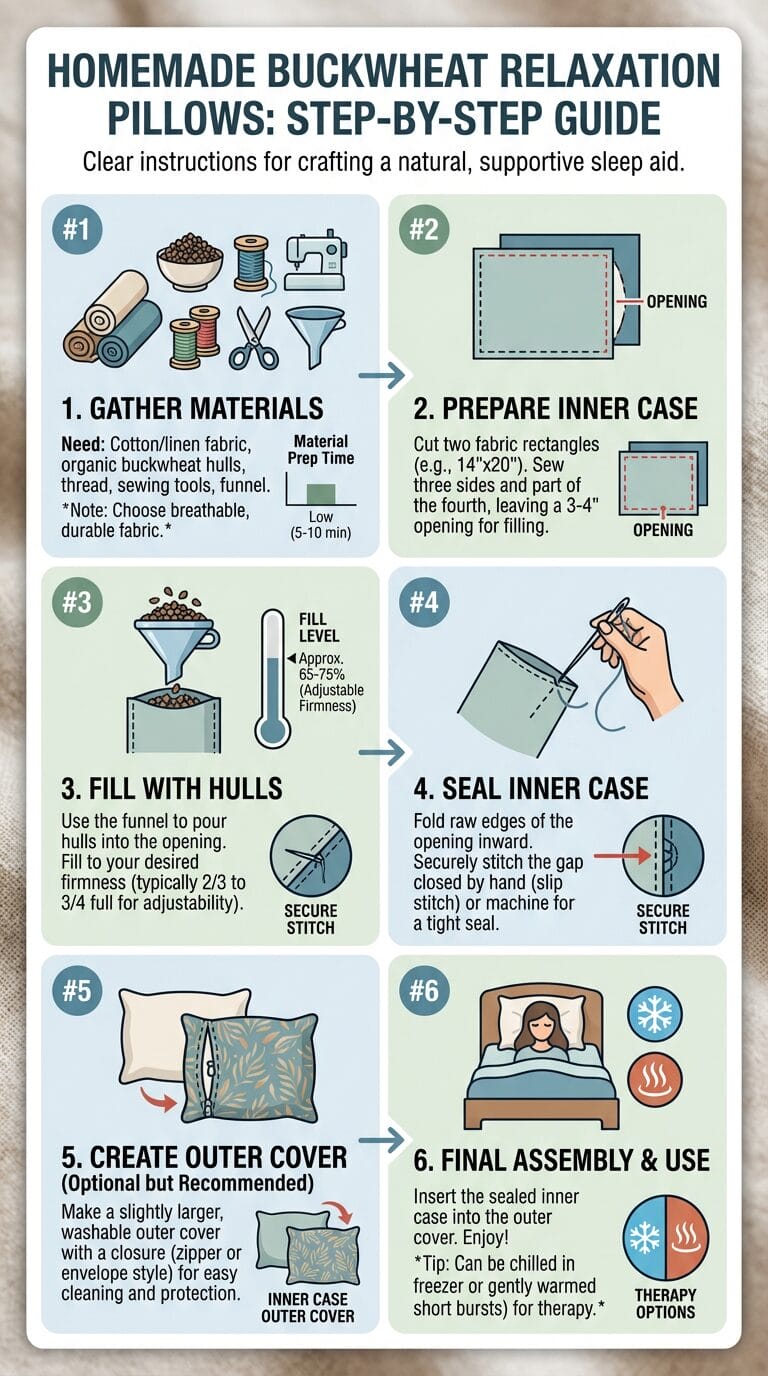
Start by cutting your fabric to the desired dimensions. For a standard pillow, cut two rectangles measuring 21 by 15 inches. If you prefer a different size, simply adjust the measurements accordingly, remembering to add an extra inch on each side for seam allowances.
Place the fabric pieces together with the right sides facing each other. Pin the edges carefully, ensuring everything is aligned properly. If you’re adding a zipper, install it along one of the shorter sides before proceeding with the other seams. For those skipping the zipper, leave a 4-inch opening along one side for filling.
Sew around the perimeter using a half-inch seam allowance, reinforcing the corners with extra stitching. These corners bear the most stress when the pillow is filled, so don’t skip this important step. Turn the pillowcase right-side out and press the seams for a crisp, professional appearance.
The filling process requires patience and the right technique. Create a funnel using a large piece of paper or cardboard to prevent hulls from scattering everywhere. Fill the DIY buckwheat relaxation pillows gradually, pausing occasionally to distribute the hulls evenly. The pillow should feel firm but not overstuffed – you want enough give to allow the hulls to conform to your shape.

Customizing Your Pillow for Maximum Comfort
One of the greatest advantages of making your own buckwheat pillow is the ability to customize it perfectly for your needs. Everyone’s comfort preferences are different, and your DIY approach allows for personalization that mass-produced pillows simply can’t match.
The amount of filling dramatically affects the pillow’s feel and support level. Side sleepers typically prefer more filling for higher loft and firmer support, while stomach sleepers often favor less filling for a flatter profile. Back sleepers usually find comfort somewhere in between. Start with a moderate amount and adjust over time as you discover your preferences.
Consider adding aromatic elements to enhance the relaxation benefits. Lavender buds mixed with the buckwheat hulls can promote better sleep and stress relief. Chamomile flowers offer similar calming properties. Use these additions sparingly – just a tablespoon or two – to avoid overwhelming the subtle, natural scent of the buckwheat.
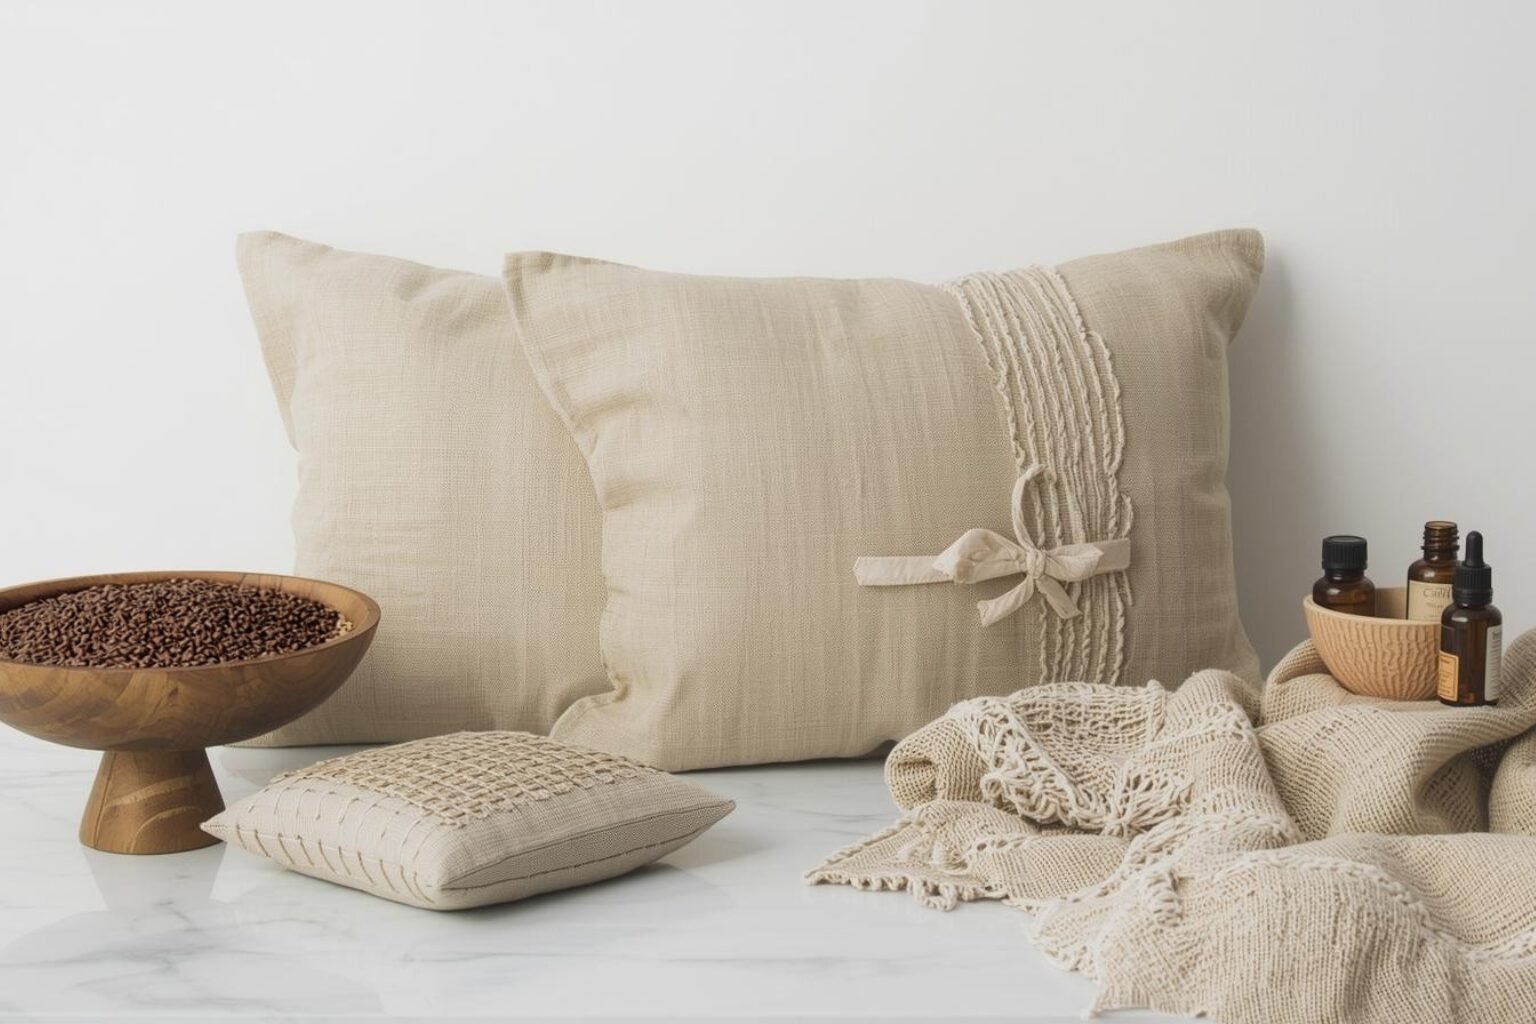
The pillow’s shape can also be customized. While rectangular pillows are most common, you might prefer a square shape for meditation or a smaller size for travel. Some people even create body-length pillows for full-body support during pregnancy or recovery from injury.
Caring for Your DIY Buckwheat Relaxation Pillow
Proper maintenance ensures your handcrafted pillow will provide years of comfortable use. Unlike conventional pillows that require frequent washing, buckwheat pillows need different care approaches that respect the natural properties of the hulls.
The fabric cover should be removed and washed regularly, just like any other pillowcase. However, the buckwheat hulls themselves should never be submerged in water, as this can cause them to rot or develop mold. Instead, the hulls benefit from occasional sunning, which naturally refreshes them and eliminates any moisture that might have accumulated.
Every few months, empty the hulls onto a clean sheet and let them air out in direct sunlight for several hours. This process naturally sanitizes the hulls and helps maintain their fresh scent. While they’re sunning, take the opportunity to wash the pillow cover thoroughly.
Over time, you might notice the hulls becoming dusty or developing small particles. This is normal wear, and you can address it by gently sifting the hulls through a fine mesh strainer outdoors. The breeze will carry away the dust while leaving the intact hulls behind.
Troubleshooting Common Issues
Even with careful construction, you might encounter some challenges with your buckwheat pillow. Understanding how to address these issues will help you maintain optimal comfort and extend your pillow’s lifespan.
If your pillow feels too noisy, the hulls might be too dry or you might be using too much filling. Try removing some hulls first, as overfilling can cause excessive rustling. If the noise persists, lightly misting the hulls with water and allowing them to dry completely can reduce the sound.
Hulls escaping from the pillow indicate that your fabric weave isn’t tight enough or there might be a small tear in the seam. Check all seams carefully and reinforce any weak areas. If hulls continue to escape, consider adding a second inner cover made from an even tighter weave fabric.
Some people experience an adjustment period when switching to buckwheat pillows. The support feels different from conventional pillows, and it might take a week or two for your neck and shoulders to adapt. During this time, you can temporarily reduce the filling slightly to ease the transition.
The Health Benefits of Buckwheat Relaxation Pillows
Beyond comfort, buckwheat pillows offer several health advantages that make the DIY effort worthwhile. Understanding these benefits can help you appreciate why cultures around the world have embraced buckwheat bedding for centuries.
The natural conforming ability of buckwheat hulls provides superior spinal alignment compared to many conventional pillows. This proper alignment can reduce neck pain, headaches, and shoulder tension that often result from poor sleeping posture. Many users report significant improvements in sleep quality within just a few nights of making the switch.
The excellent airflow properties of buckwheat hulls create a naturally cooling sleep environment. This is particularly beneficial for people who tend to sleep hot or experience night sweats. The temperature regulation can contribute to deeper, more uninterrupted sleep cycles.
For allergy sufferers, buckwheat pillows offer a natural alternative to synthetic materials that might trigger sensitivities. The hulls are naturally resistant to dust mites and don’t harbor allergens the way some other materials can. However, it’s worth noting that people with buckwheat allergies should avoid these pillows entirely.

Creative Variations and Additional Projects
Once you’ve mastered the basic buckwheat pillow, you might find yourself inspired to create variations for different purposes. The versatility of buckwheat hulls makes them suitable for numerous relaxation and wellness applications.
Consider making smaller therapeutic pillows for targeted relief. A neck roll filled with buckwheat hulls can provide excellent support during travel or while working at a desk. Eye pillows filled with a mixture of buckwheat hulls and dried lavender create wonderful tools for meditation and stress relief.
Heat therapy pillows represent another exciting variation. By creating smaller pillows with buckwheat hulls, you can make heating pads that hold warmth longer than conventional options. Simply microwave the pillow for 30-60 seconds for soothing heat therapy. Always test the temperature before use and never overheat the hulls.
For meditation practitioners, consider creating floor cushions filled with buckwheat hulls. These provide stable, comfortable seating that maintains its shape throughout long meditation sessions. The natural materials also align well with the mindful, earth-conscious philosophy that many meditators embrace.
Conclusion
Creating your own buckwheat relaxation pillow is more than just a craft project – it’s an investment in your health, comfort, and well-being. The process connects you with traditional wellness practices while providing a deeply personal touch to your sleep environment. Unlike mass-produced pillows, your handcrafted creation can be perfectly tailored to your specific needs and preferences.
The journey from fabric and hulls to finished pillow offers a satisfying sense of accomplishment, knowing that you’ve created something both beautiful and functional with your own hands. As you enjoy the superior comfort and support of your buckwheat pillow night after night, you’ll appreciate the time and care you invested in its creation.
Remember that making your first buckwheat pillow is just the beginning. As you gain experience and confidence, you’ll discover new ways to customize and improve your technique. Whether you’re seeking better sleep, natural pain relief, or simply a more sustainable approach to bedding, your DIY buckwheat pillow represents a step toward a more mindful, comfortable lifestyle.
Frequently Asked Questions
How long do buckwheat pillows last?
With proper care, a well-made buckwheat pillow can last 10-20 years. The hulls maintain their shape and support much longer than conventional pillow materials. You may need to replace the fabric cover occasionally, but the hulls themselves can be refreshed and reused for many years.
Are buckwheat relaxation pillows suitable for all sleeping positions?
Yes, but the amount of filling should be adjusted based on your preferred sleeping position. Side sleepers typically need more hulls for higher support, while stomach sleepers prefer less filling. Back sleepers usually find comfort with moderate filling levels.
Can I wash the buckwheat hulls?
No, buckwheat hulls should never be washed with water as this can cause them to rot or develop mold. Instead, refresh them by spreading them in direct sunlight for several hours every few months. This naturally sanitizes and deodorizes the hulls.
Will my buckwheat pillow make noise when I move?
Initially, buckwheat pillows may produce a gentle rustling sound when you move, but most people quickly adapt to this natural sound. The noise can be minimized by ensuring the hulls have the right moisture content and avoiding overfilling the pillow.
Where can I buy buckwheat hulls for my DIY pillow?
Buckwheat hulls can be purchased from online retailers, health food stores, or specialty bedding suppliers. Look for clean, dust-free hulls from reputable sources. Organic options are available for those who prefer chemical-free materials.
Can I add essential oils to my buckwheat relaxation pillows?
While you can add dried herbs like lavender or chamomile, it’s not recommended to add liquid essential oils directly to buckwheat hulls as they can cause the hulls to deteriorate. Instead, add a few drops to the fabric cover or use dried aromatic plants mixed with the hulls.