
- What Are Herbal Tinctures and Why Make Them?
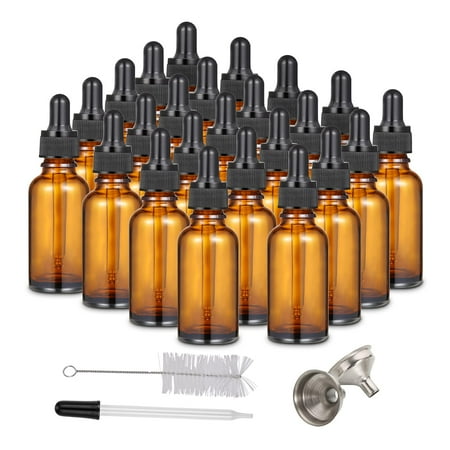
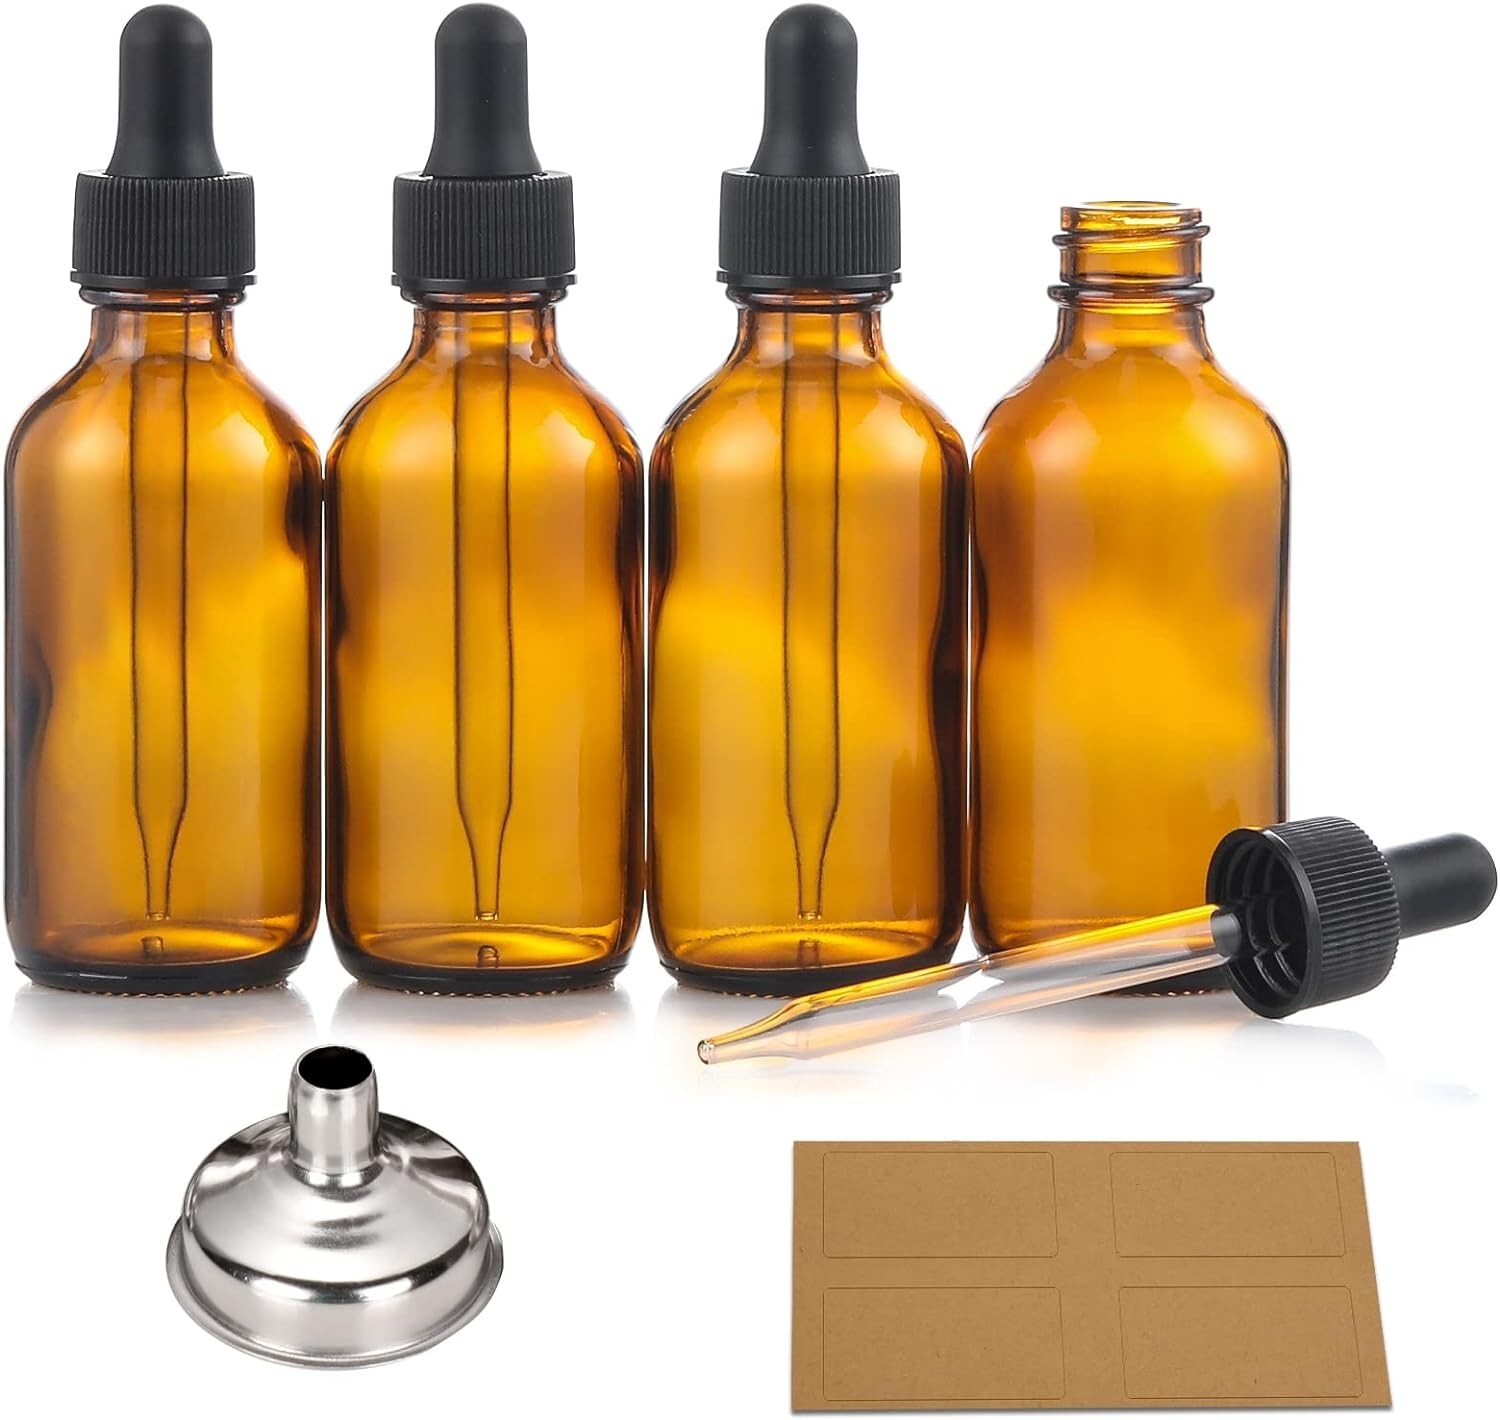
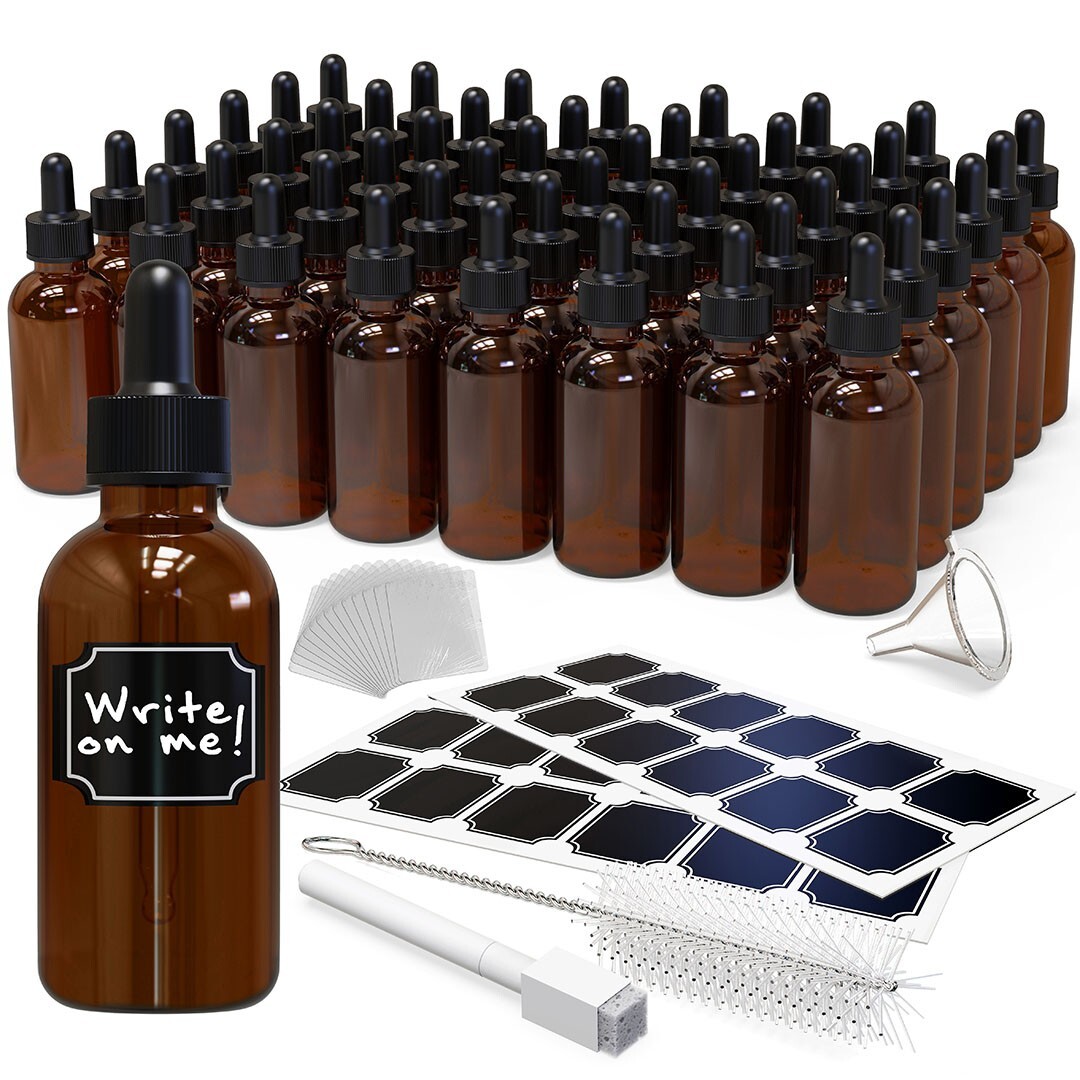
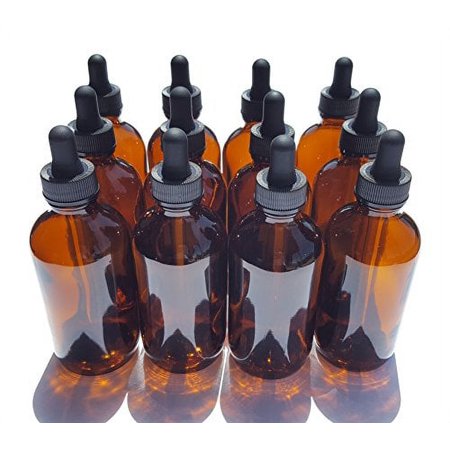
- Essential Equipment and Supplies for Tincture Making
- Choosing the Right Herbs for Your First Tinctures
- The Folk Method: Simple Tincture Making for Beginners
- Step-by-Step Dried Herbal Tinctures Making Process
- Understanding Ratios and Measurements
- Healthy Natured Herbalism Lab: Tincture Ratio & Dosage Converter
- How To Make Herbal Tinctures At Home
- 3 Popular Herbal Tinctures to Make
- Proper Storage and Shelf Life of Tinctures
- Safety Considerations and Best Practices
- Common Beginner Mistakes to Avoid
- Frequently Asked Questions
- Conclusion
Have you ever wondered how our ancestors captured the healing power of plants in small, potent bottles? Welcome to the holistic home of herbal tinctures – concentrated liquid extracts that have been used for thousands of years to harness the medicinal properties of herbs. If you’re curious about natural remedies and want to create your own herbal preparations at home, you’ve come to the right place.
Making tinctures might seem intimidating at first, but it’s actually one of the most straightforward and rewarding ways to work with medicinal plants. Whether you’re dealing with stress, sleep issues, or simply want to boost your immune system naturally, learning how to make tinctures opens up a world of herbal possibilities right in your kitchen.
In this guide, we’ll walk you through everything you need to know about creating your own homemade tinctures from scratch. From understanding what a tincture is to mastering the extraction process, you’ll gain the confidence to start your herbal medicine journey safely and effectively.
What Are Herbal Tinctures and Why Make Them?
Tinctures are concentrated liquid extracts made by soaking herbs in alcohol or other solvents for an extended period. This process pulls out the active compounds from the plant material, creating a potent remedy that can be stored for years without losing its effectiveness.
Think of tinctures as nature’s medicine cabinet in liquid form. Unlike teas that need to be consumed immediately, tinctures offer incredible convenience and shelf stability. A few drops under your tongue or mixed into water can deliver the same therapeutic benefits as drinking multiple cups of herbal tea.
The beauty of making your own tinctures lies in the control you have over quality and potency. You choose the herbs, the extraction method, and the final concentration. Plus, there’s something deeply satisfying about creating your own natural remedies from plants you’ve grown or carefully sourced.

Essential Equipment and Supplies for Tincture Making
Before diving into your first tincture, let’s gather the essential tools. The good news is that you probably already have most of what you need in your kitchen.
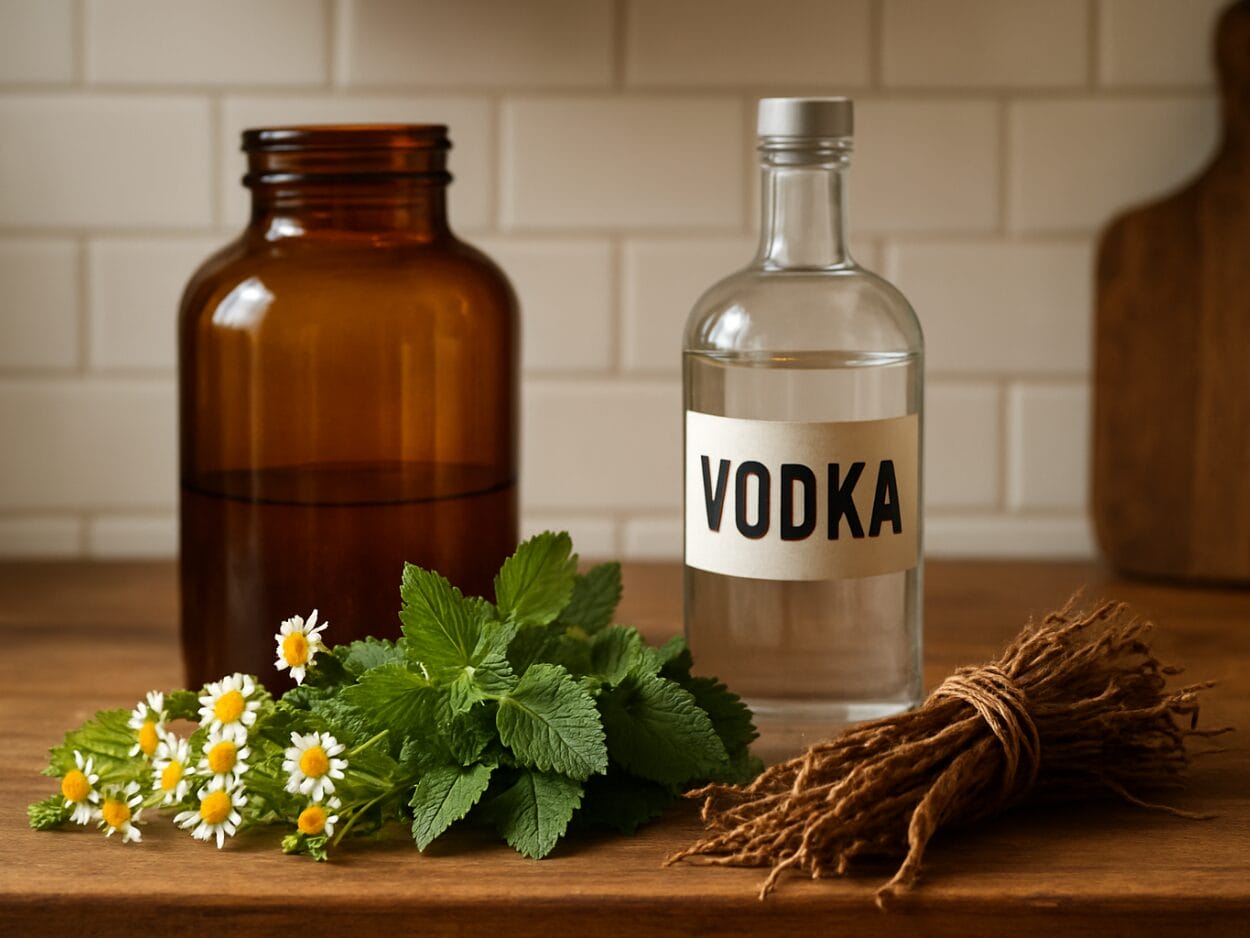
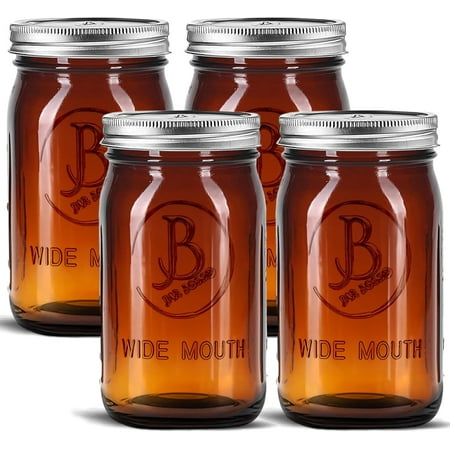
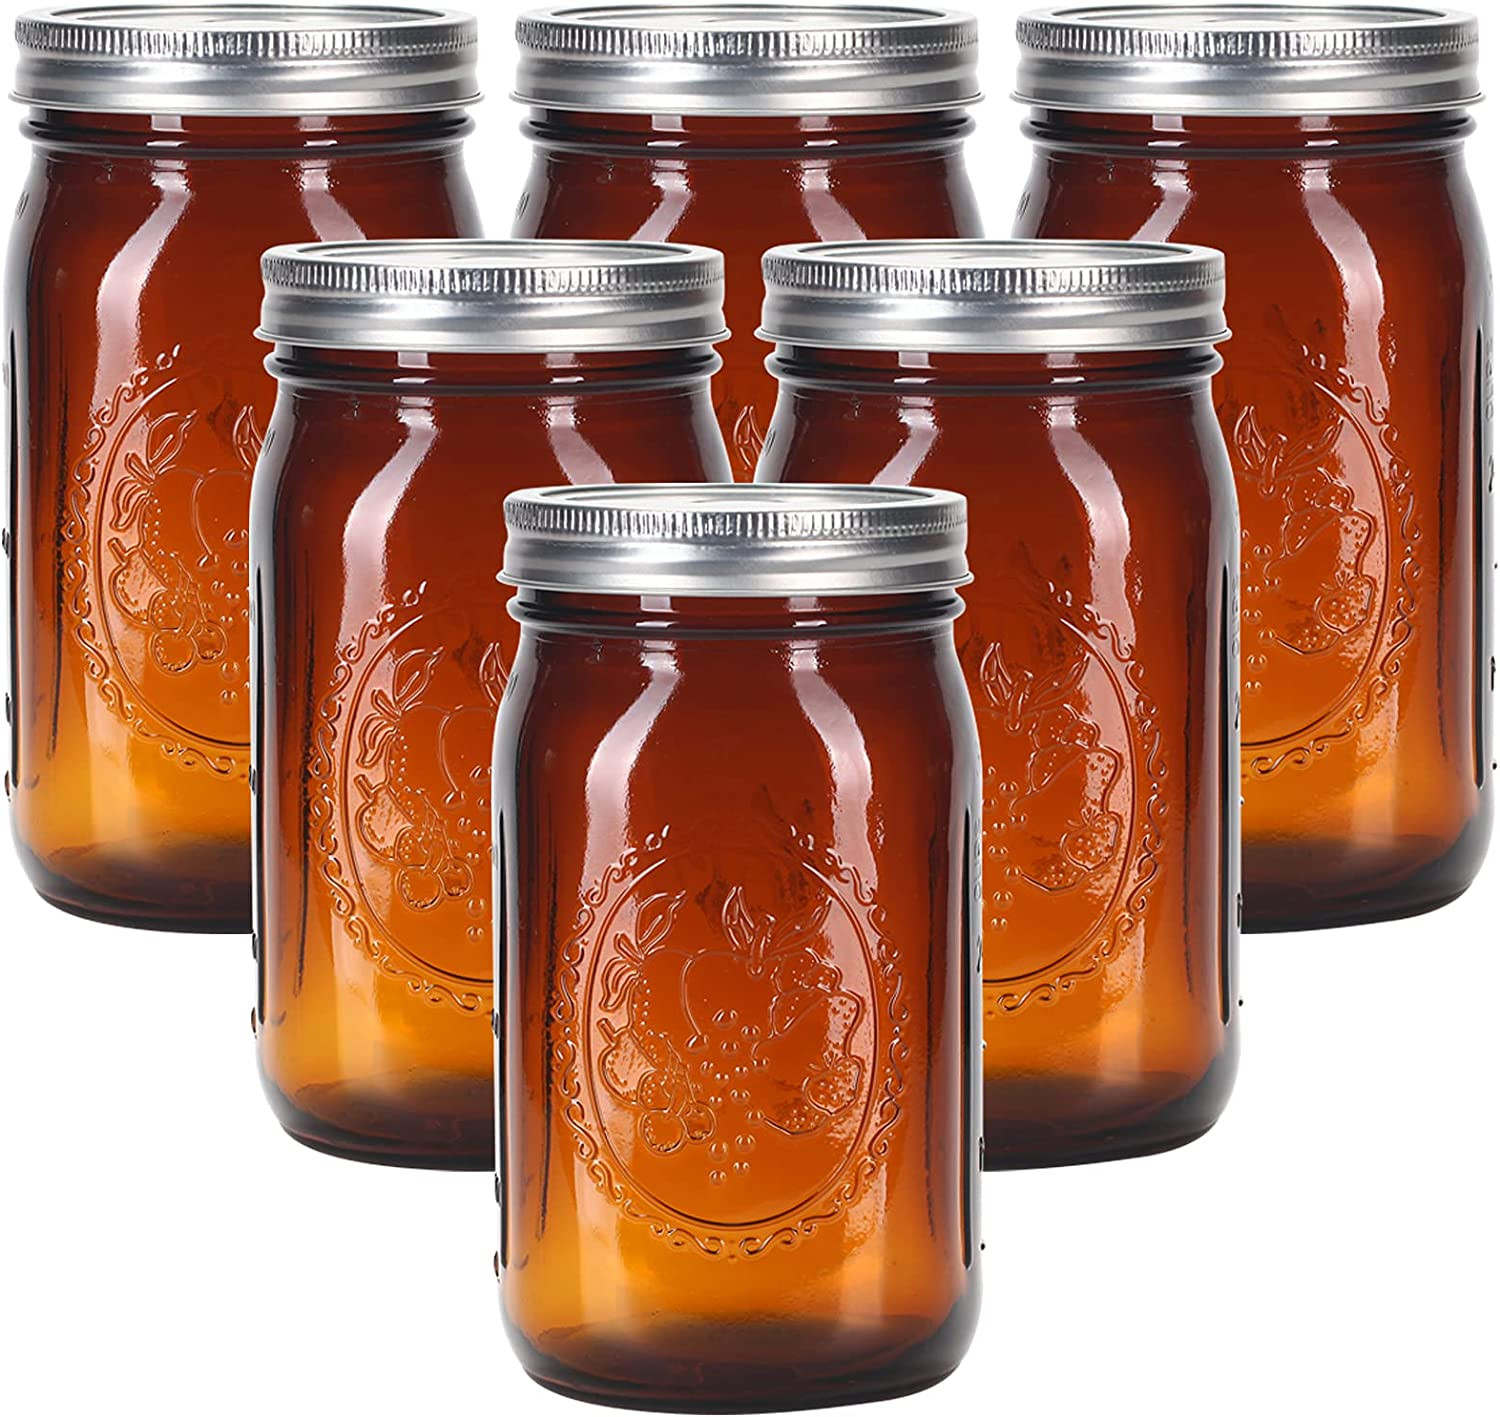
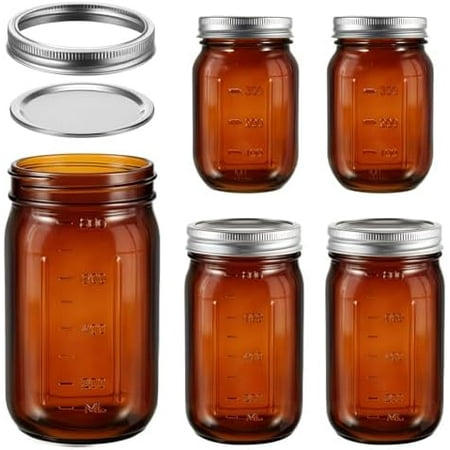
Your primary equipment includes clean glass jars with tight-fitting lids – mason jars work perfectly for this purpose. You’ll also need a fine-mesh strainer, cheesecloth or coffee filters for straining, and dark glass dropper bottles for storing your finished tinctures. A kitchen scale for measuring herbs accurately and a measuring cup for liquids round out your basic toolkit.
For the extraction medium, high-proof alcohol like vodka or grain alcohol works best for most herbs. The alcohol percentage should be between 60-80% for most applications, though some herbs require higher concentrations. Glycerin serves as an excellent alcohol-free alternative, especially for children’s remedies or those avoiding alcohol.
Don’t forget labels and a permanent marker to track what you’re making and when. Trust me, after a few weeks, those mysterious jars all start looking the same, and proper labeling becomes your best friend.
Choosing the Right Herbs for Your First Tinctures
Selecting appropriate herbs for your first tincture-making adventure can feel overwhelming with so many options available. Start with gentle, well-researched herbs that have a long history of safe use. Some suggestions are:
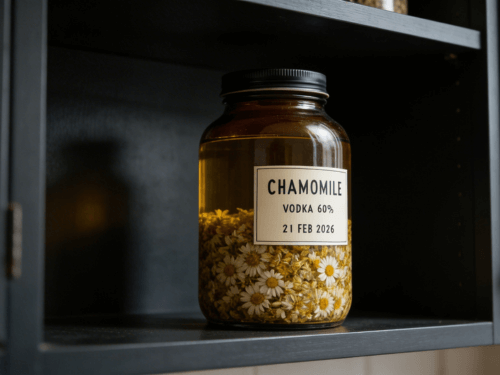
- Chamomile makes an excellent beginner’s choice for its calming properties and gentle nature.
- Echinacea offers immune support
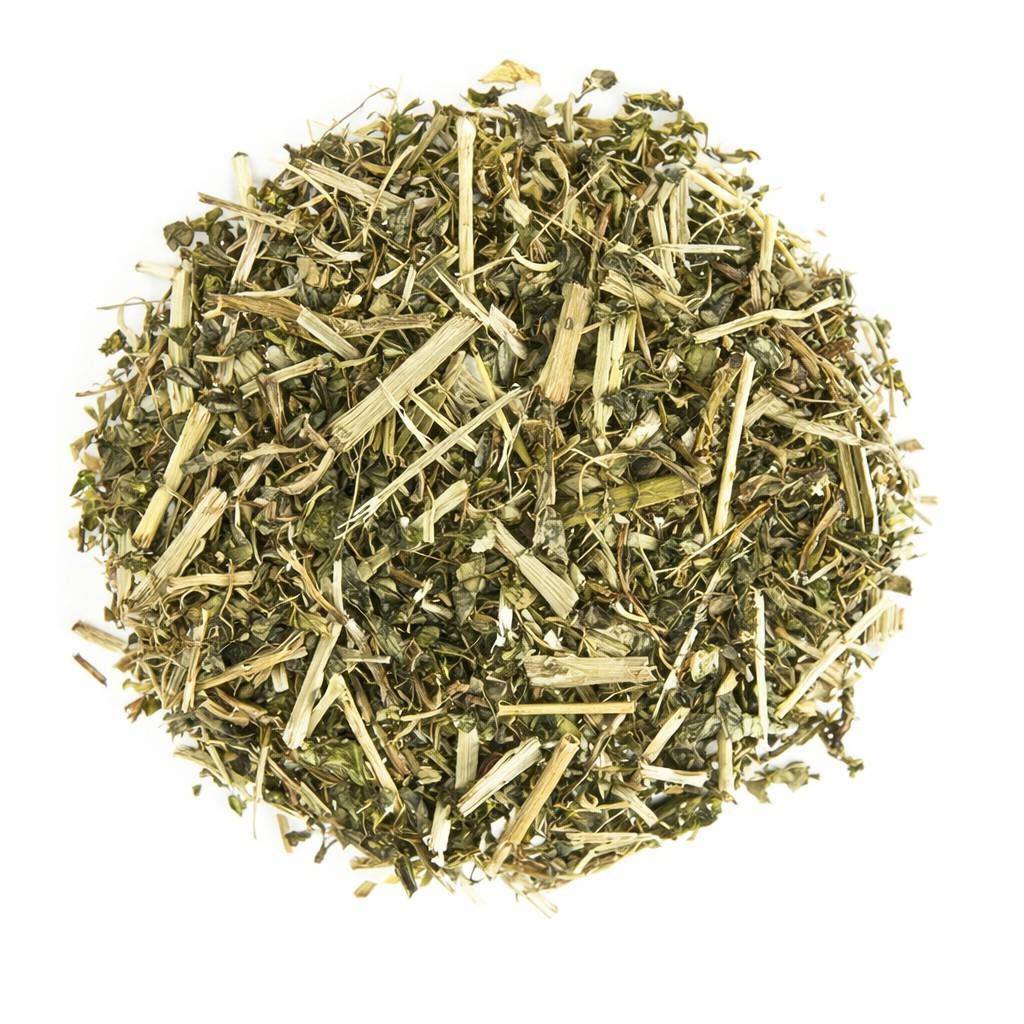
- Lemon balm provides stress relief and digestive benefits. These herbs are forgiving to work with and readily available from reputable suppliers.
- Ginger: Relieves nausea and motion sickness.
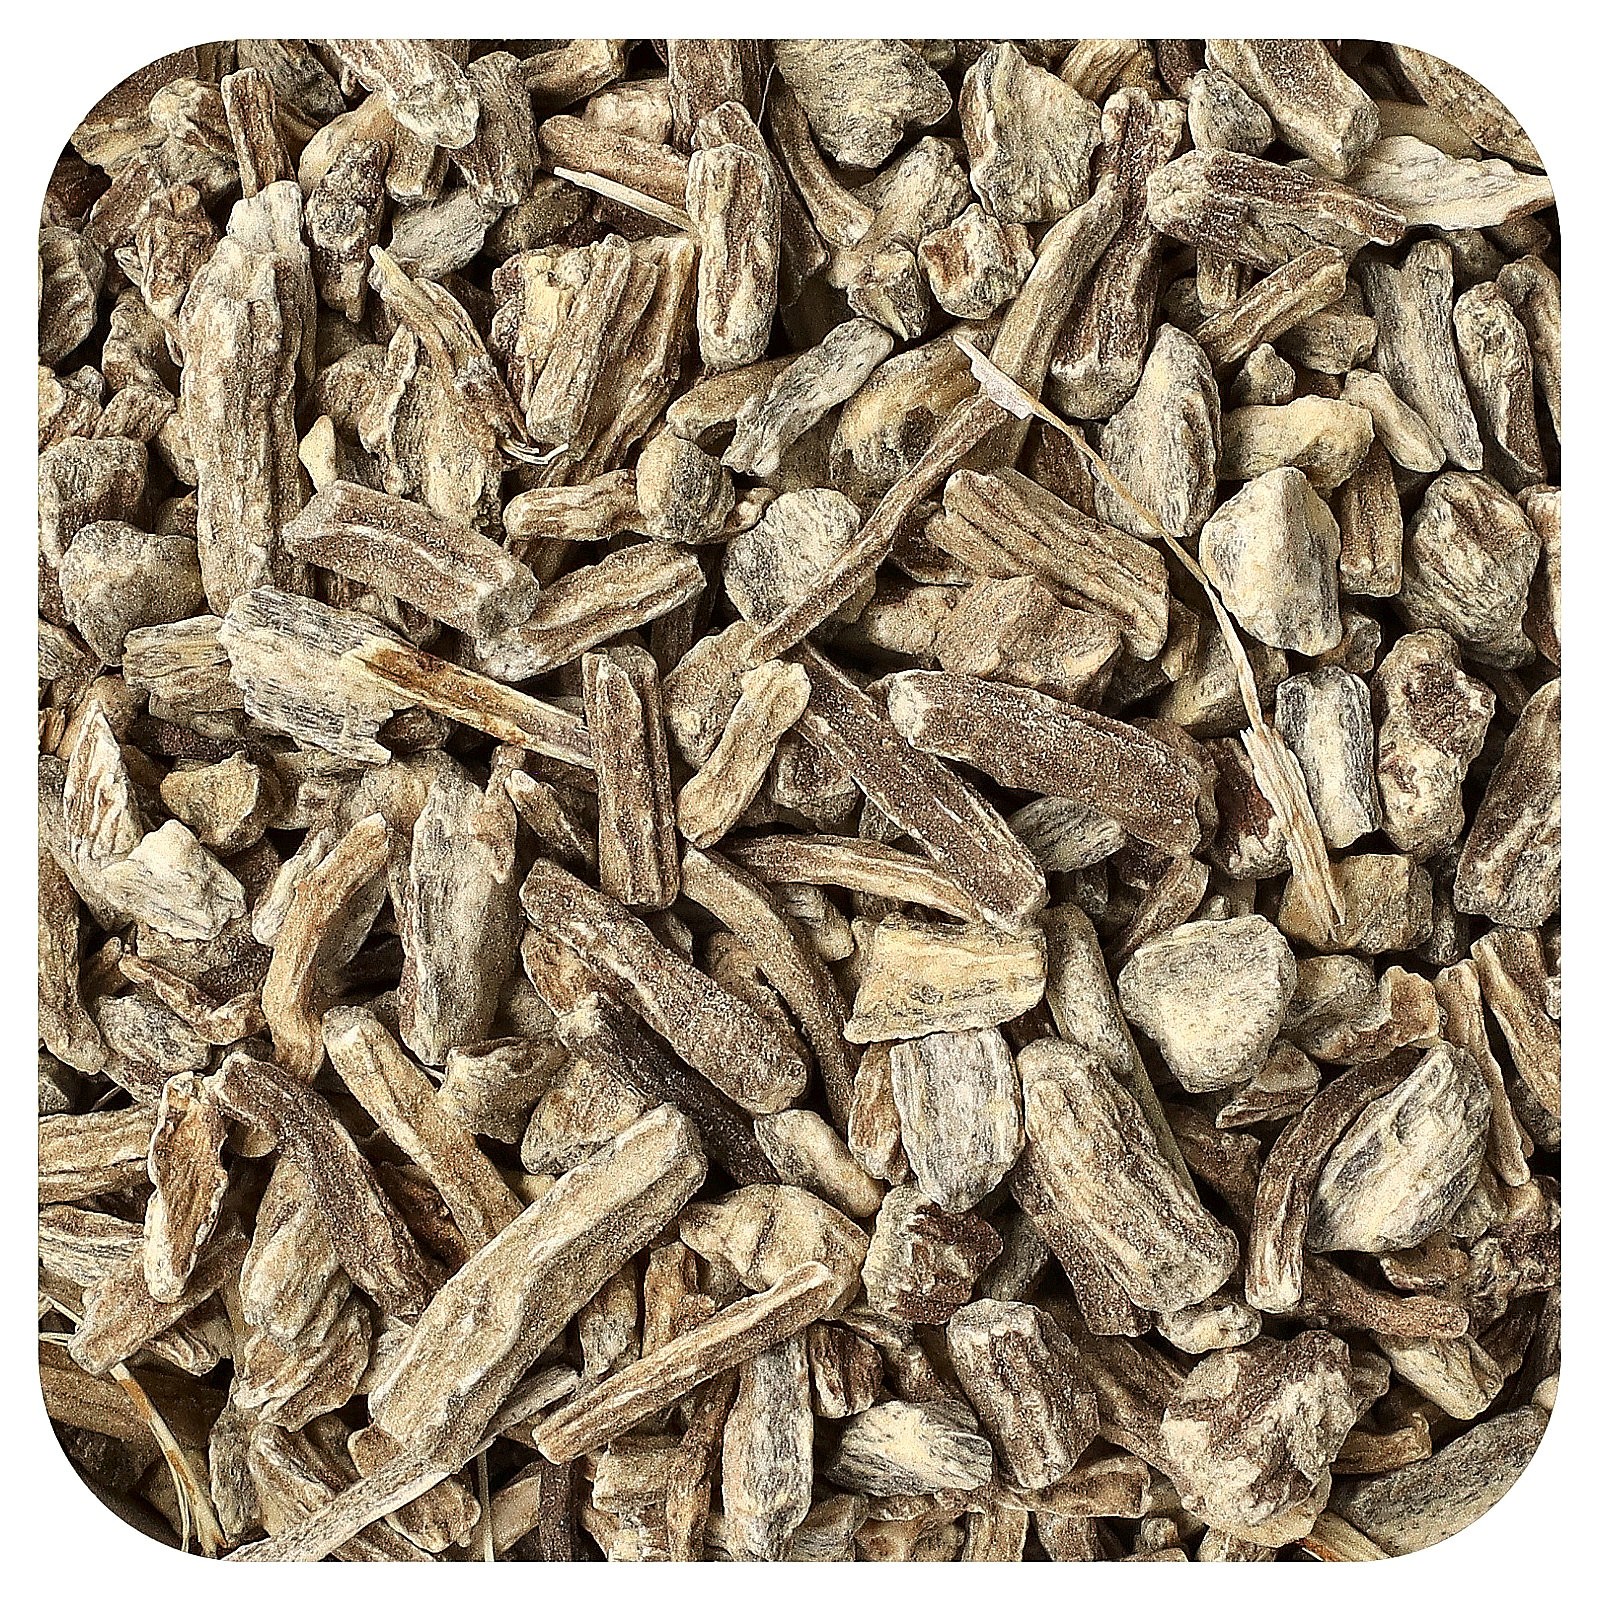
- Milk Thistle: Supports liver health and detoxification.
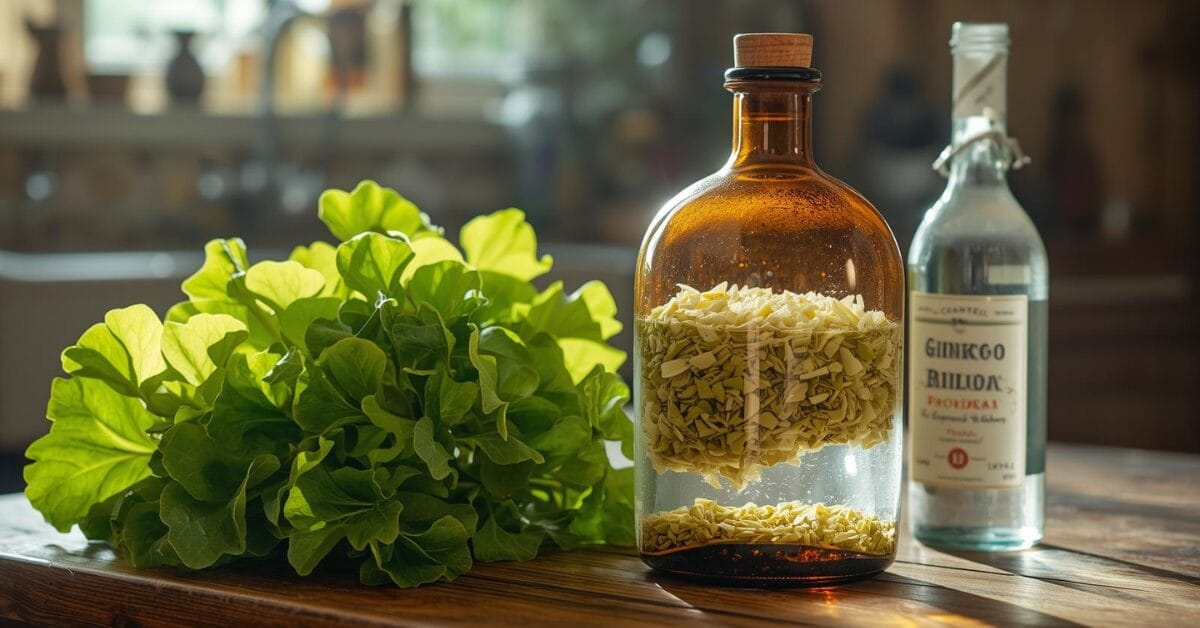
- Ginkgo Biloba: Improves memory, cognitive function, and vertigo.
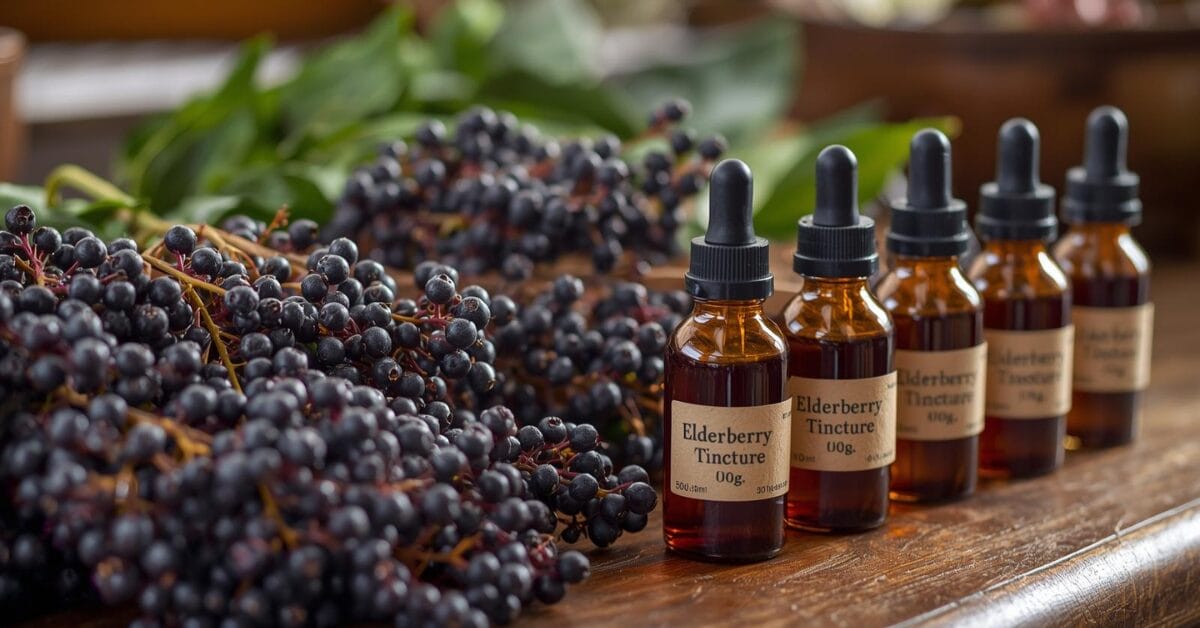
- Elderberry: Supports the immune system and helps with cold/flu symptoms.
- Turmeric: Reduces inflammation and joint pain.
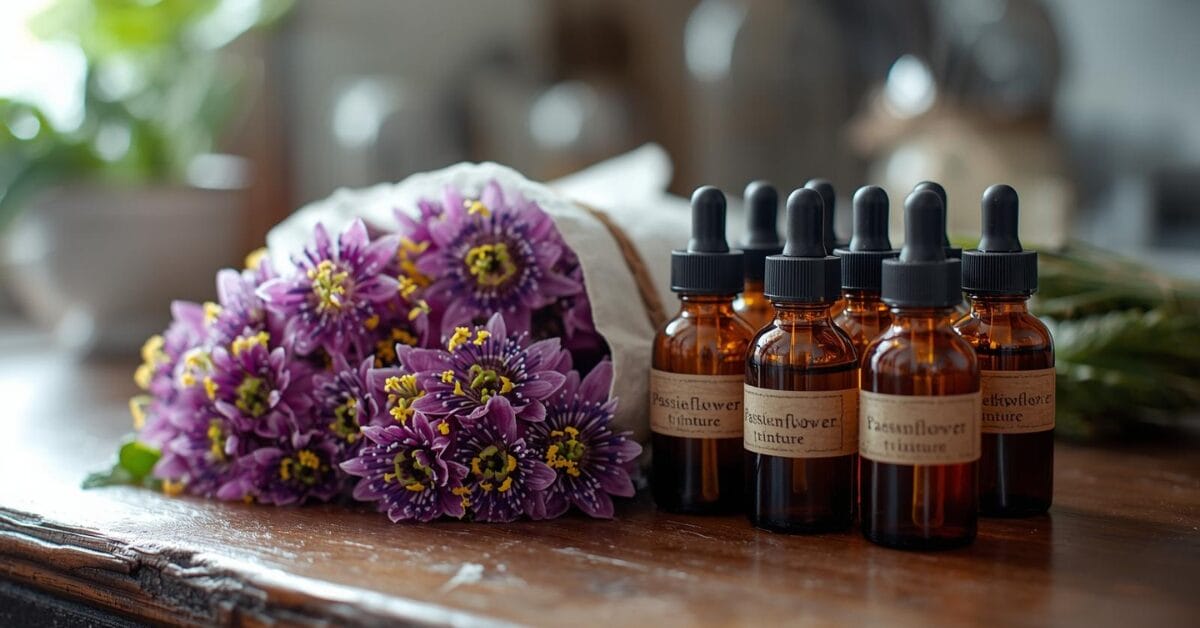
- Passionflower: Helps with insomnia and anxiety.
When sourcing herbs, quality matters tremendously. Look for organic, sustainably harvested plants from trusted herbalists or suppliers. Fresh herbs can create potent tinctures, but dried herbs are often more practical for beginners and offer consistent results.
Note: Always research any herb thoroughly before use, and if you’re taking medications or have health conditions speak to your doctor or health practitioner. Some herbs can interact with pharmaceuticals or aren’t suitable for certain individuals. When in doubt, consult with a qualified herbalist or healthcare provider.
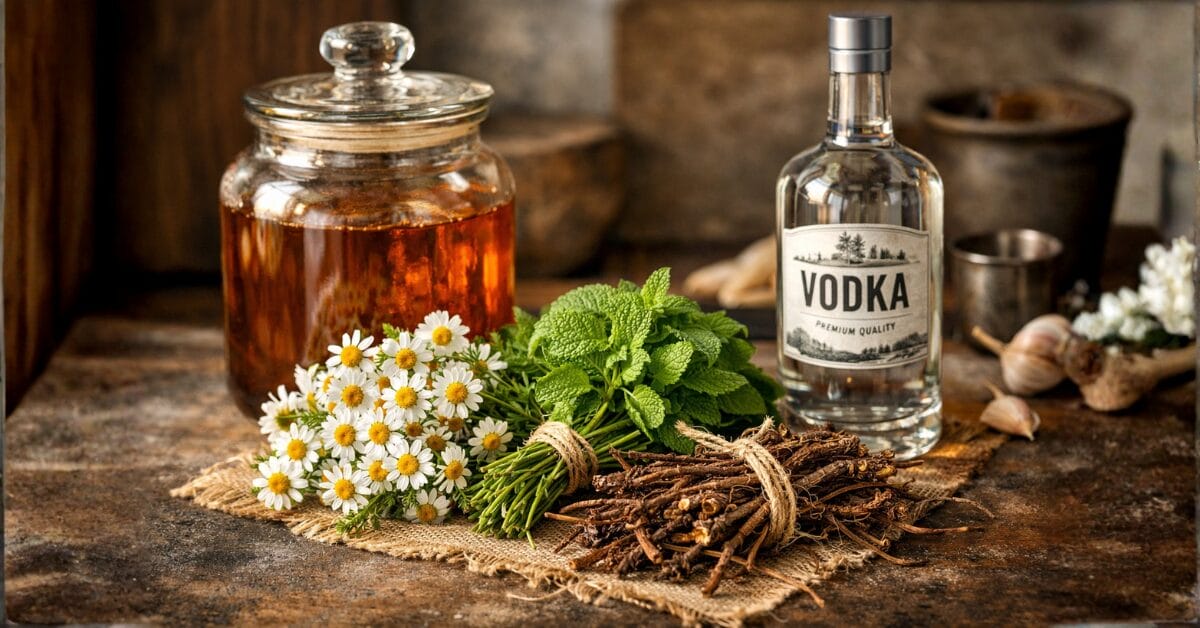
The Folk Method: Simple Tincture Making for Beginners
The folk method represents the most accessible approach to tincture making, requiring no special equipment or complex calculations. This traditional technique has been passed down through generations and remains the preferred method for many home herbalists.
Start by filling a clean glass jar about one-third full with your dried herb of choice, or half full if using fresh herbs. Pour your chosen alcohol over the herbs until they’re completely covered with about an inch of liquid above the plant material. This ratio ensures proper extraction while preventing spoilage.
Seal the jar tightly and give it a good shake. Store it in a cool, dark place and shake it daily for the next four to six weeks. This regular agitation helps maximize the extraction of beneficial compounds from the herbs.
The waiting period tests your patience, but it’s crucial for creating a potent tincture. Mark your calendar and resist the urge to strain too early. Good things truly do come to those who wait in the world of herbal medicine.
Step-by-Step Dried Herbal Tinctures Making Process
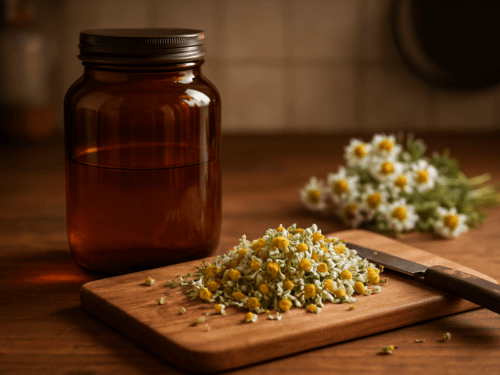
Let’s walk through the complete process with a practical example using dried chamomile flowers, perfect for a beginner’s first tincture.
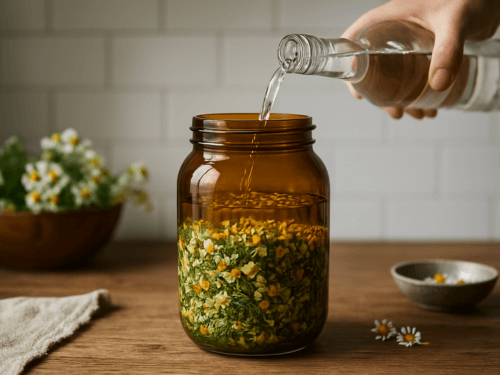
Begin by measuring out one ounce of dried chamomile flowers and placing them in a clean pint-sized mason jar. Pour 80-proof vodka over the herbs until they’re completely submerged with extra liquid on top. The herbs will absorb some alcohol initially, so you may need to add more after the first day.
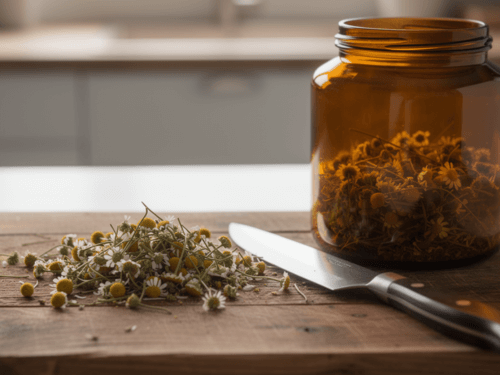
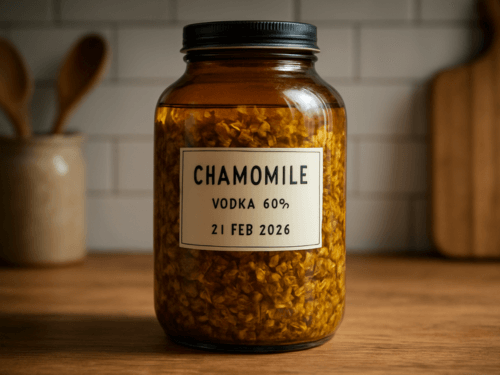
Label your jar clearly with the herb name, alcohol type and proof, and the date you started the extraction. Store the jar in a cool, dark location like a cupboard or pantry. Shake the jar vigorously once daily, taking a moment to observe any changes in color or aroma.
After four to six weeks, it’s time for the exciting part – straining your tincture. Line a fine-mesh strainer with several layers of cheesecloth and strain the liquid into a clean bowl. Gather the corners of the cheesecloth and squeeze out as much liquid as possible from the plant material.
Transfer your finished tincture to dark glass dropper bottles, leaving a small amount of headspace. Label each bottle with the herb name, extraction date, and dosage information. Your homemade tincture is now ready for use and will maintain its potency for several years when stored properly.
Understanding Ratios and Measurements
While the folk method works wonderfully for beginners, understanding basic ratios can help you create more consistent and potent tinctures. The most common ratio for dried herbs is 1:5, meaning one part herb to five parts liquid by weight.
For fresh herbs, a 1:2 ratio often works better due to their higher water content. This means using one part fresh herb to two parts alcohol. Fresh herbs contain natural moisture that dilutes the alcohol concentration, so starting with a higher proof alcohol compensates for this dilution.
Correct ratios ensure potency and consistency.
Herbal Tinctures Dried Herb Method
| Herb Type | Ratio | Alcohol Strength |
|---|---|---|
| Leaves/Flowers | 1:5 | 40% (80 proof) |
| Roots/Barks | 1:5 | 50–60% |
Example:
100g dried herb + 500mL alcohol = 1:5 tincturege.
As you begin to experiment keep detailed notes about your ratios and results. This information becomes invaluable as you gain experience and want to replicate particularly successful batches or adjust future preparations. Below is a tincture dosage calculator so you know you’ll always have the safest and recommended dosage.
Healthy Natured Herbalism Lab: Tincture Ratio & Dosage Converter
A technical tool for home herbalists to calculate solvent-to-herb ratios for both dry and fresh plant material, ensuring safe and effective extractions.
1. Extraction Parameters
Calculation Results
Herbal Solvents & Ratios Reference
Standardized data points for common botanical extractions.
| Plant Part / Constituent | Target Alcohol % | Common Ratio | Notes |
|---|---|---|---|
| Dried Leaves/Flowers | 40% – 50% | 1:5 | Standard maceration |
| Roots & Barks (Dried) | 50% – 60% | 1:5 | Higher ABV for dense tissue |
| Fresh Herbs (Succulent) | 95% | 1:2 | High ABV offsets plant water |
| Resins (Myrrh, Pine) | 90% – 95% | 1:5 | High ABV required for dissolution |
| Mucilage (Marshmallow) | 25% – 30% | 1:5 | High ABV cooks polysaccharides |
Maceration Quality Checklist
The 2026 Formulas
Weight-to-Volume (W:V): ml = Weight(g) × Ratio
Clark’s Rule: Child Dose = (Weight / 150) × Adult Dose
Effective ABV: Adjusts for water content in fresh material (avg. 75%).
Expert Tips
- Always weigh your herbs; volumetric measurements for dried plants are inaccurate.
- For “fluffy” herbs like Calendula, use 1:6 to ensure total submersion.
- Store in amber glass to prevent UV degradation of phytochemicals.
How To Make Herbal Tinctures At Home
Ingredients
Equipment
Method
- Prepare the Herb. If using fresh herbs chop finely without masticating or bruising. If using dried herb lightly crush them with hands or rolling pin to increase surface area. (see notes for 3 popular herbal tinctures)1 cup dried herb
- Depending on the size of your jar and whether you are using fresh or dry fill the jar ½ to ¾ full with dried herbs and ¾ to ⅚ with fresh herbs
- Add your Alcohol (we recommend vodka as it is high alcohol and won't impact herb). Again depending on the size of the jar pour alcohol over the herbs making sure they are completely submerged. Ensure you leave a 2–3 cm headspace between the top of the alcohol and the bottom of the lid. Ensure herbs remain covered at all times. (see notes for a substitute if you prefer to not use alcohol)1 bottle 40–60% alcohol
- Seal with a sterile lid and label. This is important especially if you have made several tinctures with differing herbs or alcohol. This label will make sure when you use the tincture you administer the correct dosage.Label with: Herb name(s), the Alcohol type and %, The date steeping started.Store your sealed tincture in a cool, dark place. Shake daily. Top up with the same alcohol when needed to ensure the herb is always submerged.
- Extraction and steeping takes time. we recommend you wait minimum 4 to 6 weeks. Roots may benefit from 6–8 weeks.
- Once the allotted time has past strain the tincture through your piece of cheesecloth into a clean dry serving jug/bowl. Squeeze the herbs well to gain all the goodness from the mixture. Discard the herbs. Fill your amber dropper bottle(s). Your tincture is ready to use. Store in a dark dry place.

Notes
-
- Fill jar ½–¾ full with dried herbs
- Pack jar ¾ full with fresh herbs
3 Popular Herbal Tinctures to Make
Echinacea Tincture (Immune Support)
Best For:- Cold and flu onset
- Immune stimulation
- Short-term immune support
- Use dried echinacea root
- Ratio: 1:5
- 50–60% alcohol
2–3 mL, up to 3 times daily during acute illness
Tried this recipe?
Let us know how it was!Proper Storage and Shelf Life of Tinctures
Proper storage ensures your carefully crafted tinctures maintain their potency and safety for years to come. Dark glass bottles protect the tincture from light degradation, while tight-fitting caps prevent evaporation and contamination.
Store your tinctures in a cool, stable environment away from direct sunlight and heat sources. A medicine cabinet, pantry shelf, or dedicated herbal storage area works perfectly. Avoid areas with temperature fluctuations like bathrooms or kitchens near stoves.
Alcohol-based tinctures have an impressive shelf life of three to five years when stored correctly. Glycerin-based tinctures last about two years. Always check for changes in color, smell, or the presence of mold before use, especially with older preparations.
Label everything clearly with creation dates and contents. Consider creating a simple inventory system to track your tincture collection and rotation schedule. This organization pays dividends as your herbal medicine cabinet grows.
Safety Considerations and Best Practices
Safety should always be your top priority when working with herbal medicines. Start with small doses to test your body’s response, even with gentle herbs. Everyone’s body chemistry is different, and what works well for one person might not suit another.
Research potential interactions between herbs and any medications you’re taking. Some herbs can enhance or interfere with pharmaceutical drugs, creating potentially dangerous situations. Maintain open communication with your healthcare providers about your herbal medicine use.
Pregnant and nursing women should exercise extra caution and consult with qualified practitioners before using herbal tinctures. Many herbs that are safe for general use may not be appropriate during pregnancy or breastfeeding.
Keep detailed records of what you make and how you respond to different herbs. This information helps you identify patterns and preferences while providing valuable information to share with healthcare providers if needed.


Common Beginner Mistakes to Avoid
Learning from others’ mistakes can save you time, money, and frustration in your tincture-making journey. One of the most common errors is insufficient extraction time. Patience is crucial – rushing the process results in weak, ineffective tinctures.
Another frequent mistake is using poor quality herbs or alcohol. Your tincture can only be as good as your starting materials, so invest in high-quality, properly stored herbs and appropriate alcohol for extraction.
Inadequate labeling causes countless problems for beginning herbalists. Without proper labels, you’ll forget what’s in each jar and when you made it. Develop a consistent labeling system from the start and stick with it religiously.
Finally, many beginners try to make too many different tinctures at once. Start with one or two herbs you’re genuinely interested in using. Master the basic process before expanding your repertoire.
Frequently Asked Questions
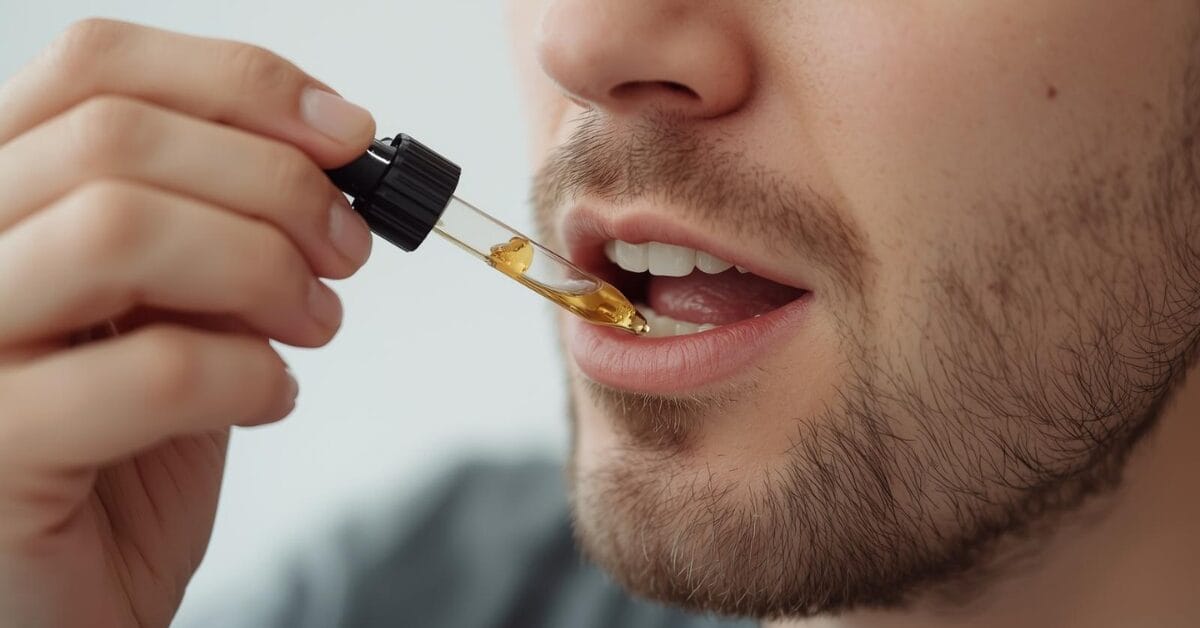
1. How much tincture should I take?
Typical doses range from 1-3 dropperfuls taken 2-3 times daily. Start with smaller amounts and adjust based on your response. Always research specific dosage recommendations for individual herbs.
2. Can I make tinctures without alcohol?
Yes! Vegetable glycerin creates alcohol-free tinctures, though they’re generally less potent and have shorter shelf lives. Apple cider vinegar also works for certain herbs, creating what’s called an acetum.
3. How do I know if my tincture has gone bad?
Signs of spoilage include unusual odors, color changes, cloudiness, or visible mold. When in doubt, discard the tincture and make a fresh batch. Properly made alcohol tinctures rarely spoil due to alcohol’s preservative properties.
4. Can I use fresh herbs instead of dried?
Absolutely! Fresh herbs often create more potent tinctures, but they require different ratios and higher-proof alcohol to compensate for their water content. Use a 1:2 ratio and 80-100 proof alcohol for best results.
5. Why is my tincture a different color than expected?
Tincture colors vary widely based on the herb used, extraction time, and alcohol concentration. Color changes during extraction are normal and often indicate successful compound extraction. Research the expected color range for your specific herb.
6. How long does the extraction process take?
Most tinctures benefit from 4-6 weeks of extraction time, though some herbalists prefer 2-3 months for maximum potency. Longer extraction times generally result in stronger tinctures, but there’s a point of diminishing returns.

Conclusion
Creating your own herbal tinctures opens up an incredible world of natural healing and self-sufficiency. With just basic equipment and quality herbs, you can craft potent remedies that connect you to thousands of years of traditional herbal wisdom.
Remember that becoming skilled at tincture making takes time and practice. Start simple, be patient with the process, and don’t be afraid to experiment as you gain confidence. Each batch teaches you something new about the herbs you’re working with and your own preferences.
The journey into herbal medicine is deeply personal and rewarding. Your homemade tinctures represent not just natural remedies, but a tangible connection to the healing power of plants and the satisfaction of creating something beneficial with your own hands. Take that first step, gather your supplies, and begin your adventure into the wonderful world of herbal tincture making.


love this.