
- Why Make Your Own Hand Soap?
- Essential Ingredients for DIY Foaming Hand Soap
- Equipment You'll Need
- Basic DIY Foaming Hand Soap Recipe
- DIY Foaming Hand Soap with Castile
- Expert Tips and Instructions
- Customization Options and Variations
- Troubleshooting Common Issues
- Storage and Shelf Life
- Cost Comparison and Environmental Impact
- DIY foaming hand soap FAQ
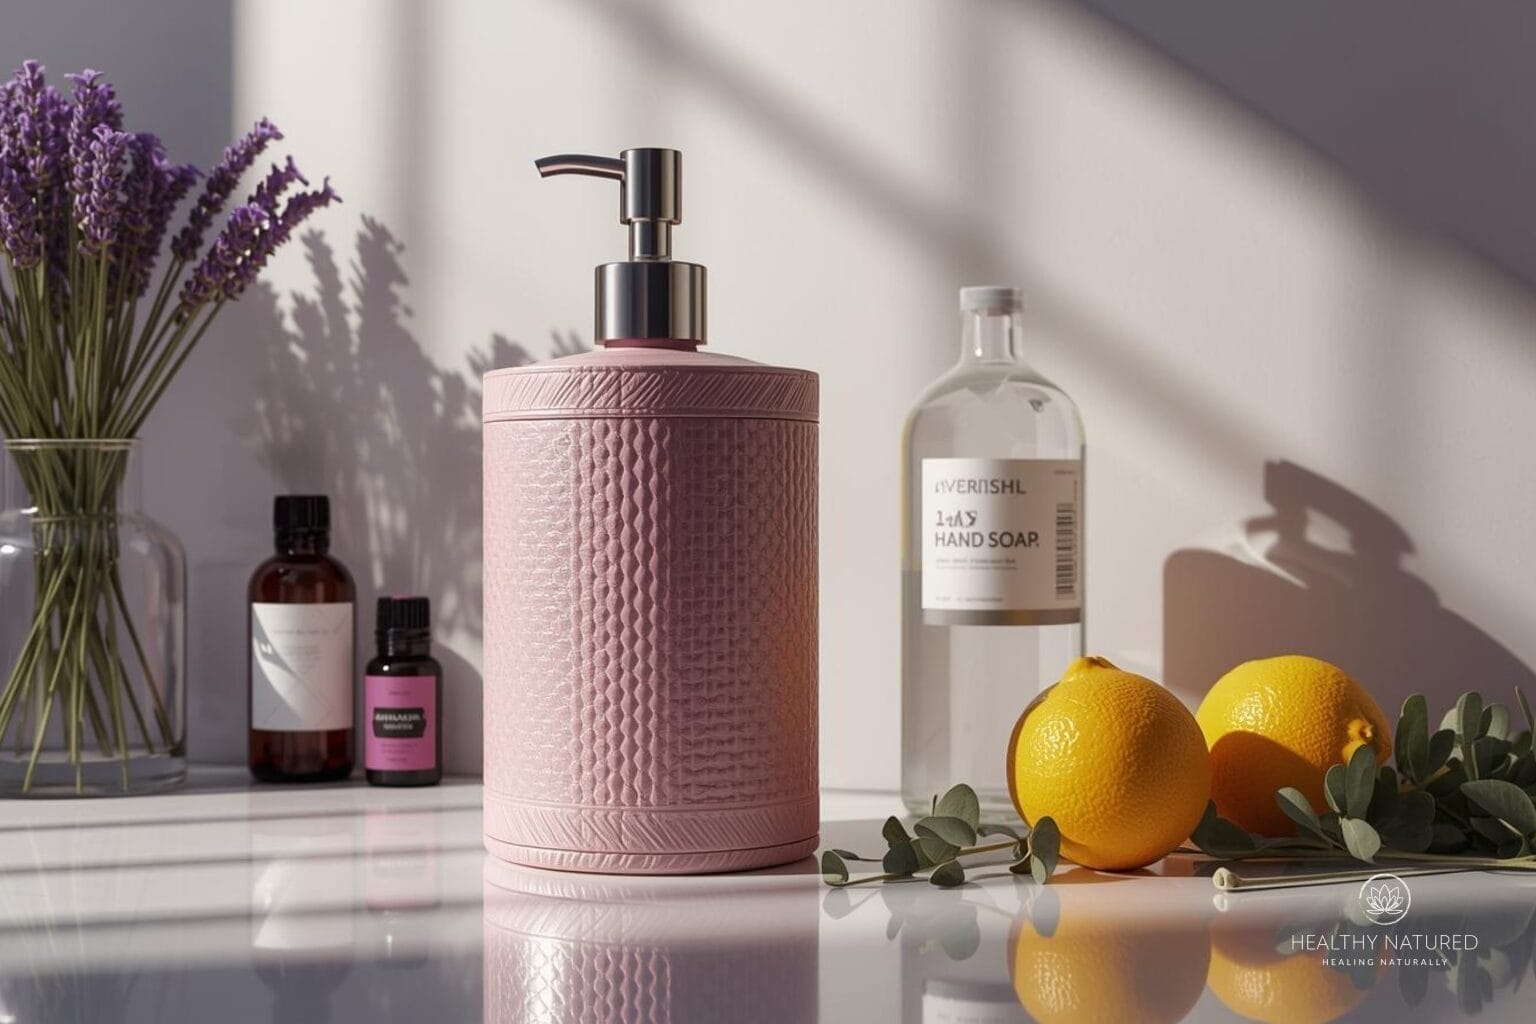
Ever looked at your hand soap and thought, “I could make that myself”? Well, you’re in luck! Today, we’re exploring how to create your own DIY foaming hand soap. Trust me, once you get the hang of it, you’ll wonder why you ever spent money on store-bought versions. Not only is it a fun little project, but it’s also a great way to ensure you’re using natural ingredients that are gentle on the skin. Plus, the satisfaction of crafting something with your own hands that you use every day is unparalleled.
So, why make your own? For starters, it’s more cost-effective. A small bottle of essential oils and a bit of castile soap can go a long way. Plus, you get to customize your scents! Want a soothing lavender for bedtime or a zesty lemon for a morning pick-me-up? The choice is yours. Customization also allows you to cater to specific needs, whether you’re looking for a calming scent to help you relax or an invigorating aroma to kickstart your day. Let’s get the ball rolling!
Why Make Your Own Hand Soap?
Before diving into the how-to, let’s explore why DIY foaming hand soap is such a game-changer. First and foremost, the cost savings are remarkable. A single bottle of commercial foaming soap can cost anywhere from $3 to $8, while making your own costs less than $0.50 per bottle when you factor in the ingredients.
Environmental benefits play a huge role too. By reusing existing foaming soap dispensers and making your own refills, you’re significantly reducing plastic waste. Commercial foaming soaps often come in single-use containers that end up in landfills, but your homemade version eliminates this concern entirely.
From a health perspective, making your own soap gives you complete control over ingredients. You can avoid harsh chemicals, artificial fragrances, and preservatives that might irritate sensitive skin. This is particularly beneficial for families with young children or anyone dealing with skin sensitivities.
Essential Ingredients for DIY Foaming Hand Soap
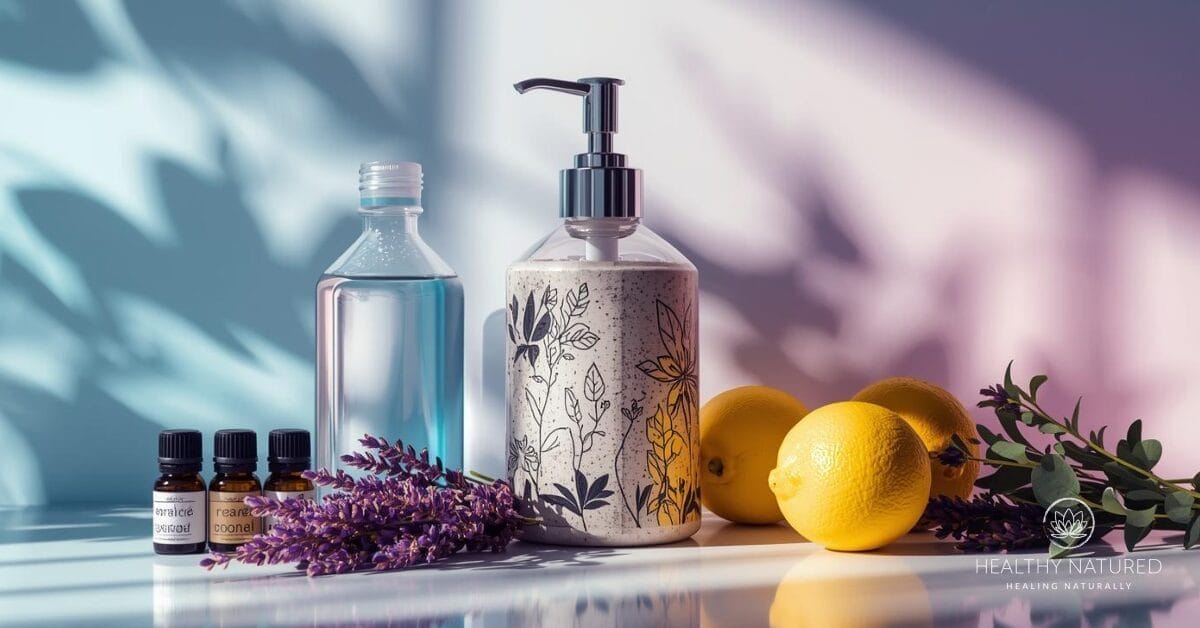
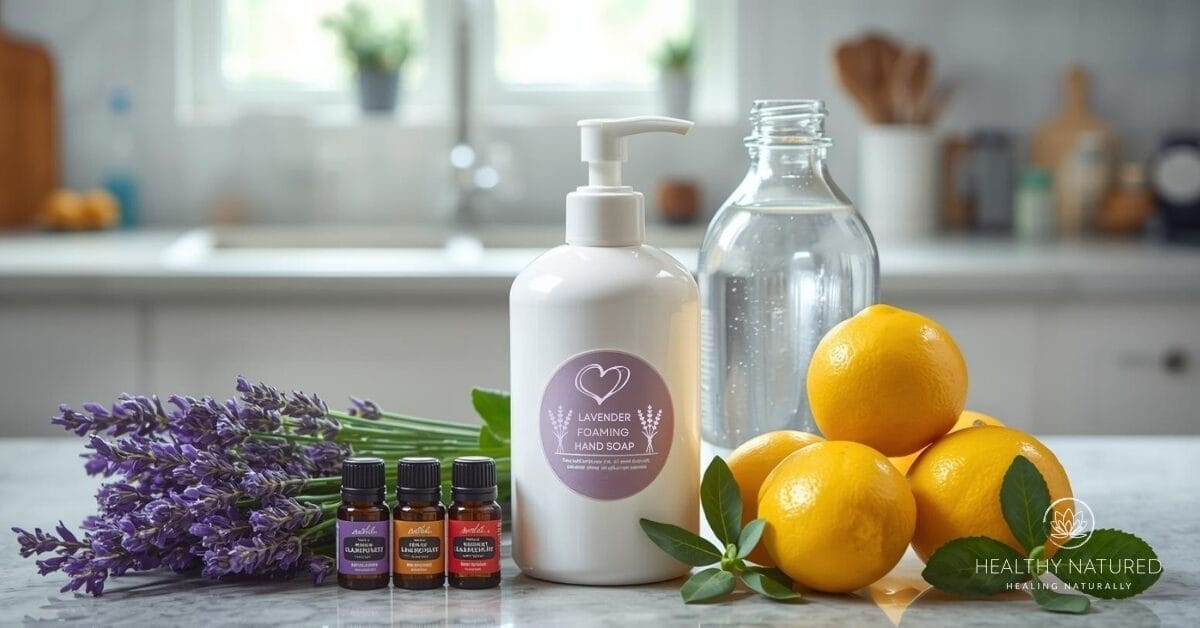
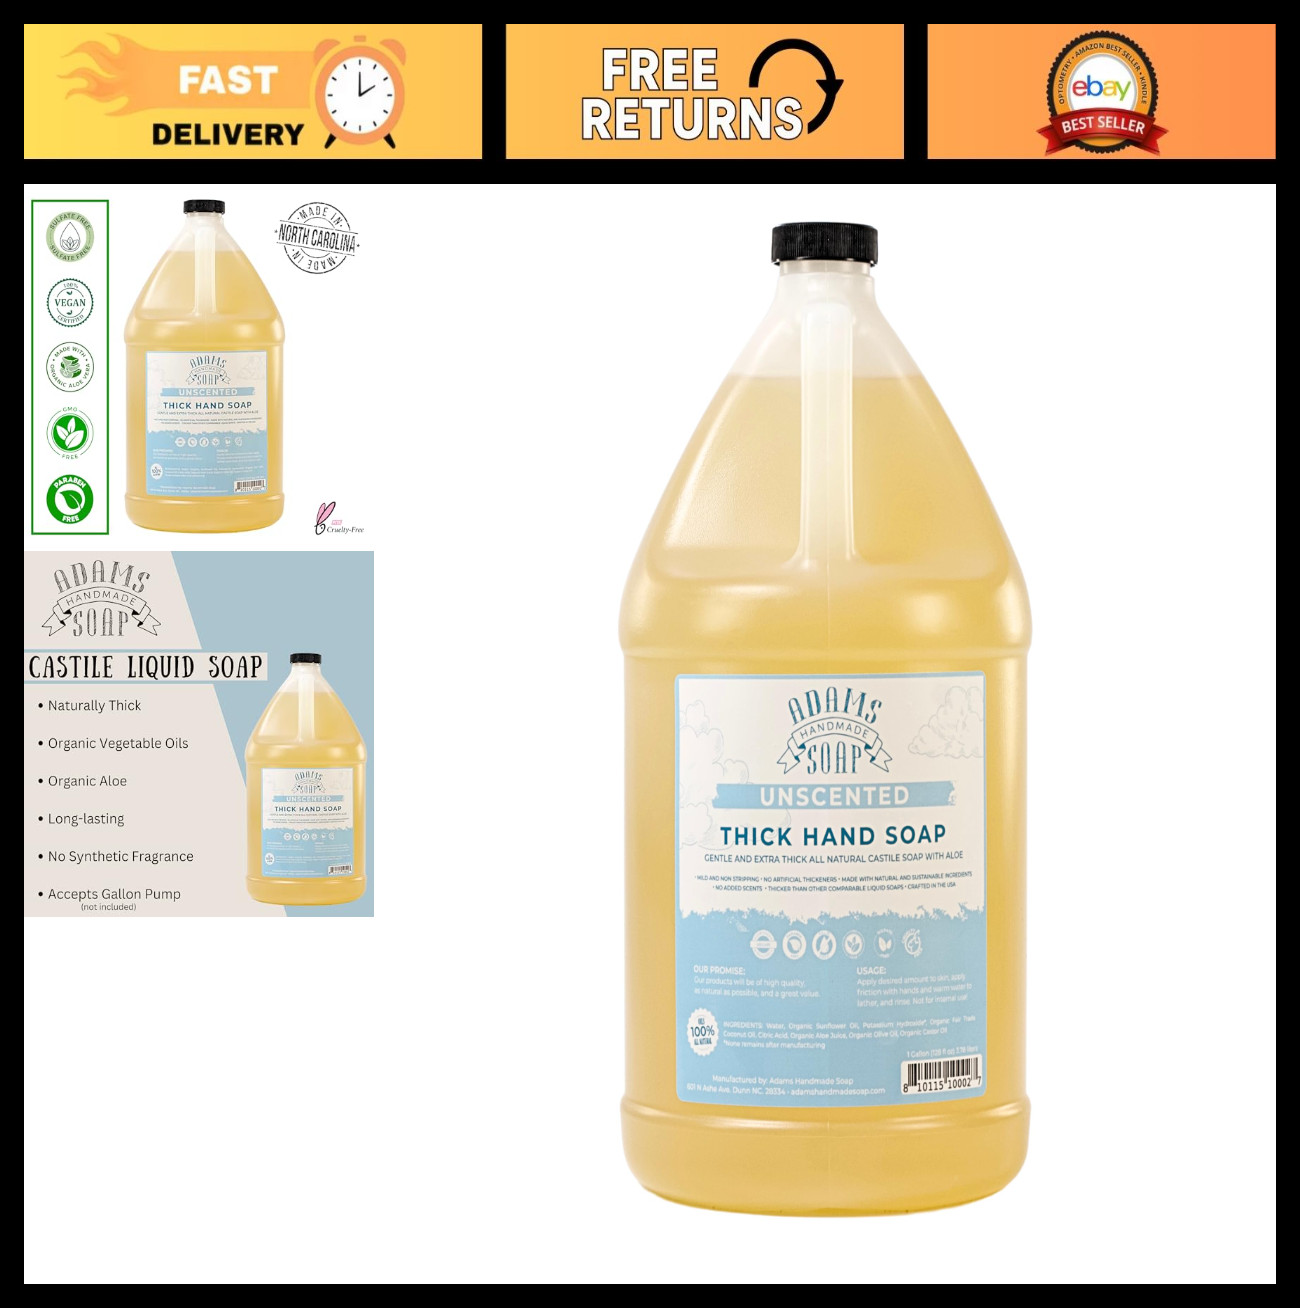
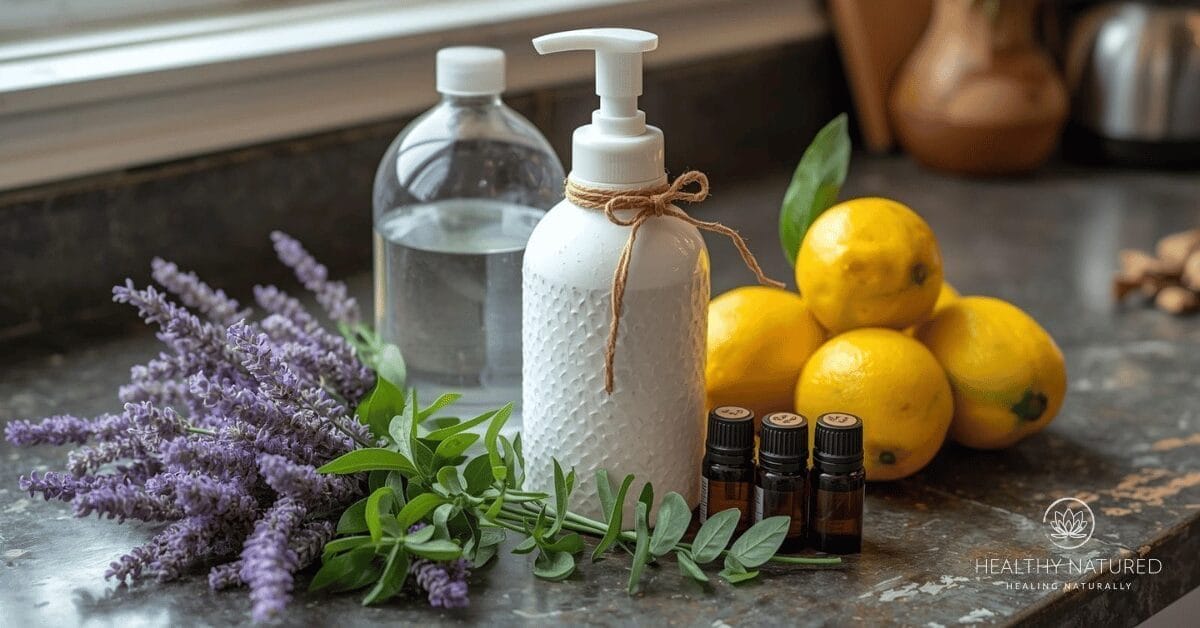
The beauty of homemade foaming soap lies in its simplicity. You only need a few basic ingredients that you probably already have at home. The foundation of any foaming soap recipe is liquid castile soap or regular liquid hand soap, which provides the cleaning power.
Water makes up the majority of your foaming soap – typically about 80-90% of the final product. Using distilled water is preferable because it doesn’t contain minerals that might affect the soap’s performance or shelf life, though tap water works perfectly fine for immediate use.
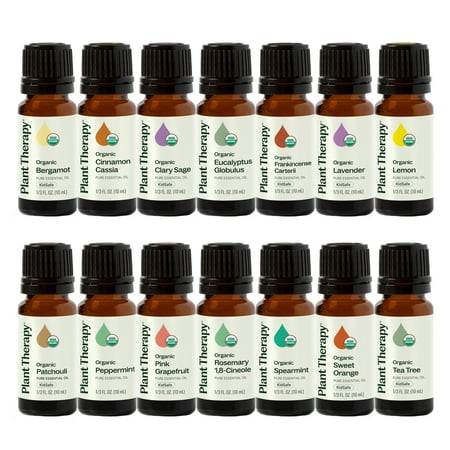
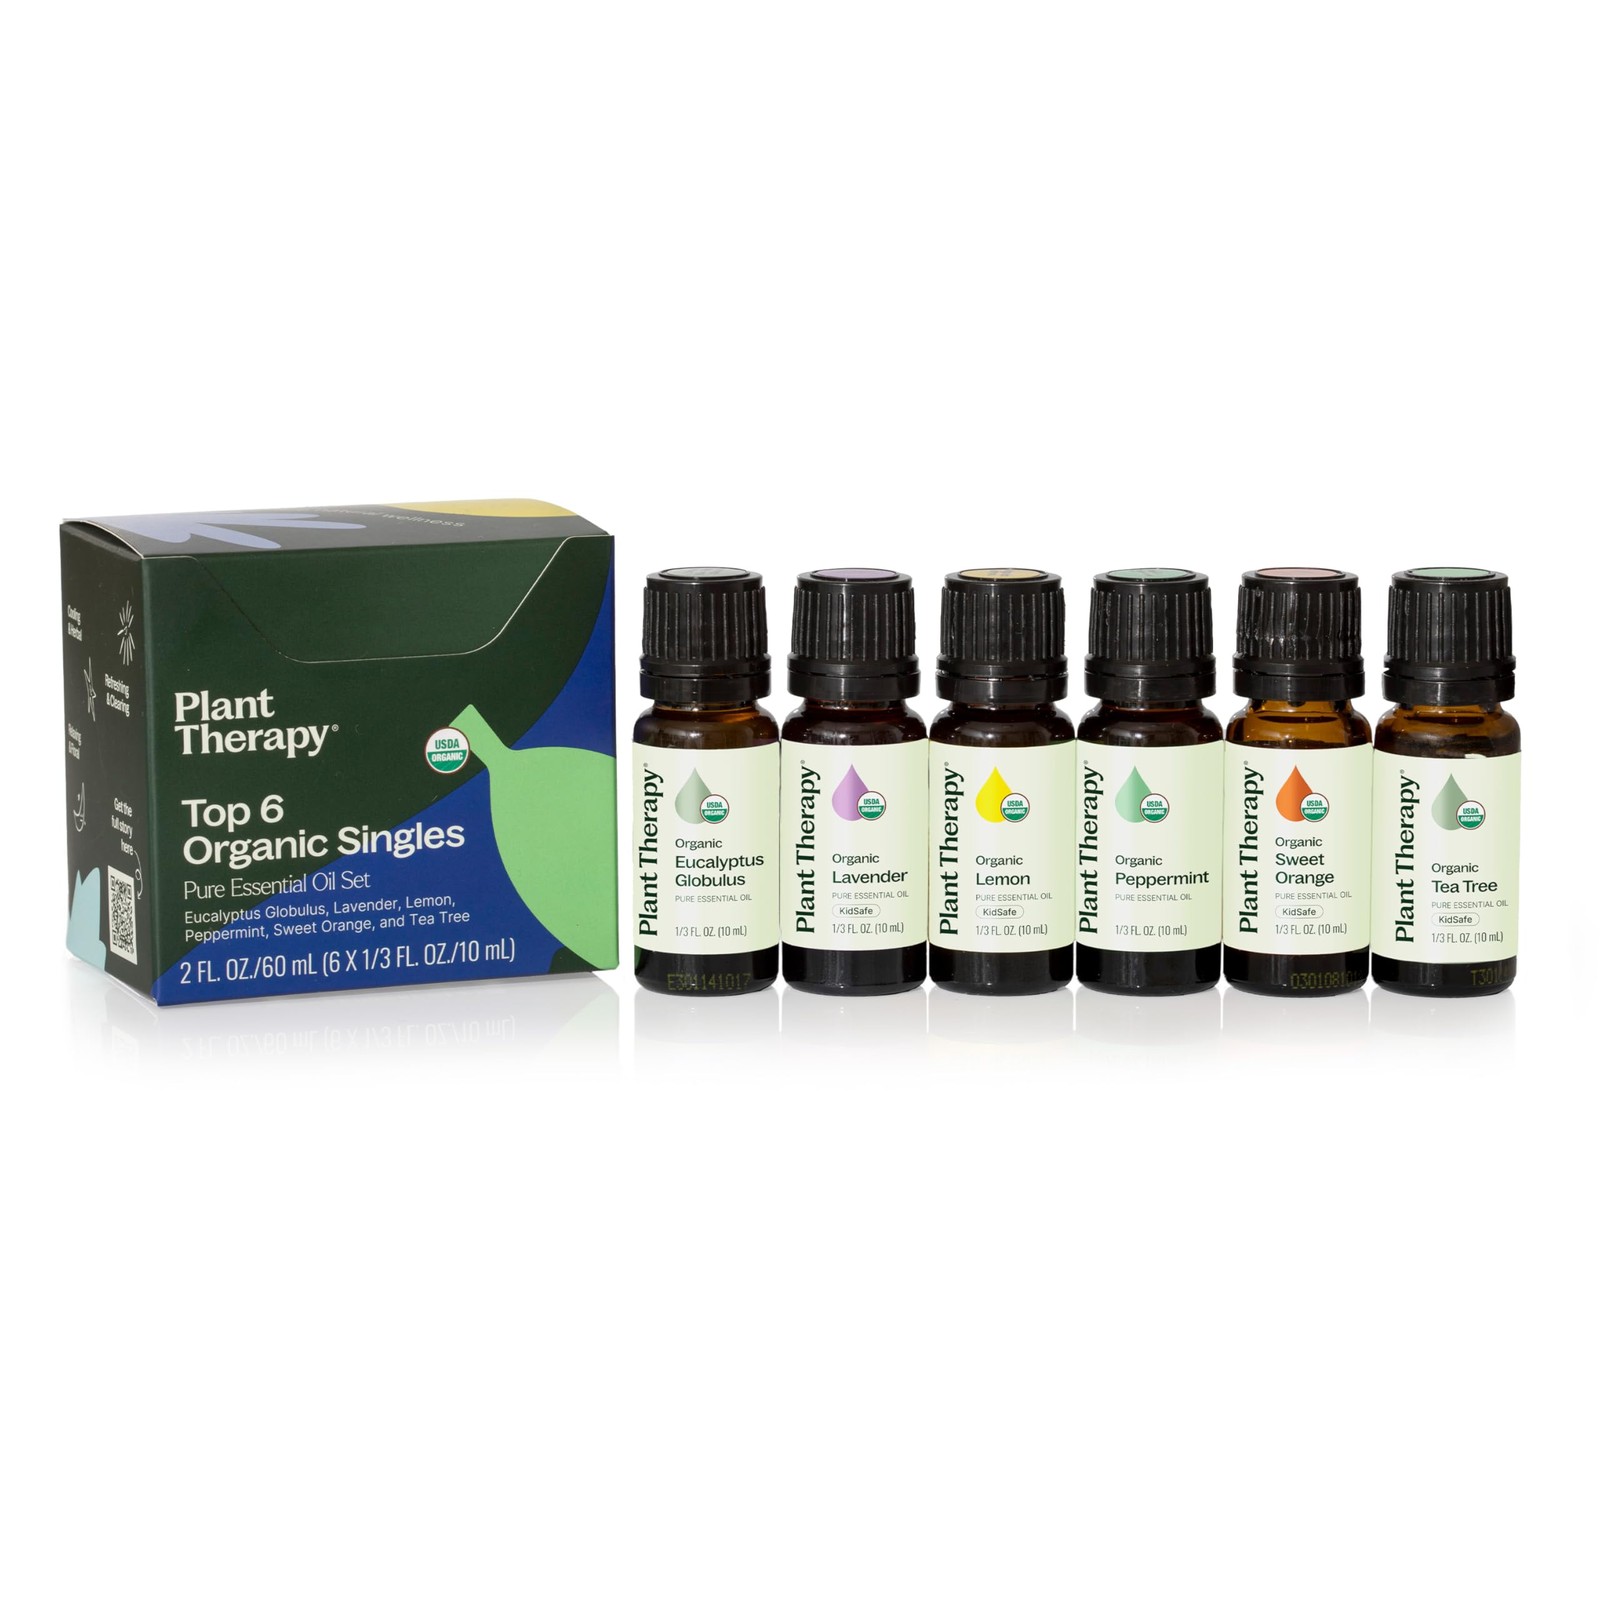
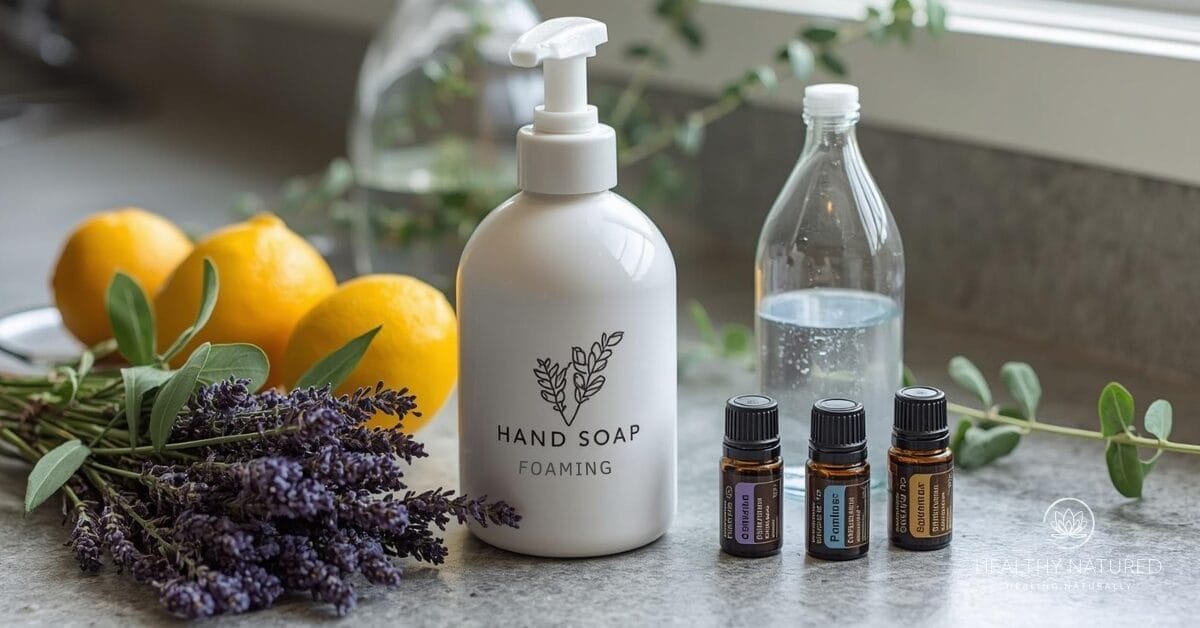
Optional additives can enhance your soap’s properties and appeal. A few drops of essential oils like lavender, tea tree, or peppermint add natural fragrance and antimicrobial properties. Glycerin, available at most pharmacies, helps moisturize your hands and prevents the soap from drying out your skin. A small amount of carrier oil like jojoba or sweet almond oil can provide additional moisturizing benefits.
Equipment You’ll Need
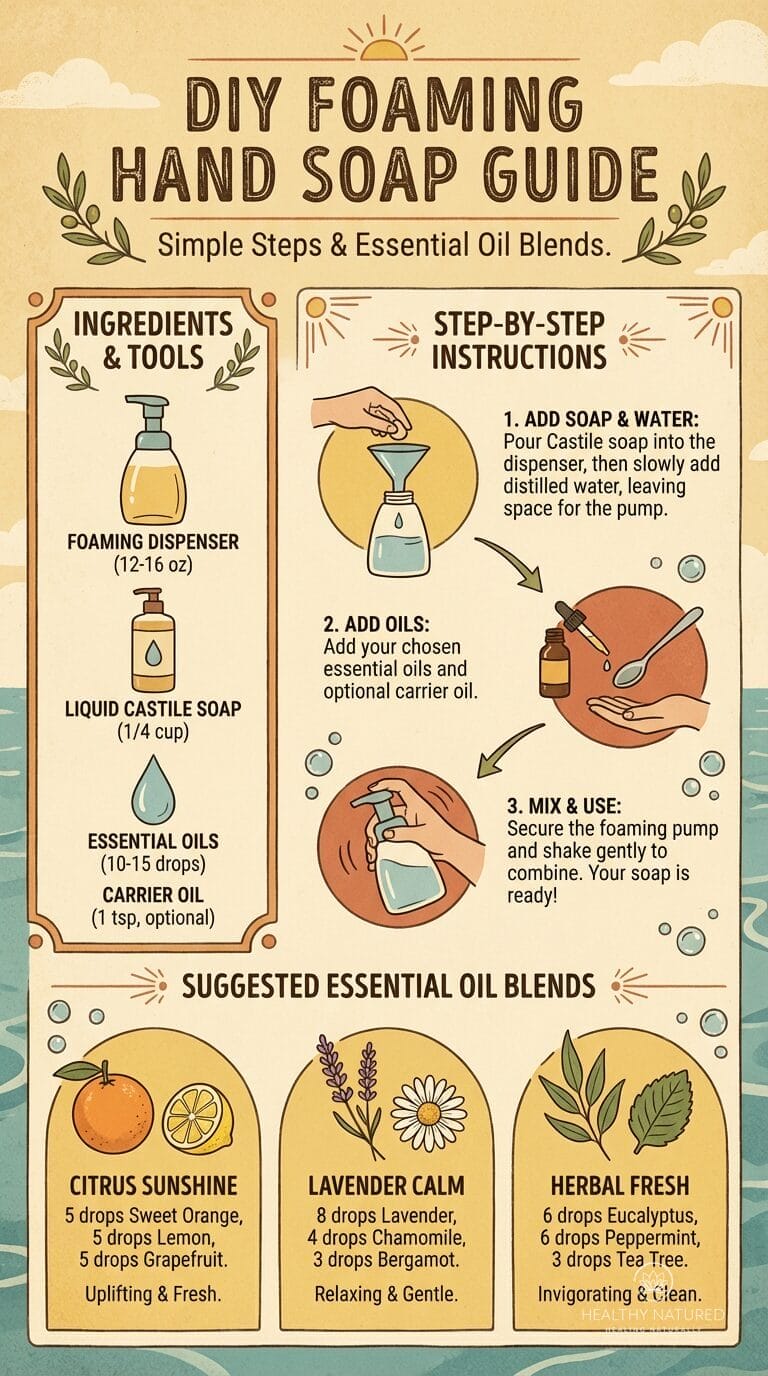
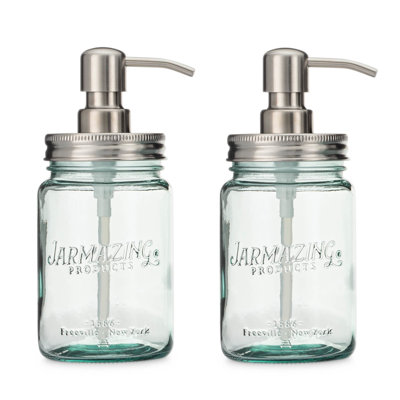
Gathering the right equipment ensures your soap-making process goes smoothly. The most crucial item is a foaming soap dispenser. You can reuse an empty commercial foaming soap bottle, purchase an inexpensive dispenser online, or find them at dollar stores. The key is ensuring the pump mechanism is specifically designed for foaming soap, as regular soap dispensers won’t create the proper foam texture.
A small funnel makes filling your dispenser much easier and prevents spills. If you don’t have a funnel, you can create one using a piece of paper or carefully pour using a measuring cup with a spout.
Measuring tools are essential for getting the ratios right. A set of measuring spoons and a measuring cup will help you achieve consistent results every time. Having a small mixing bowl or cup can be helpful if you want to blend your ingredients before adding them to the dispenser.
Basic DIY Foaming Hand Soap Recipe
This foolproof recipe creates approximately 8 ounces of foaming hand soap that rivals any commercial product. Start by adding 2 tablespoons of liquid castile soap or quality liquid hand soap to your empty foaming dispenser. Castile soap works exceptionally well because it’s gentle, natural, and creates excellent foam.
Next, add 1 tablespoon of distilled water to help dilute the soap slightly. This initial dilution prevents the mixture from becoming too thick. If you’re using essential oils, now is the time to add 10-15 drops of your preferred scent. Tea tree oil offers antimicrobial properties, while lavender provides a calming fragrance.
For added moisturizing benefits, include 1/2 teaspoon of glycerin. This ingredient helps prevent your hands from drying out with frequent washing, which is especially important during cold weather or if you wash your hands frequently.
Finally, fill the remainder of the dispenser with distilled water, leaving about an inch of space at the top. This space is crucial because it allows room for the soap to foam properly and prevents overflow when you pump the dispenser.
Gently swirl the dispenser to mix all ingredients. Avoid shaking vigorously, as this can create too much foam inside the bottle and make it difficult to dispense properly.
DIY Foaming Hand Soap with Castile
Ingredients
- 2 tbsp liquid castile soap
- ½ tsp vegetable glycerin
 15 drops essential oil
- 230 ml distilled water

Equipment
Method
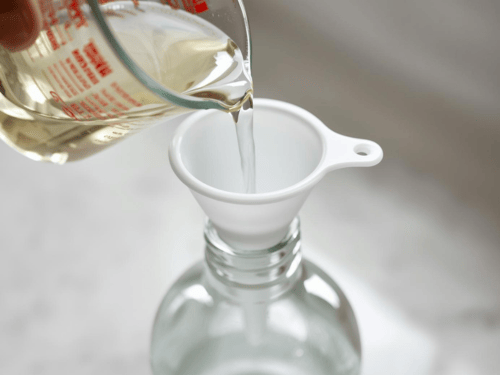
- Measure 2 tbsp of castile liquid soap and add to a clean foaming soap dispenser.2 tbsp liquid castile soap

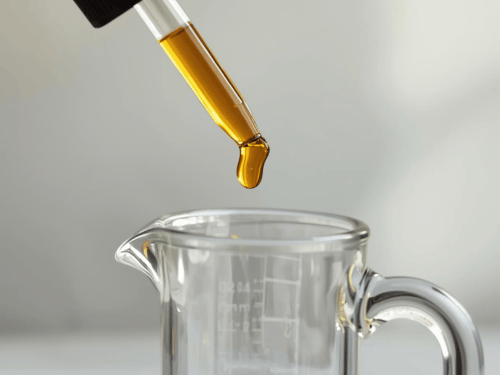
- To a measuring jug add ½ tsp of vegetable glycerin, 1 tbsp distilled water, and 10-15 drops of your preferred essential oils. Stir to blend the solution and pour into the foaming soap dispenser.½ tsp vegetable glycerin, 15 drops essential oil
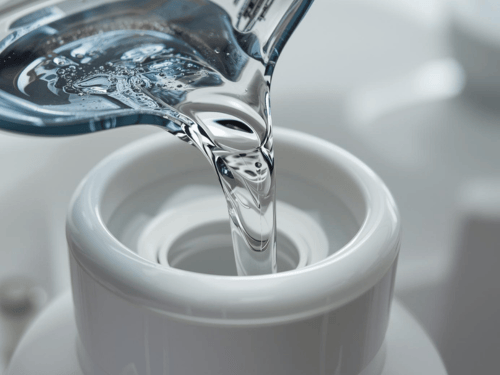
- Slowly pour the remainder of the distilled water into the foaming soap dispenser, leaving 2–3 cm air space at top.230 ml distilled water
- Insert the dispensers pump, tighten the seal, and gently swirl the dispenser to combine the ingredients. Enjoy your luxury foaming soap. Use within 3 to 4 weeks.
Notes
- Biodegradable
- Non-synthetic
- No SLS/SLES
- Suitable for sensitive skin (when diluted properly)
Antibacterial Kitchen Version
While no DIY soap replaces proper hygiene practices, certain essential oils have well-documented antimicrobial properties in laboratory settings. This blend is ideal for kitchen sinks, after handling raw food, gardening cleanup. etc Use the same recipe as above substituting the essential oils with the following type and amounts. Option 1 – Classic Antimicrobial- Tea Tree (4 drops)
- Lemon (4 drops)
- Eucalyptus (2 drops)
- Tea Tree (5 drops)
- Rosemary (3 drops)
- Lemon (2 drops)
Baby-Safe Ultra-Gentle Version
For babies and toddlers, less is more. The following is a baby safe version, Ingredients- 2 tbsp unscented liquid castile soap
- Distilled water only
Private Notes
Expert Tips and Instructions
In our “How to Guide” we use a 250ml dispenser bottle. For other dispenser bottle sizes you can use scaling. Use a ration of 1 part castile to 10 parts water.
| Bottle Size | Castile Soap | Water |
|---|---|---|
| 250 mL | 30 mL (2 tbsp) | Fill remainder |
| 500 mL | 60 mL (4 tbsp) | Fill remainder |
| 1 L | 120 mL (½ cup) | Fill remainder |
Thoroughly clean your foaming soap dispenser if you’re reusing one. Remove any residual soap by rinsing with warm water and allowing it to dry completely. This prevents any unwanted reactions between old and new soap formulations.
Using your funnel, carefully pour the liquid castile soap into the dispenser first. Adding the soap before the water helps ensure better mixing and prevents excessive foaming during the filling process.
Add your chosen essential oils drop by drop, counting carefully to avoid overpowering the mixture. Remember that essential oils are concentrated, so a little goes a long way. If you’re unsure about the scent strength, start with fewer drops and add more in your next batch if desired.
Include the glycerin if you’re using it, then slowly add the distilled water. Pour gradually to minimize bubbling and foam formation inside the bottle. Fill until you reach about an inch from the top of the dispenser.
Replace the pump top securely and gently tip the dispenser back and forth several times to mix the ingredients. The mixture should appear slightly cloudy or uniform in color.
Test your soap by pumping the dispenser a few times. The first few pumps might produce less foam as the mechanism primes itself, but subsequent pumps should produce rich, creamy foam.


Customization Options and Variations
One of the most enjoyable aspects of making DIY foaming hand soap is experimenting with different variations. For a luxurious spa-like experience, try combining lavender and chamomile essential oils with a touch of vanilla. This combination creates a relaxing scent perfect for evening handwashing routines.
Kitchen-specific variations can include lemon and rosemary essential oils, which help cut through cooking odors and grease. Tea tree and eucalyptus have demonstrated antimicrobial activity in lab studies, but DIY soap is not a medical disinfectant1Gnatta JR, de Brito Poveda V, Padoveze MC, Graziano KU, Turrini RNT, da Silva MJP. Melaleuca alternifolia essential oil soap: a potential alternative for hand hygiene. Eur J Clin Microbiol Infect Dis. 2021;40(7):1517-1520. doi:10.1007/s10096-021-04190-w. The fresh, clean scent is particularly appealing after handling strong-smelling foods like garlic or fish. However a proper handwashing technique (20 seconds, friction, rinsing thoroughly) is more important than additives.
| Blend Name | Essential Oils |
|---|---|
| Calm & Clean | Lavender (5 drops), Tea Tree (3 drops) |
| Fresh Kitchen | Lemon (6 drops), Eucalyptus (2 drops) |
| Spa Blend | Lavender (4 drops), Cedarwood (3 drops), Frankincense (3 drops) |
| Classic Antimicrobial | Tea Tree (4 drops), Lemon (4 drops), Eucalyptus (2 drops) |
| Herbal Strength | Tea Tree (5 drops), Rosemary (3 drops), Lemon (2 drops) |
For children’s bathrooms, consider milder scents like sweet orange or vanilla. These fragrances are gentle and appealing to kids while avoiding potentially irritating oils. You might also reduce the essential oil quantity by half when making soap for young children.
Seasonal variations add fun to your soap-making routine. During winter holidays, try combining peppermint and eucalyptus for an invigorating blend. Summer versions might feature citrus combinations like lemon-lime or grapefruit-mint.
For those with extremely sensitive skin, create an unscented version using only castile soap, glycerin, and water. This gentle formula provides effective cleaning without any potential irritants. If using essential oils, especially new blends ensure you patch test before use.


Troubleshooting Common Issues
Sometimes your homemade foaming soap might not perform exactly as expected, but most issues have simple solutions. Here are some of the common issues to be aware of:
- Always use distilled water. Not only does your diy hand soap last longer the distilled water will prevent cloudiness.
- If your soap isn’t foaming properly, the most common cause is using too much soap concentrate. Sounds odd doesn’t it, but many people add more liquid soap thinking it’ll make their mixture more foamy. Sadly, it gives them less! Try adding a little additional water until you achieve the right consistency and the ideal foam.
- Conversely, if the foam seems too thin or disappears quickly, you may need to add a bit more soap concentrate. The ideal ratio typically falls between 1:4 and 1:6 soap to water, depending on the concentration of your base soap.
- Avoid any ingredients containing vinegar or citrus juice — it reacts with castile and your soap will spoil.
- Clogged dispensers can occur if soap residue builds up in the pump mechanism. Regular cleaning with warm water usually resolves this issue. If the problem persists, try soaking the pump in warm water for several minutes before rinsing thoroughly.
- Separation of ingredients is normal and doesn’t indicate a problem with your soap. Simply swirl the dispenser gently before each use to remix the components. This is particularly common with oil-based additions.
- If your soap develops an off smell or unusual appearance, it’s best to discard it and make a fresh batch. Homemade soap generally has a good shelf life and will last even longer if you use distilled water and keep the dispenser clean. This helps prevent bacterial growth.


Storage and Shelf Life
Proper storage ensures your DIY foaming hand soap maintains its quality and effectiveness. Keep your dispensers in cool, dry locations away from direct sunlight. Bathrooms and kitchens are perfect locations, but avoid placing them directly next to heat sources like radiators or sunny windows.
Homemade foaming soap typically lasts 2-3 months when stored properly. Using distilled water extends the shelf life compared to tap water, which may contain minerals and bacteria that can affect the soap’s stability.
Label your dispensers with the creation date to track freshness. If you notice any changes in smell, color, or texture, it’s time to make a fresh batch. The good news is that making new soap is so quick and inexpensive that regular replacement isn’t a burden.
For families who use soap frequently, consider making smaller batches more often rather than large quantities that might sit unused. This ensures you’re always using fresh, effective soap.
Cost Comparison and Environmental Impact
The financial benefits of making DIY foaming hand soap become clear when you break down the numbers. A typical 8-ounce commercial foaming soap costs between $3-8, while the homemade version costs approximately $0.50-0.70 to make, depending on your ingredient choices.
Over a year, a family using two dispensers monthly could save $50-150 by making their own soap. These savings add up significantly, especially for large families or households that prioritize frequent handwashing.
The environmental impact is equally impressive. By reusing dispensers and making your own refills, you eliminate dozens of plastic containers from entering the waste stream annually2How Does Refilling Reduce Plastic Waste? Lorne Michael Cousins – The Sustainability Directory. Additionally, many commercial soaps contain synthetic ingredients that can harm aquatic ecosystems, while homemade versions using natural ingredients are more environmentally friendly39 Unhealthy Ingredients in Commercial Soaps to Avoid.
Choosing concentrated castile soap in larger containers further reduces packaging waste compared to buying multiple small bottles of commercial soap.

DIY foaming hand soap FAQ
1) Can I use regular liquid soap instead of castile soap?
Yes, you can use any quality liquid hand soap as a base. However, castile soap is preferred because it’s gentler, more natural, and typically creates better foam. Avoid using dish soap, as it can be too harsh for frequent hand washing.
2) Why isn’t my soap foaming properly?
Poor foaming usually results from incorrect soap-to-water ratios. Try using less soap concentrate and more water. Also, ensure you’re using a proper foaming dispenser, as regular soap dispensers won’t create foam regardless of your mixture.
3) How long does homemade foaming soap last?
When made with distilled water and stored properly, DIY foaming soap lasts 2-3 months. Using tap water may reduce this timeframe slightly. Always discard soap that develops an unusual smell, color, or texture.
4) Can I add antibacterial ingredients to my soap?
Essential oils like tea tree, lavender, and eucalyptus have natural antimicrobial properties. However, regular soap and proper handwashing technique are effective for removing germs without needing additional antibacterial agents.
5) Is it safe to use essential oils in hand soap?
Yes, when used in appropriate quantities. Stick to 10-15 drops per 8-ounce batch, and research any oils before use, especially if you have sensitive skin or allergies. Some oils may cause photosensitivity or skin irritation in sensitive individuals.
6) Can I make foaming soap without glycerin?
Absolutely. Glycerin is optional and primarily adds moisturizing benefits. Your soap will clean just as effectively without it, though your hands might feel slightly drier with frequent use.
7) What should I do if my dispenser gets clogged?
Remove the pump and rinse it thoroughly with warm water. If buildup persists, soak the pump mechanism in warm water for 10-15 minutes, then rinse again. Regular cleaning prevents most clogging issues.
8) Can I use tap water?
Distilled is recommended for shelf life, but boiled and cooled water can be used if making small batches.
9) Can I add coconut oil?
Coconut oil is not recommended as it can clog the pumps. If you are looking for coconut fragrance you can add coconut essential oil.
Making your own DIY foaming hand soap is a simple, rewarding project that benefits your wallet, health, and the environment. With just a few ingredients and five minutes of your time, you can create a product that rivals expensive commercial alternatives. Start with the basic recipe and experiment with different scents and additives to find your perfect combination. Once you experience the satisfaction and savings of homemade foaming soap, you’ll wonder why you ever bought it from the store.
References
- 1Gnatta JR, de Brito Poveda V, Padoveze MC, Graziano KU, Turrini RNT, da Silva MJP. Melaleuca alternifolia essential oil soap: a potential alternative for hand hygiene. Eur J Clin Microbiol Infect Dis. 2021;40(7):1517-1520. doi:10.1007/s10096-021-04190-w
- 2How Does Refilling Reduce Plastic Waste? Lorne Michael Cousins – The Sustainability Directory
- 39 Unhealthy Ingredients in Commercial Soaps to Avoid